|
<< Click to Display Table of Contents >> Settings |
  
|
|
<< Click to Display Table of Contents >> Settings |
  
|
This chapter describes the various options of the Settings dialog.
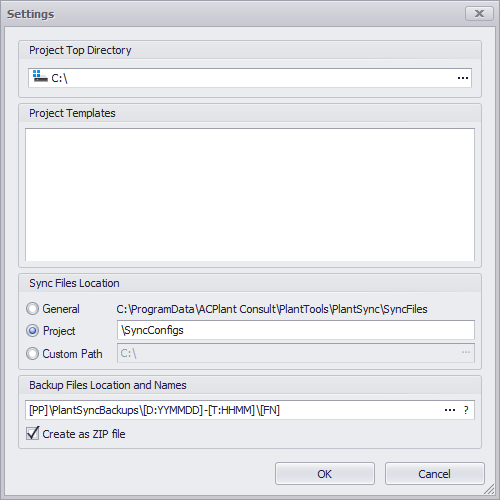
Project Top Directory
With Project Top Directory you choose the directory under which all AutoCAD Plant 3D projects reside. For example "Z:\Projects". To select the directory you click on ... and the Windows file selection dialogbox opens.
Project Templates
Project Templates are regular AutoCAD Plant 3D projects. Very often you just use an AutoCAD Plant 3D project as a template to create new projects. If necessary you can use multiple Project Templates with different customer configurations.
In the white list view you can add Project Templates to have them available faster in the PlantSync main user interface. To add projects you just make a right-click in the window and select Add.... The Windows File selection dialogbox appears. Now you select the project.xml of the project of your choosing. Of course you can add multiple project and remove them as well.
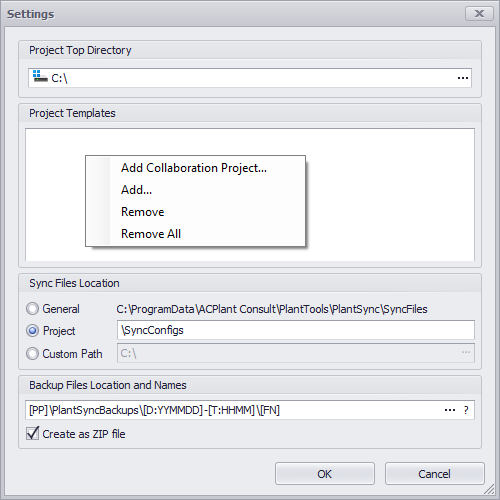
With Add Collaboration Project... the Collaboration for Plant 3D dialog opens which allows you to select a Collaboration project as well.
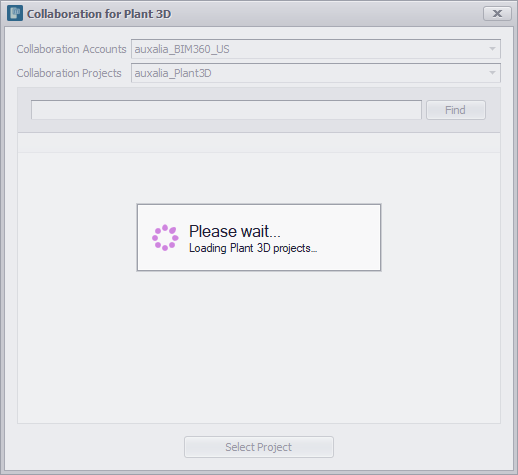
You can select your Collaboration Account and Project and then your Plant 3D project.
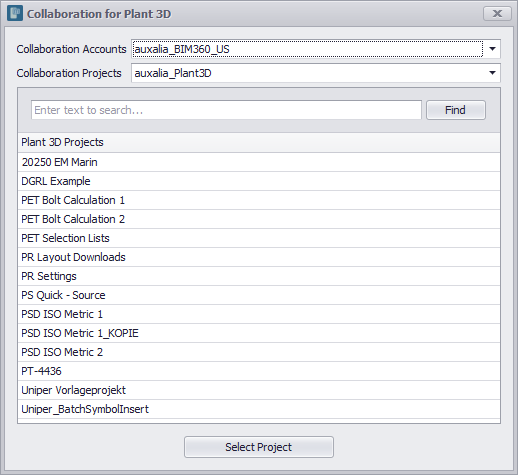
You will see the selected project.xml pointing to your Collaboration work folder. However, at that time the Plant 3D project will not be downloaded yet.

Sync Files Location
PlantSync can manager unlimited configurations. You can choose different locations for "Sync Files Location".
General
This setting is selected if the installation is on a single station and all configurations should be filed locally. In an installation with multiple AutoCAD Plant 3D installations, you can store the configurations locally as well, but this makes sense if the user using PlantSync is sitting at the same machine everytime.
Project
If “Project” is selected, it indicates that the configurations for PlanSync will be store for each of the Project Templates. This can make sense to keep the amount of configurations somewhat clear, for example if a Project Temaple has only one or two configurations, then only these configurations should be displayed.
Choos "Project" and for example type in "\SyncConfigs".
Custom Path
Here you can choose an arbitrary file location for PlantSync. Very likely somewhere on the network.
When changing the files location be aware that you may want to copy the configuration files to the new location. If you change the default path "General" to "Custom Path" you need to copy the configuration files.
Backup Files Location and Names
PlantSync created backup files of the project files by default, before they get change through the synchronization. You can define the location and filename here. Like with PlantReporter you have various variables at your disposal. On overview will be shown by clicking on the "?" button.
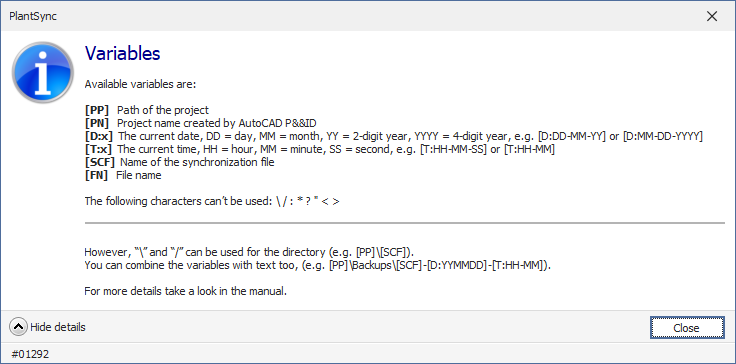
The predefined expression:
[PP]\PlantSyncBackups\[D:YYMMDD]-[T:HHMM]\[FN]
copies the backup files below the project path ([PP]) in the sub folder "PlantSyncBackups". Under this folder another folder will be created made out of date and time. The files then will reside in that folder.
Create as ZIP-Files
This allows zipping the backup files together.
Another possibility would be to store the backup files in a central location. The following example:
Z:\Backups\[PN]\[D:YYMMDD]-[T:HHMM]\[FN]
stored the files below the folder z:\backups und which a folder with the project name will be created and again another sub folder made out of date and time and last the file name.
Compare App Command Line
When PlantSync shows differences between files you can use a compare app like WinMerge or Araxis Merge to see the differences between a source and target file. By default, PlantSync uses the settings for WinMerge.
C:\Program Files (x86)\WinMerge\WinMergeU.exe /e /wl /wr /dl "Source Project" /dr "Target Project" %S %T
For Araxis Merge the settings looks like this:
C:\Program Files\Araxis\Araxis Merge\compare.exe /wait /title1:"Source Project" /title2:"Target Project" %S %T
If you want to use some other tool, adapt the line accordingly. %S and %T are the placeholders for the source file and the target file.