|
<< Click to Display Table of Contents >> Filtering & Grouping |
  
|
|
<< Click to Display Table of Contents >> Filtering & Grouping |
|
Show only changes
With the button "Show only changed objects" you can hide all drawing, classes and records which don't show any changes.
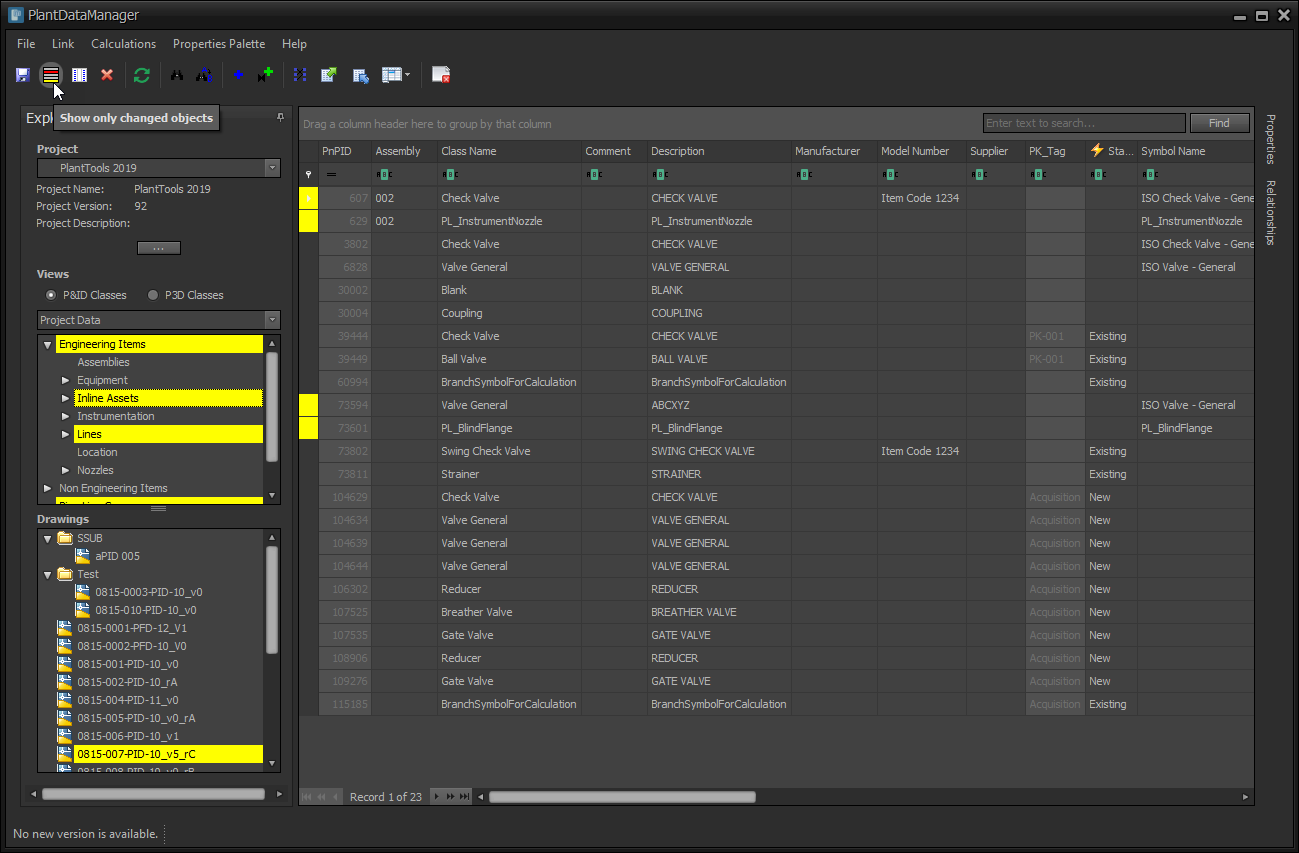
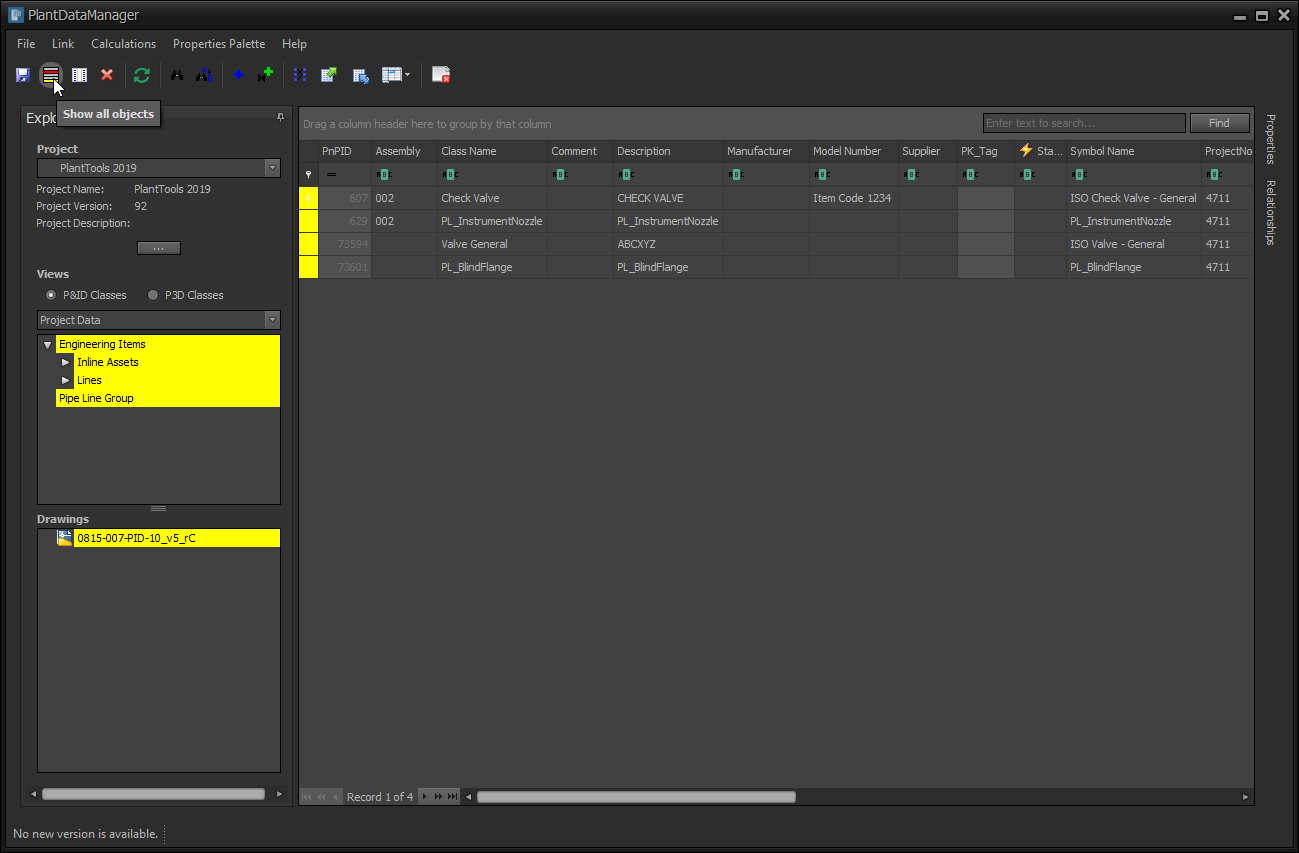
The result shows only the changes. You can revert this by clicking again "Show all objects".
Filtering
To filter your project data you can still use the filter function implemented in version 1.79 (22.01.2019).
If you want to filter for a value you simple right-click and use "Filter by Selection".
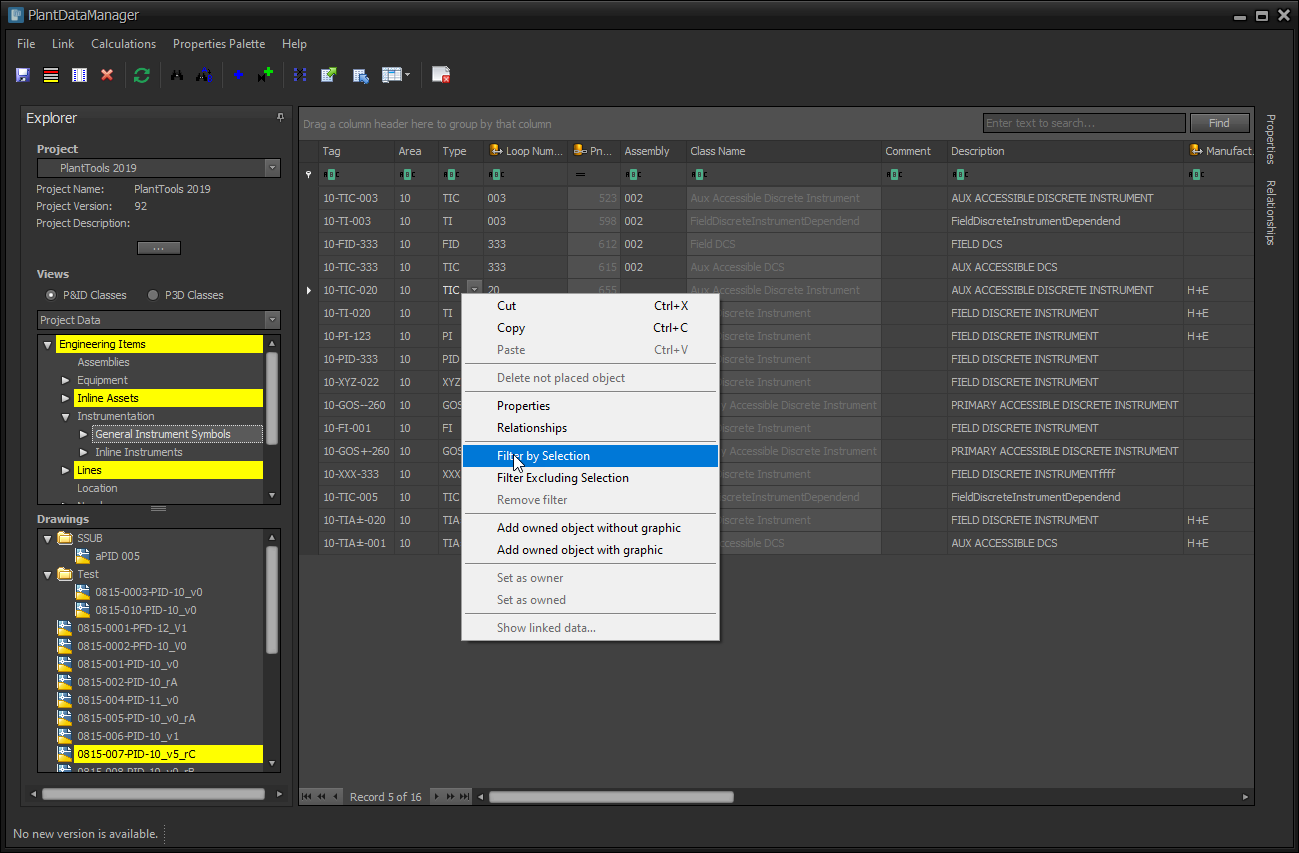
This result can be seen here. You also recognize that the value and expression ("=") shows in the Auto Filter Row.

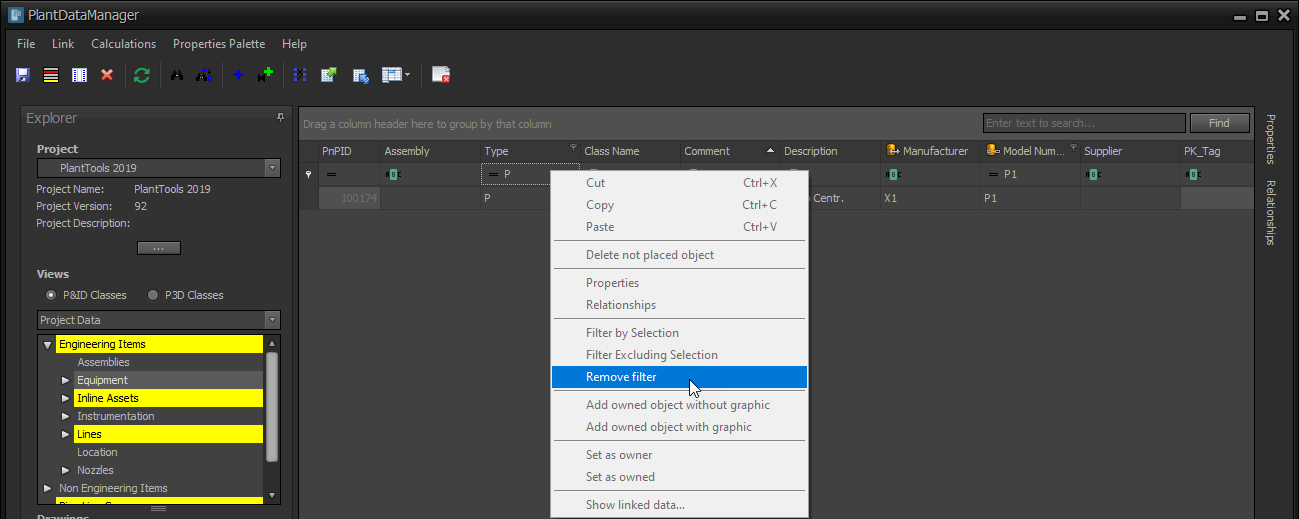
To remove the filter you select "Remove filter" which removes any filter in your grid in case you filtered in multiple columns.
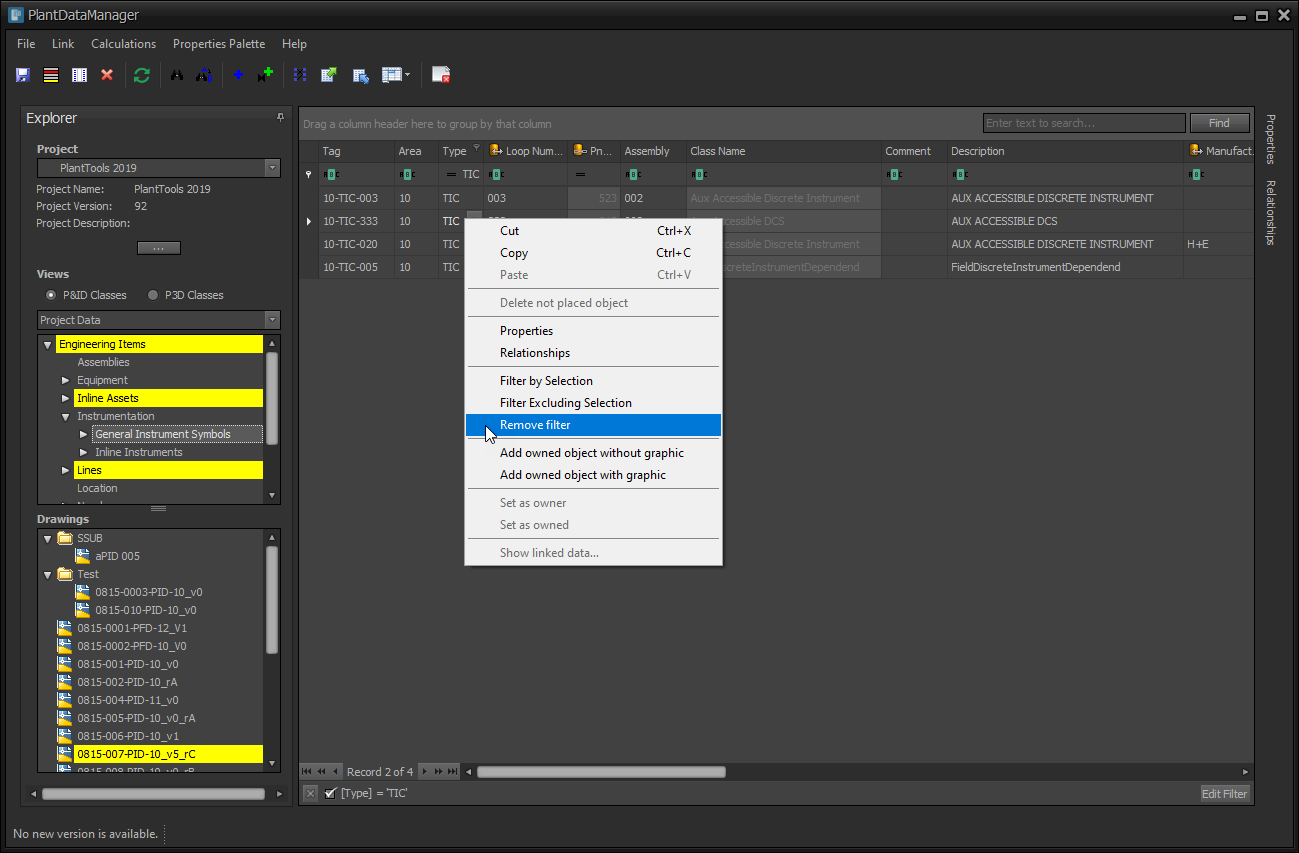
You can also filter out a value by using "Filter Excluding Selection".

In this example, it leaves "TIC" out. In the Auto Filter Row you see the expression "≠ TIC".
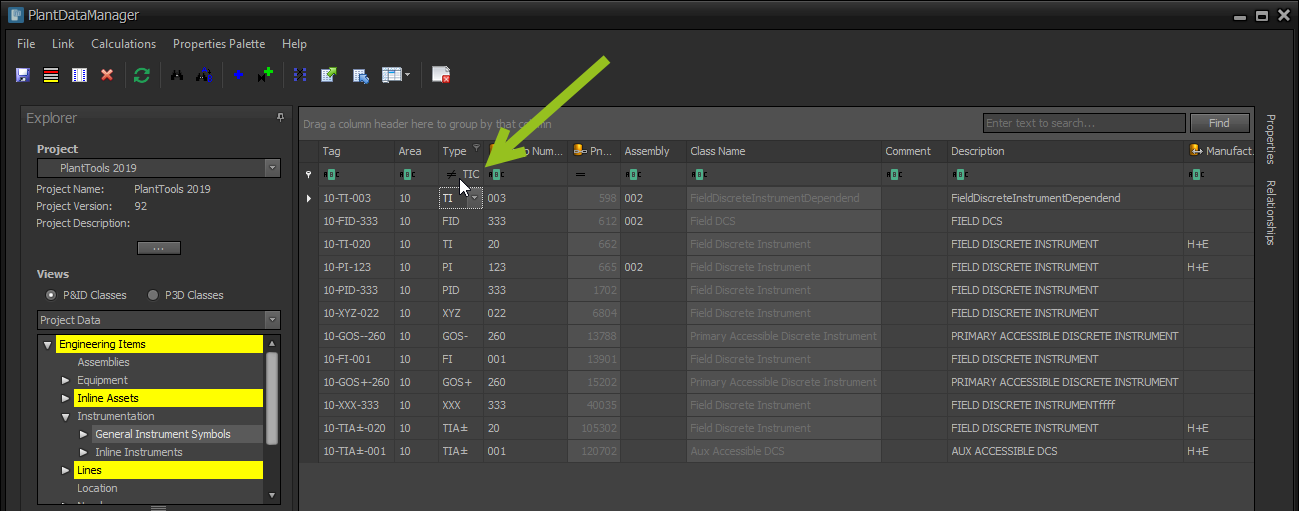
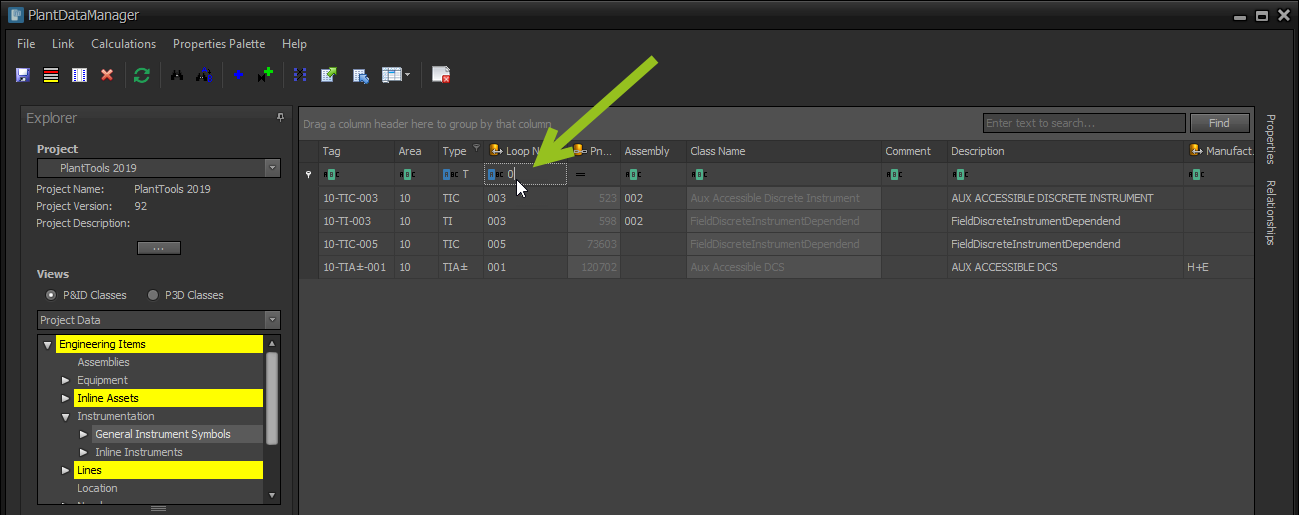
For more filter options you can click on the expression in the Auto Filter Row and select one expression which suits your needs. By default, string fields use "Contains" and numeric fields "Equals".
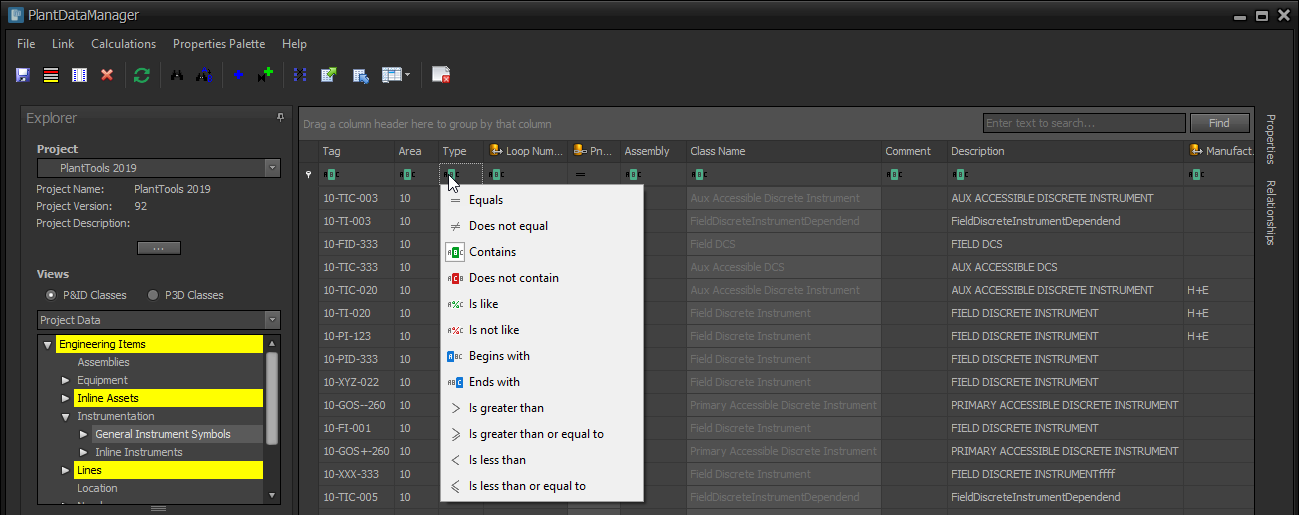
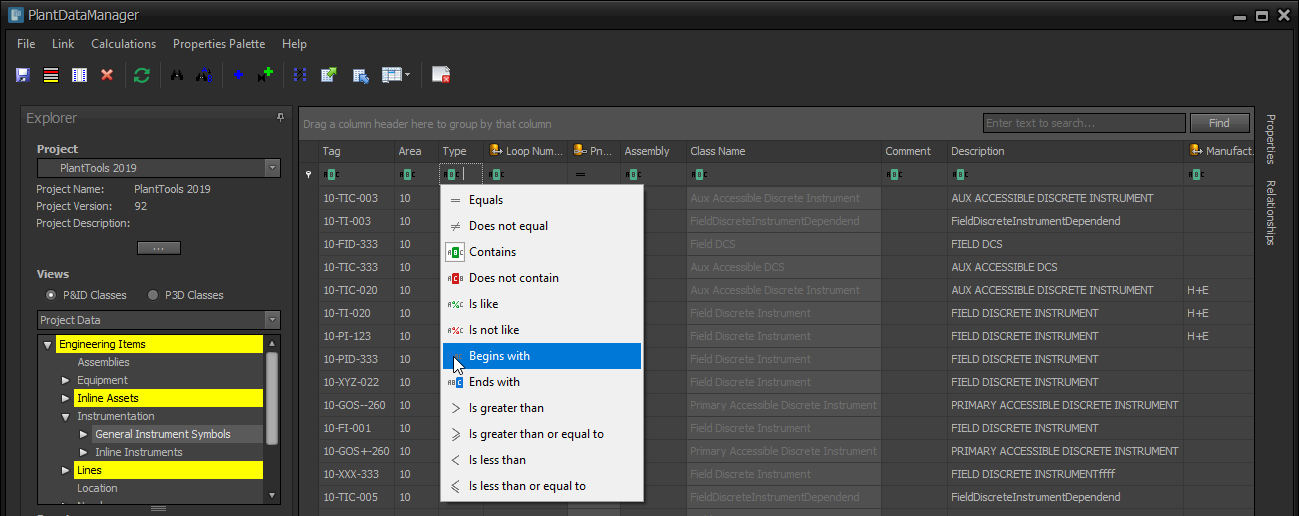
You can use for example "Begins with".
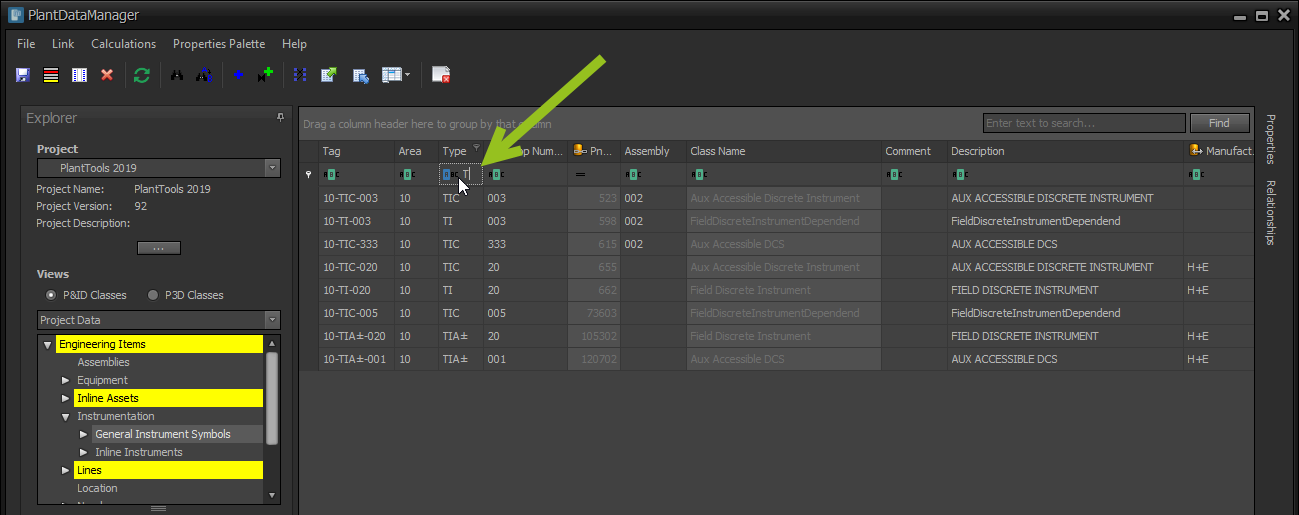
And then type "T" behind it which filters for all records where Type begins with a "T".
You can filter in additional columns too.
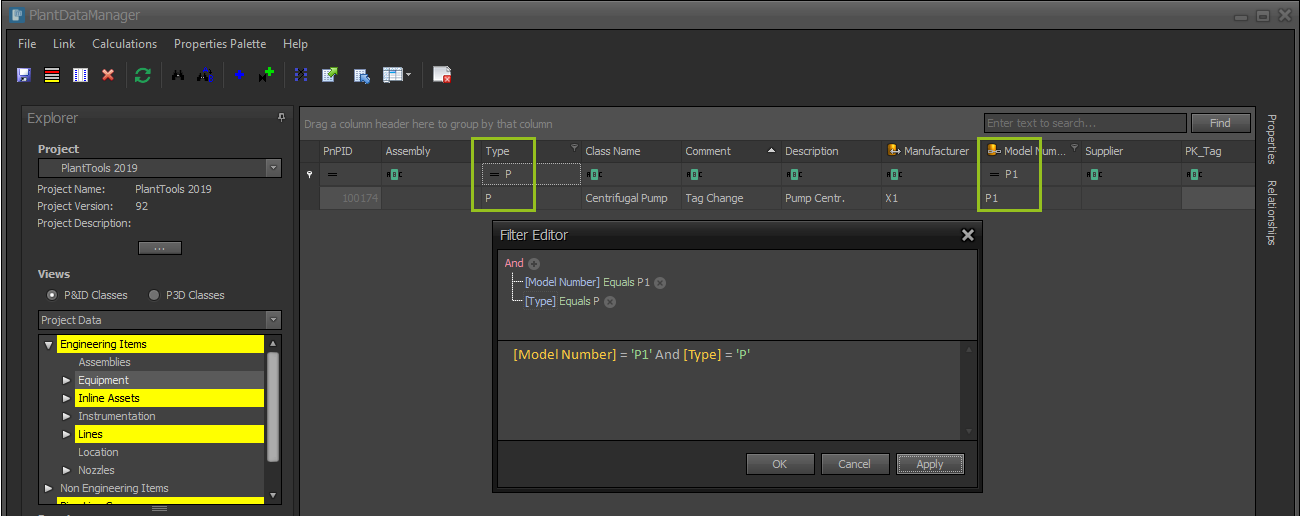
You can also use the Filter Editor for more complex expressions.

Here an example where we filter for P1 and P.
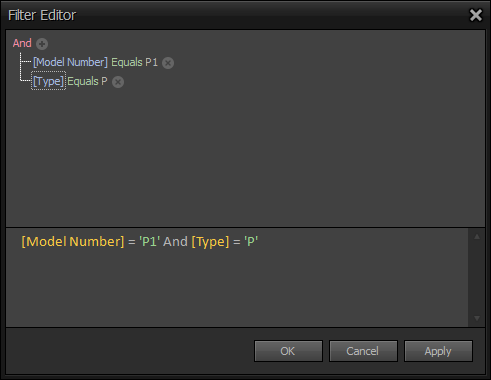
The expression then sets the filter in the Auto Filter Row.
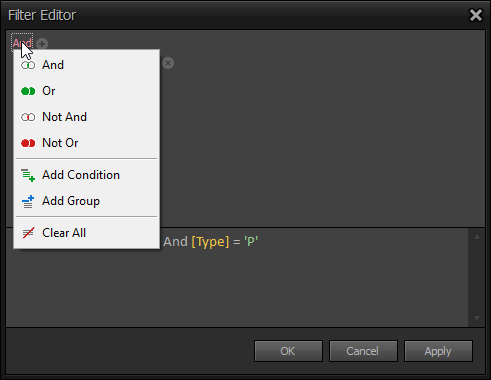
Besides "And" you can use other expressions and even group expressions by using "(" and ")".
Be aware, that filters are not save when switching between classes.
Filter set in the Auto Filter Row can be removed through the context menu.
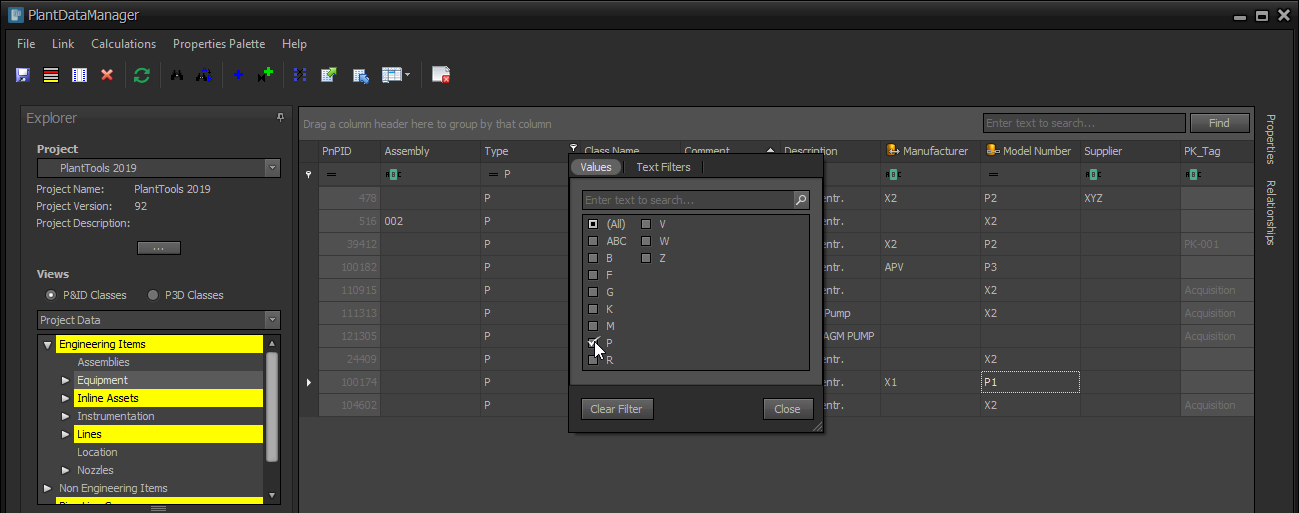
You can also filter similar to Excel by clicking on the filter icon on the right side of each header.
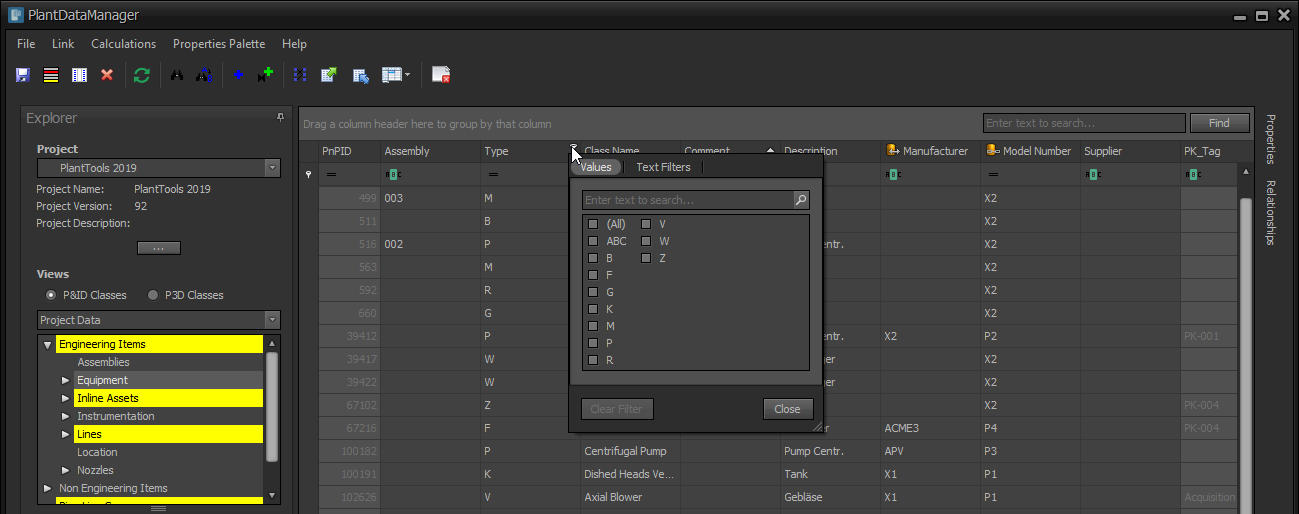
The filter will be executed right away.
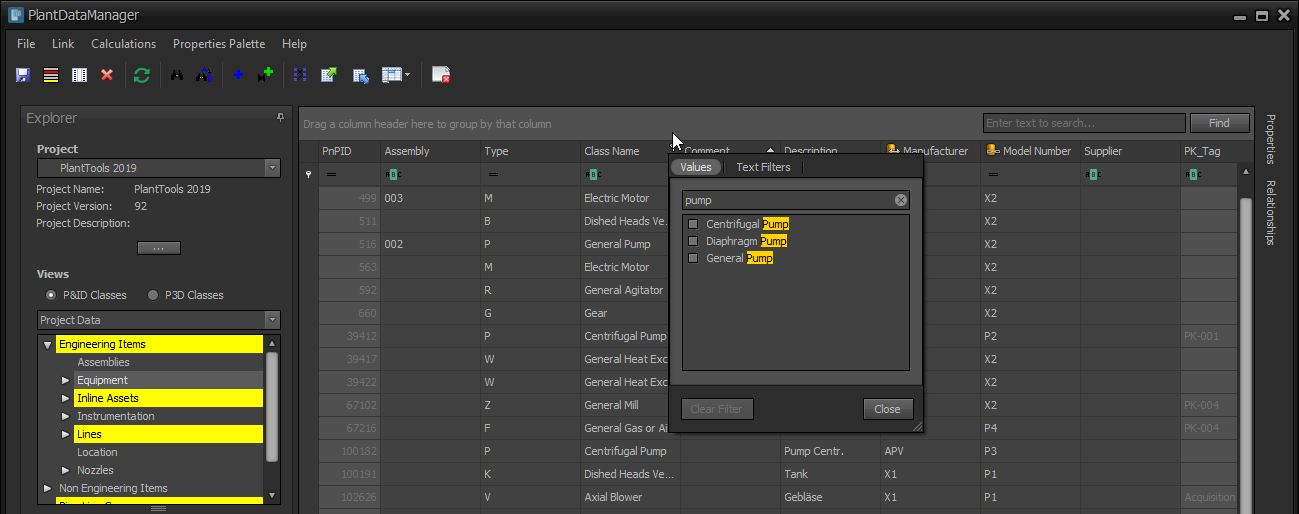
If the list of values is long, you can also filter the available values.
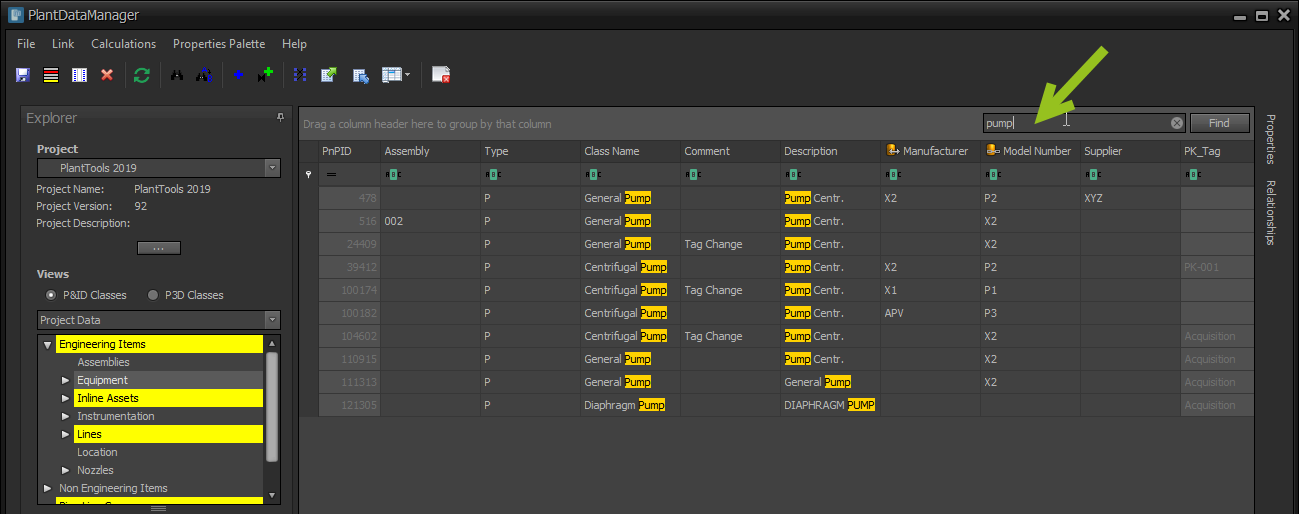
Finally, you can filter by typing in a value in the auto filter box. It will instantly filter for the value you typed in.
Grouping
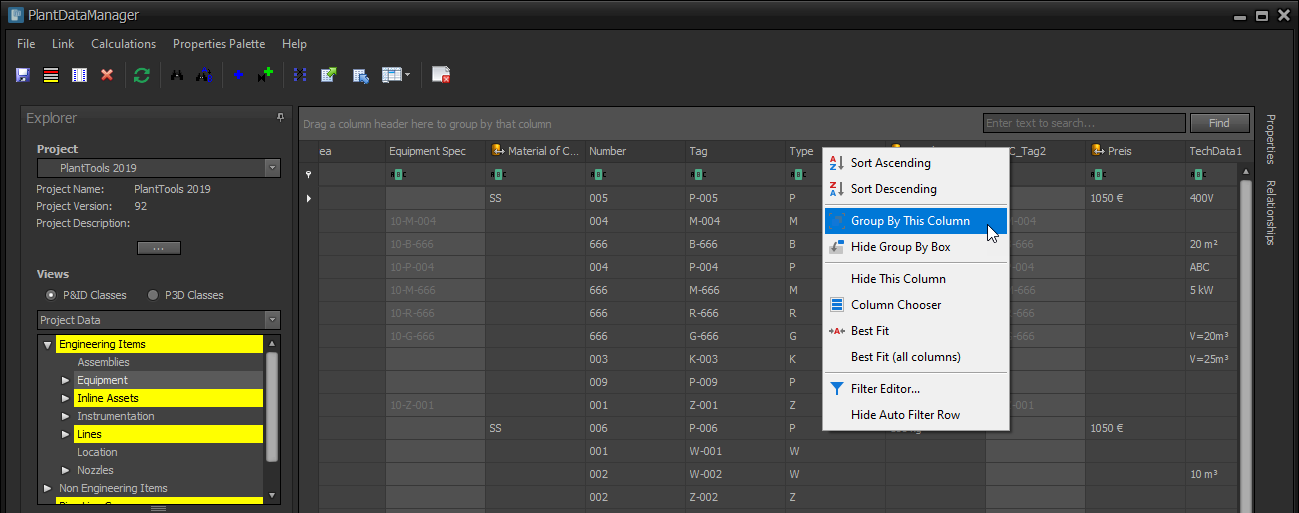
To group your data you can make a right-click on the header you want to group and select "Group By This Column".
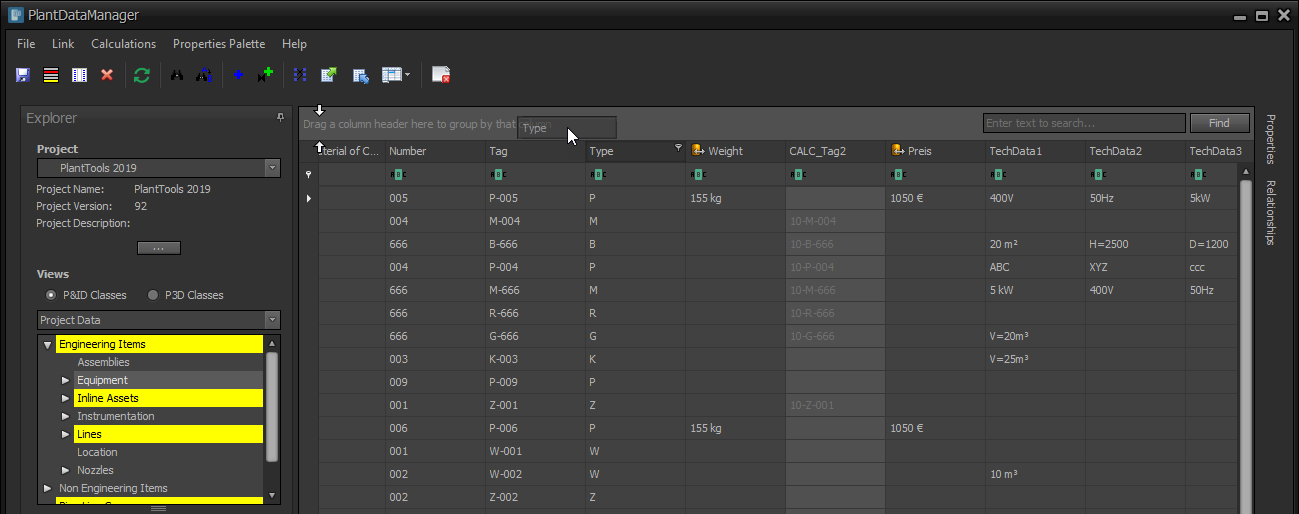
Alternatively, you can drag and drop the header into the Group By Box at the top.
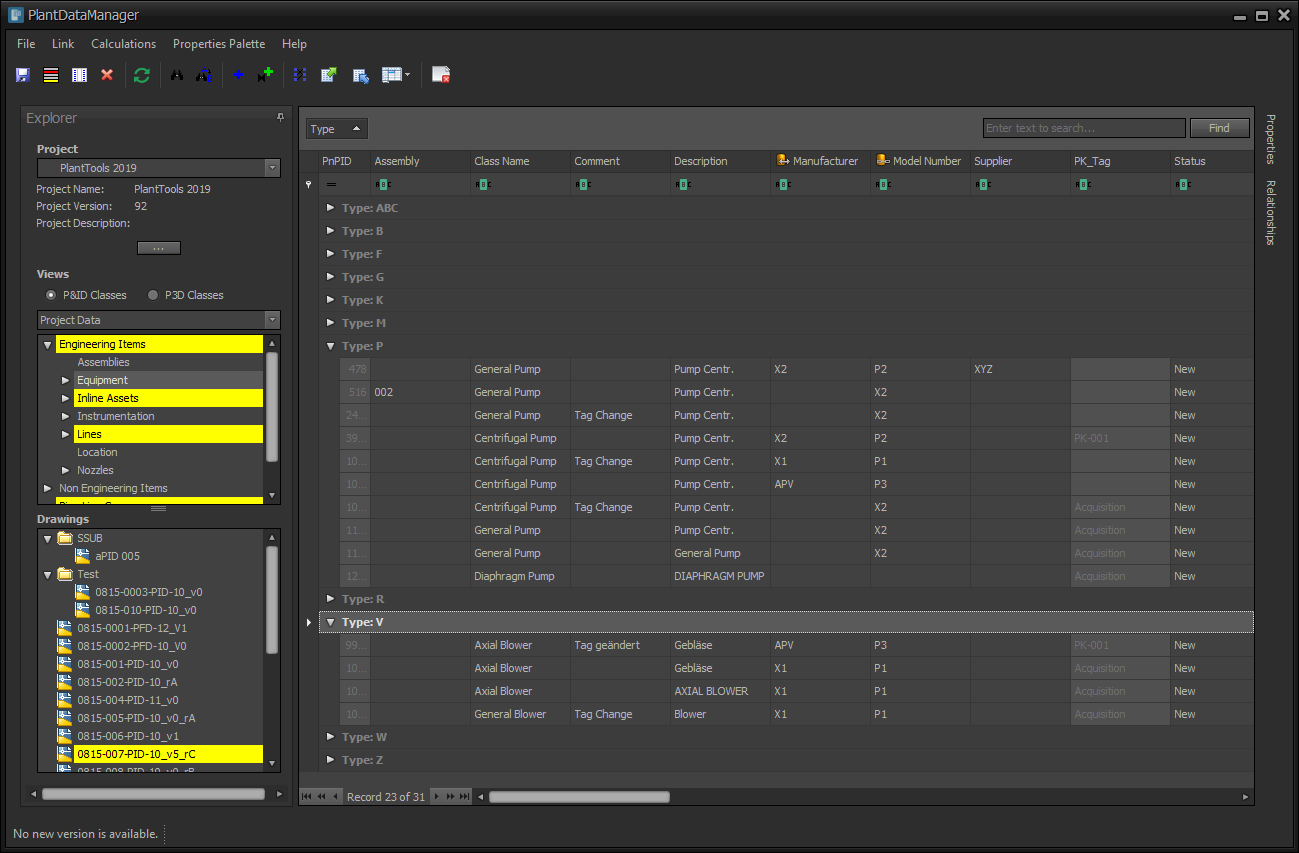
The result looks like this.
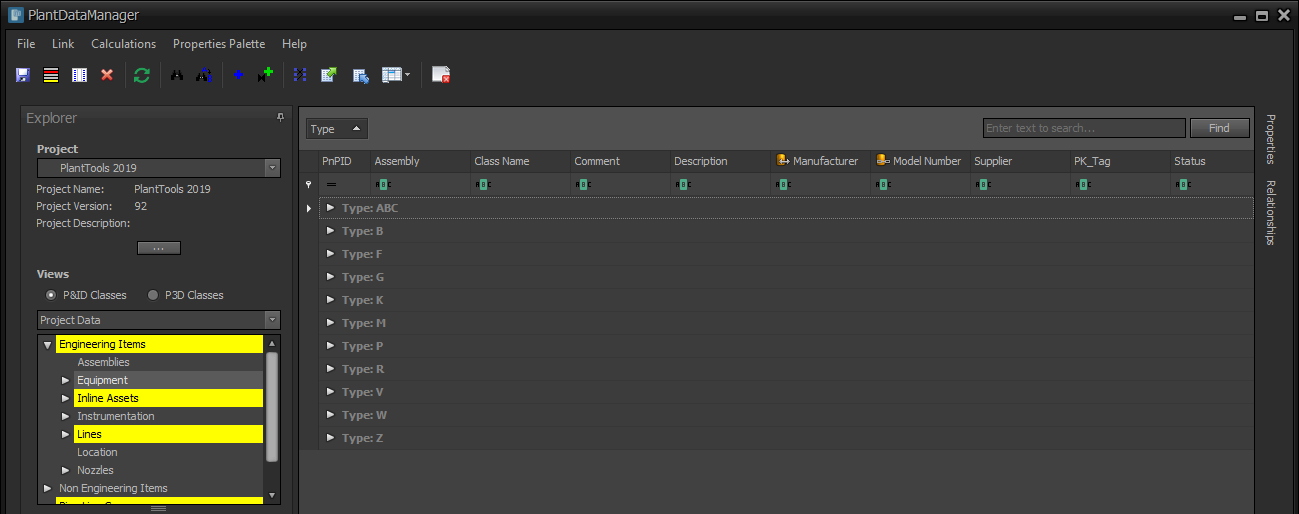
You can then expand the individual groups.
You can also use "Full Expand" in the Group By Box.
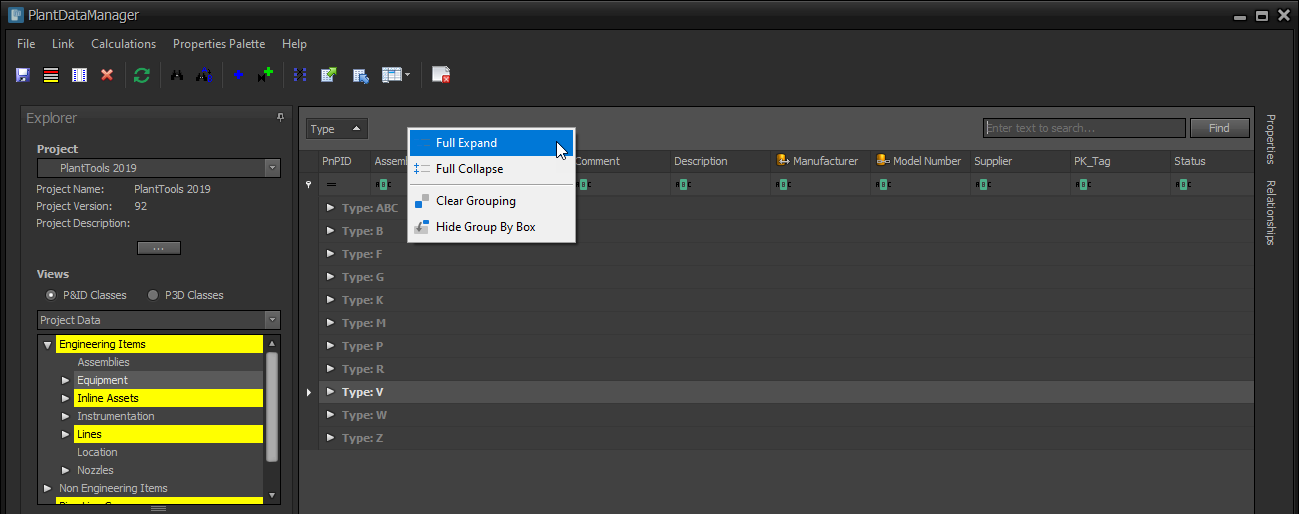
Which then expands every group.
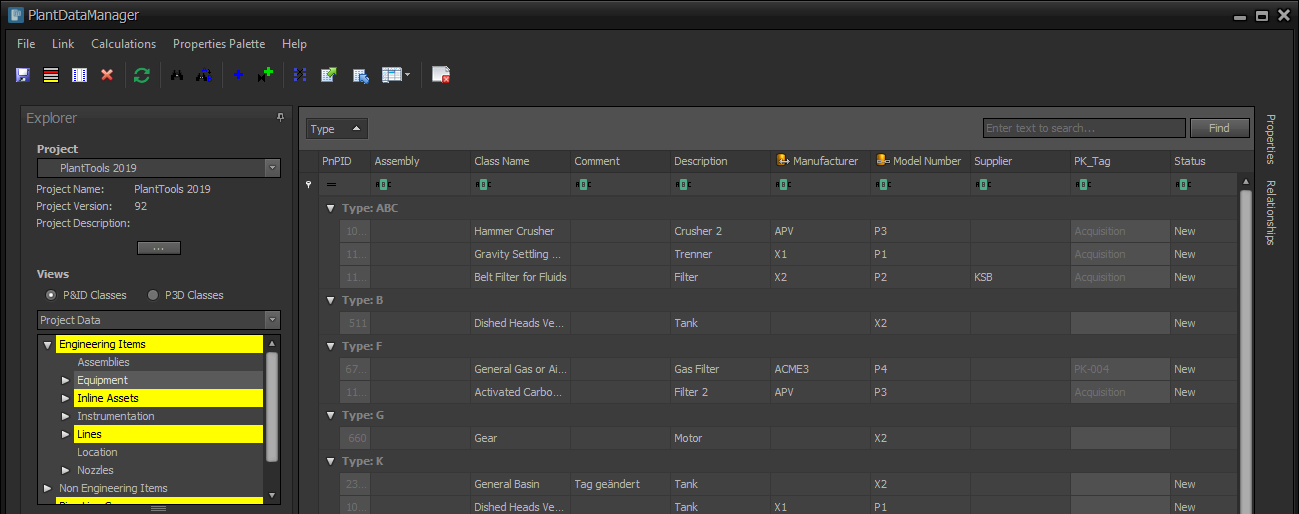
Or collapse everything again.
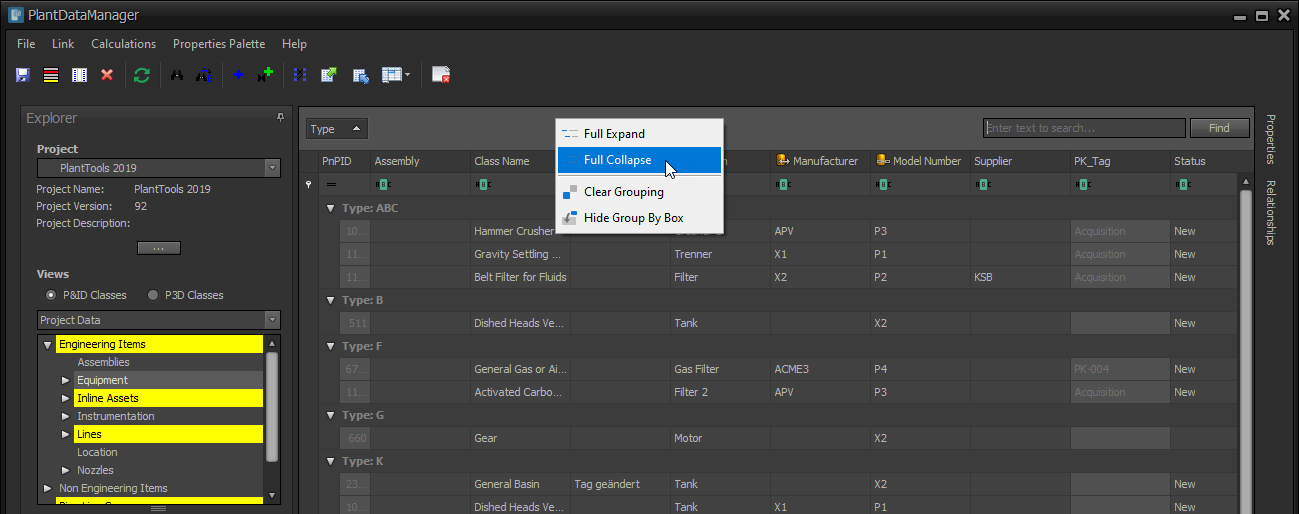
Which looks like this.

You can remove any grouping with "Clear Grouping".
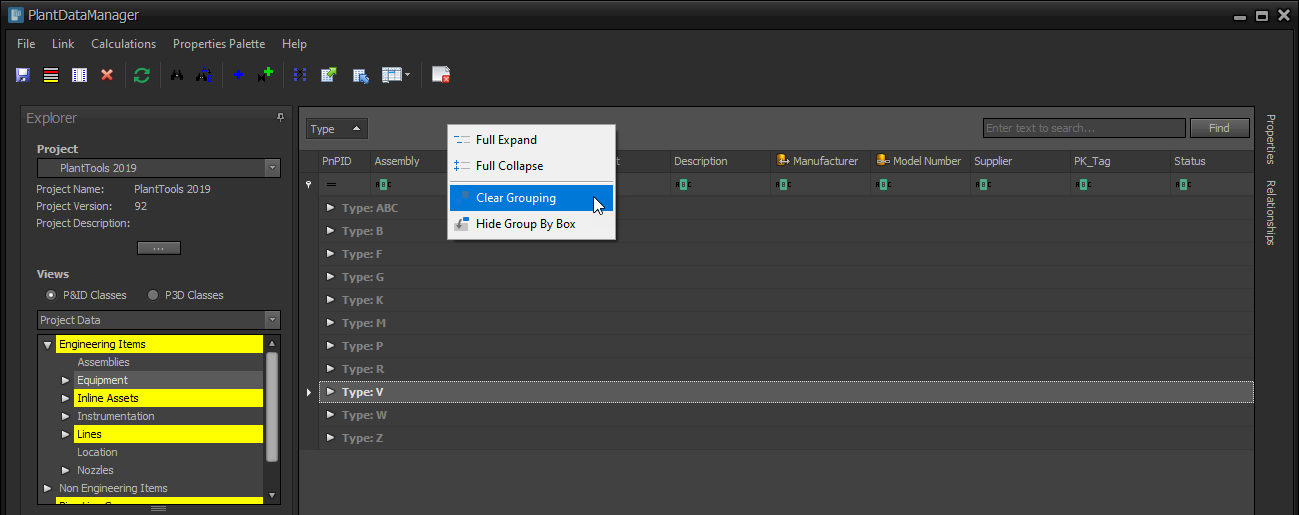
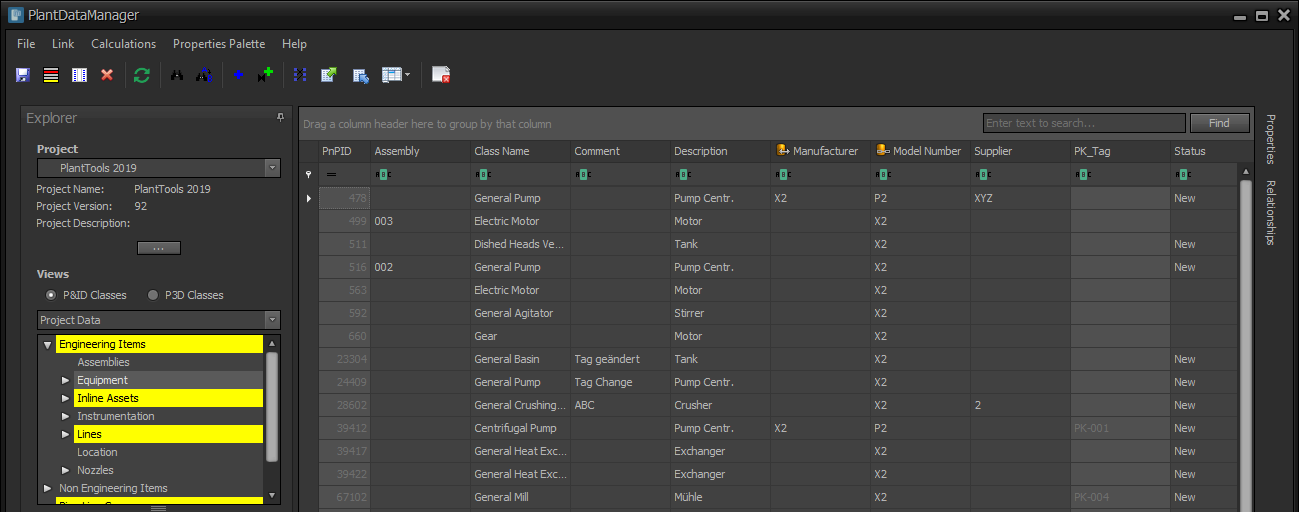
The result is then ungrouped.
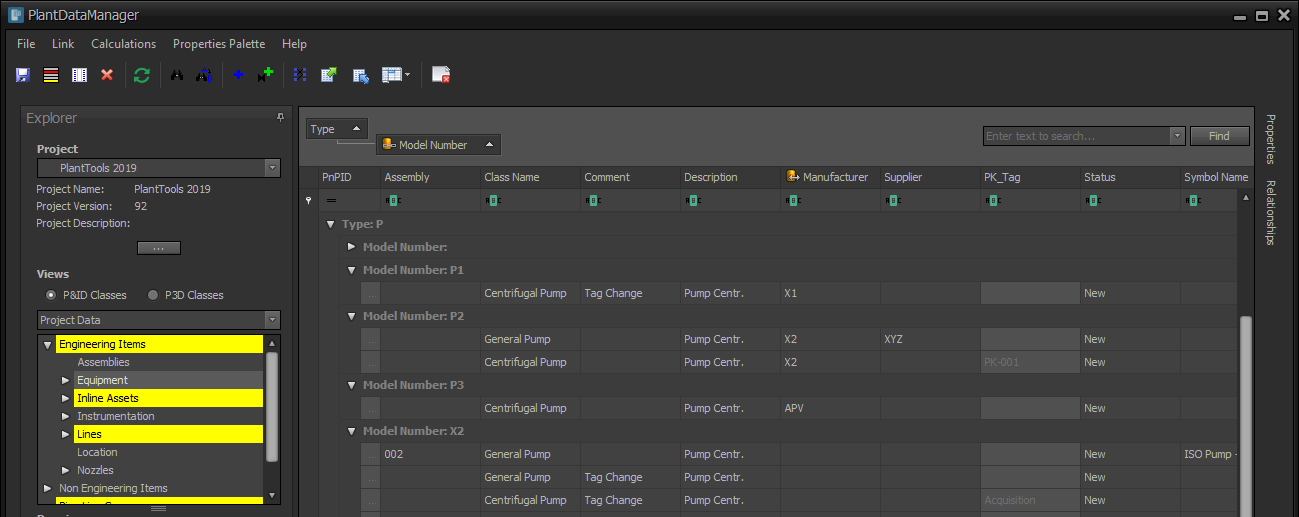
You can also group for multiple columns. Just drag and drop another column header into the Group By Box.
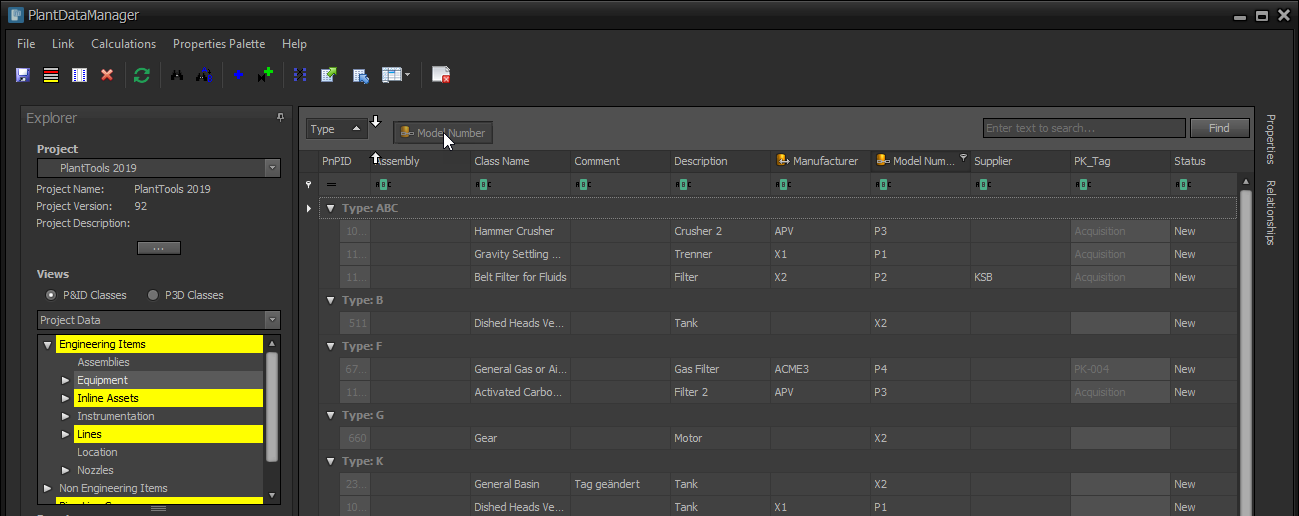
Which then shows you the group in the group in a tree like fashion.
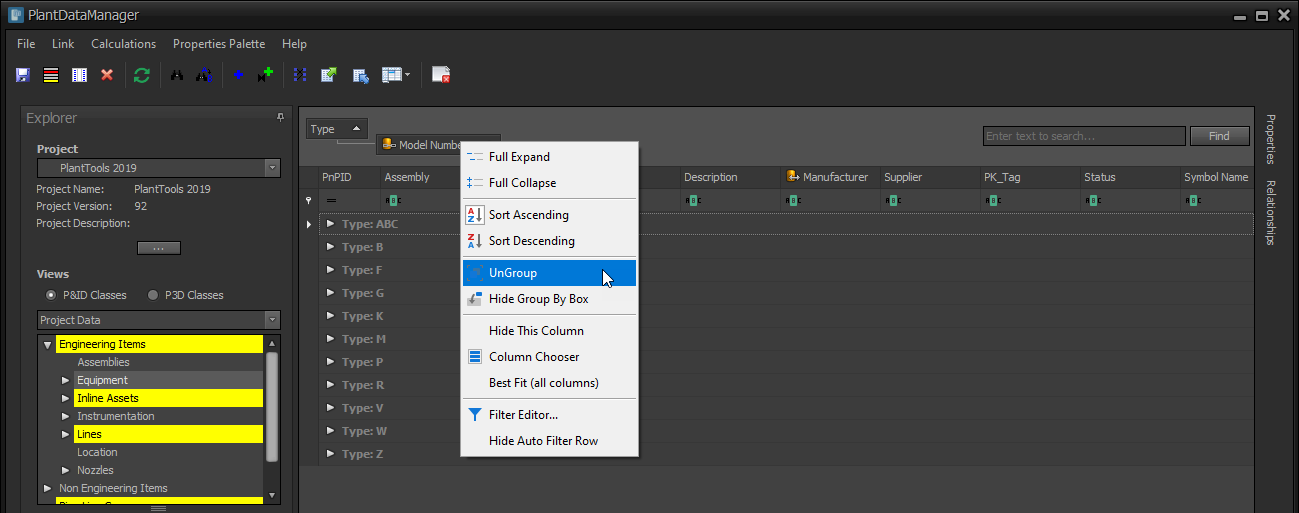
To remove one of the grouped columns you can select "Ungroup" from the context menu of the header in the Group By Box.
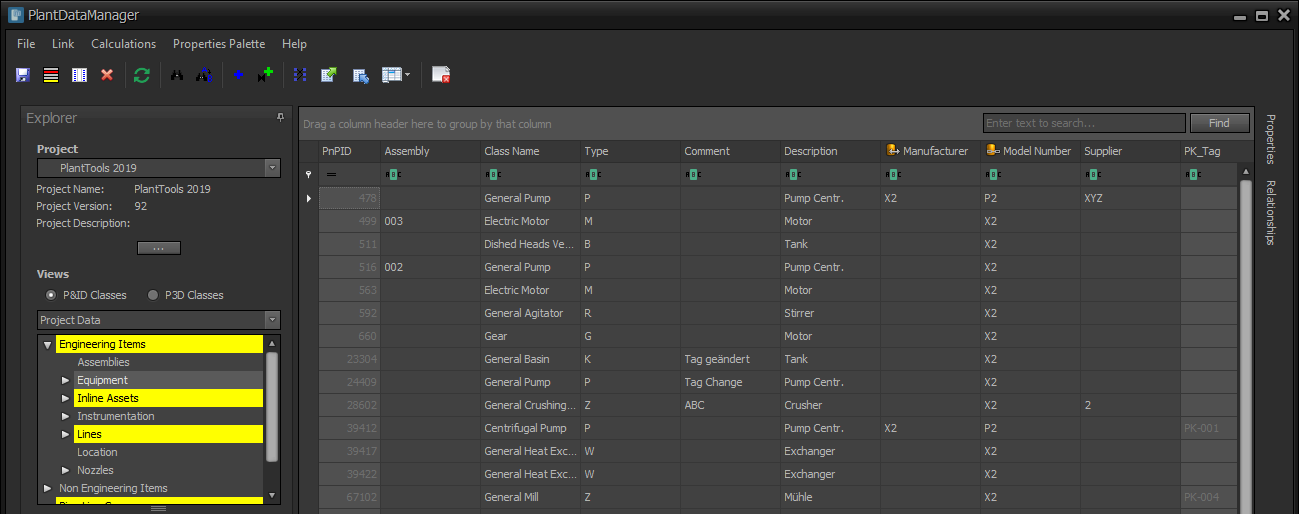
Or you drag and drop the header back to the other headers.

With now all group header removed we have the original layout again.
Next Chapter: Data Editing