|
<< Click to Display Table of Contents >> Create Not-Placed Objects |
  
|
|
<< Click to Display Table of Contents >> Create Not-Placed Objects |
|
This chapter describes how NPOs are created.
NPOs can be create with or without a relationship to other objects. Relationships can also be created at a later time (Using Relationships).
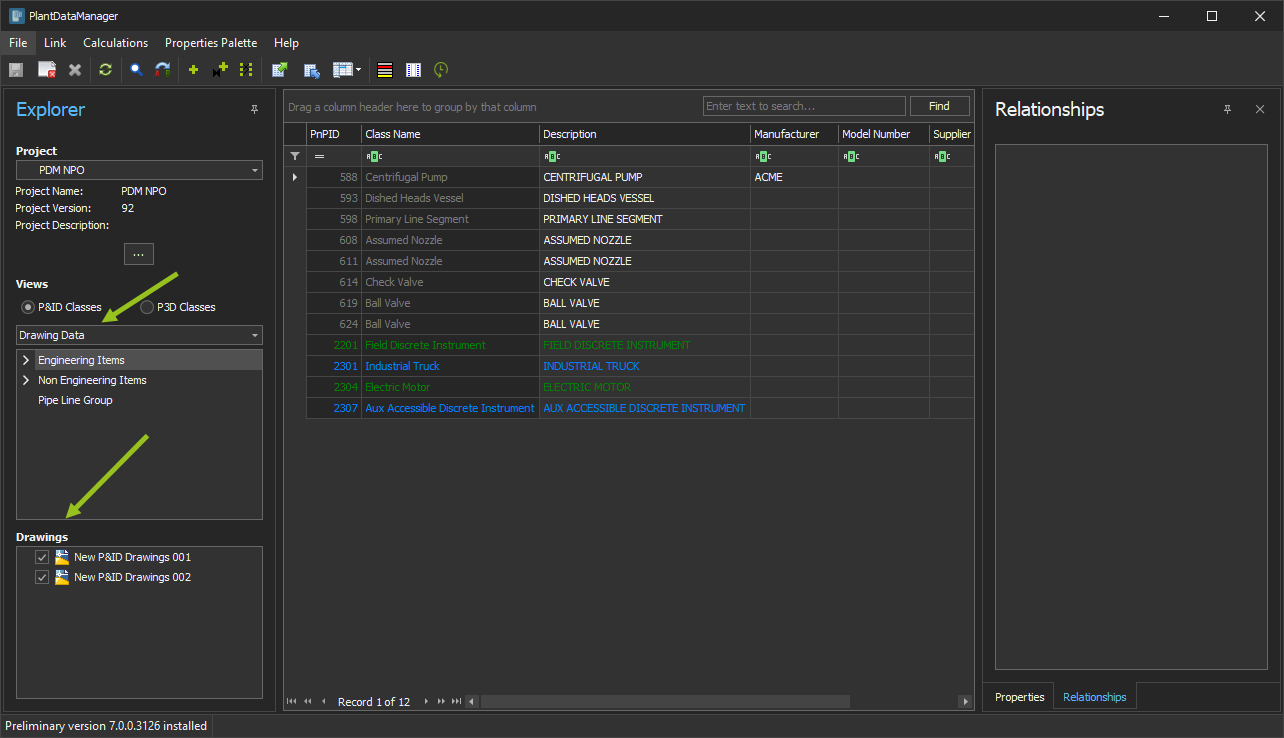
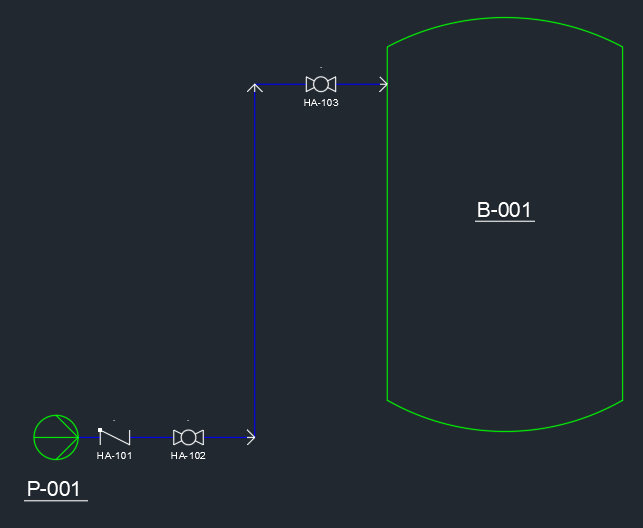
In the following chapters we will start with this simple example as a basis and will start adding NPOs.
![]() Add unrelated objects with no selected drawing
Add unrelated objects with no selected drawing
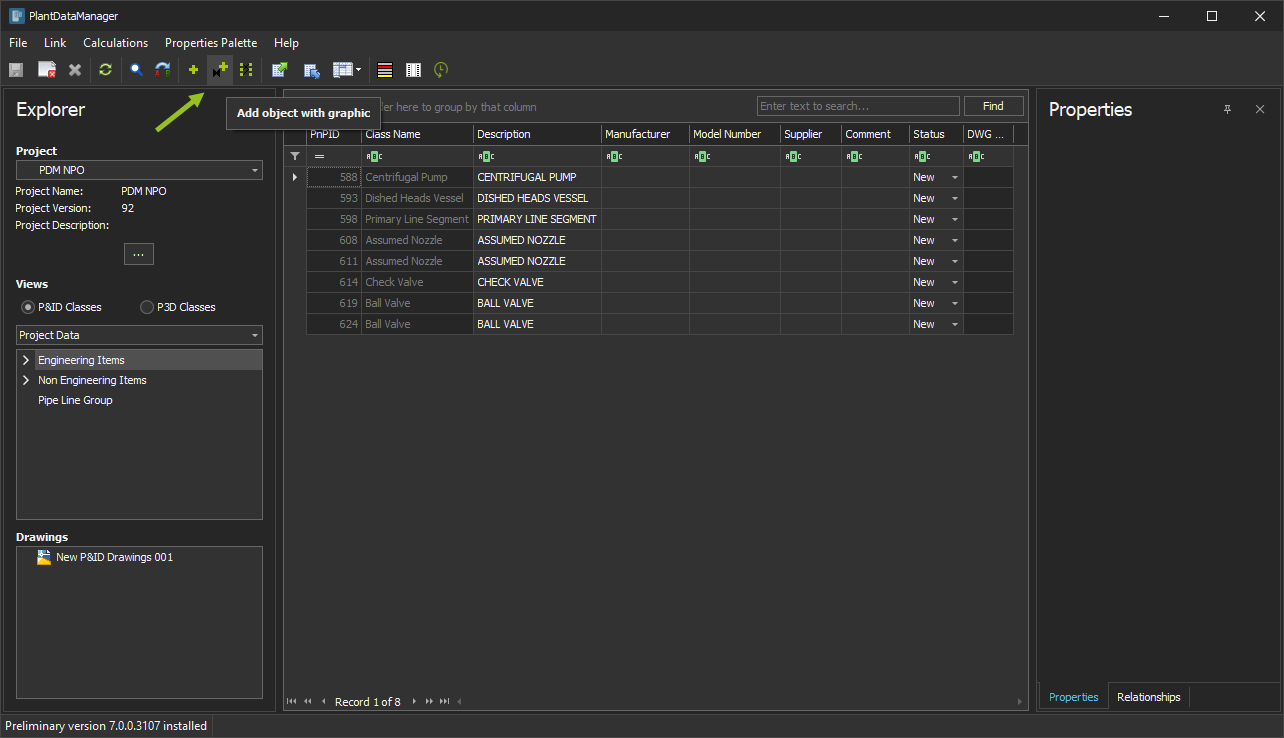
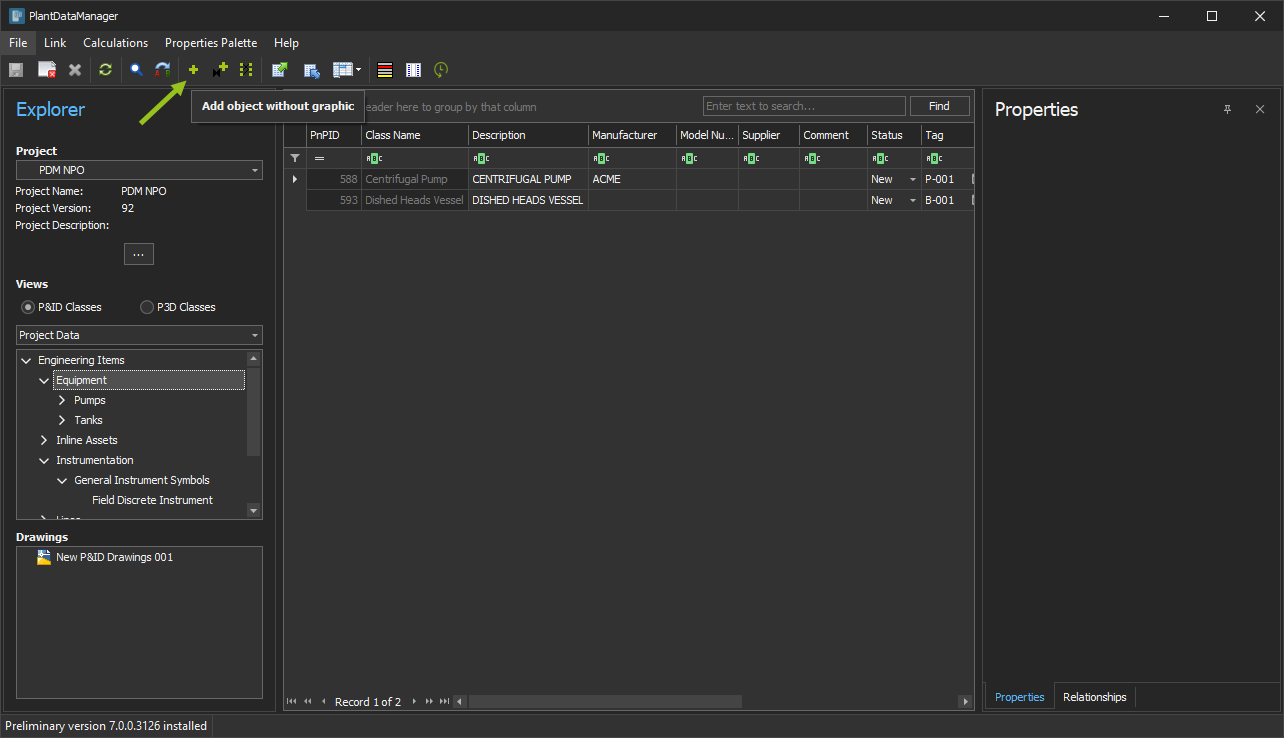
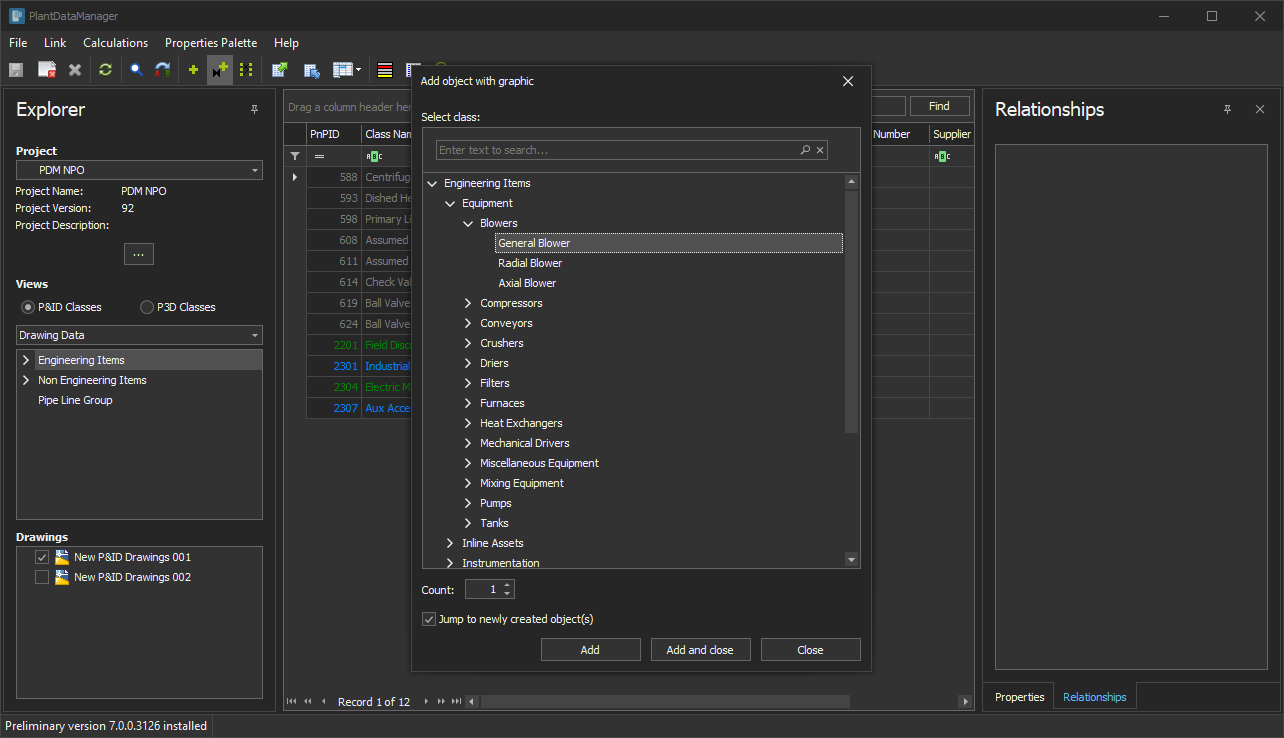
Let's start with creating a Graphical NPOs (the ones which will later be inserted into the drawings). Click on the "Add object with graphic" button.
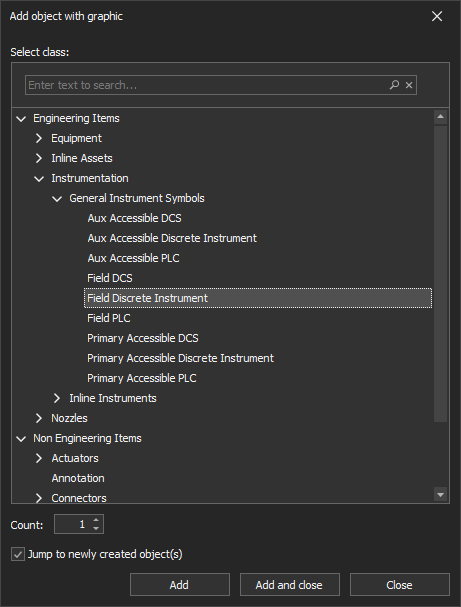
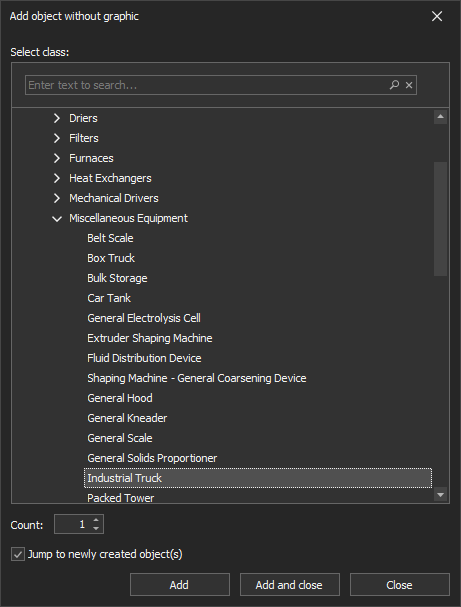
Then a dialog pops up where you see the P&ID class structure of your projects. You can now select any class you want to add. The classes shown in the tree are the classes which have a symbols. Otherwise you wouldn't be able to later insert the NPO into a drawing. Besides selecting the class, you have several buttons and settings you can use.
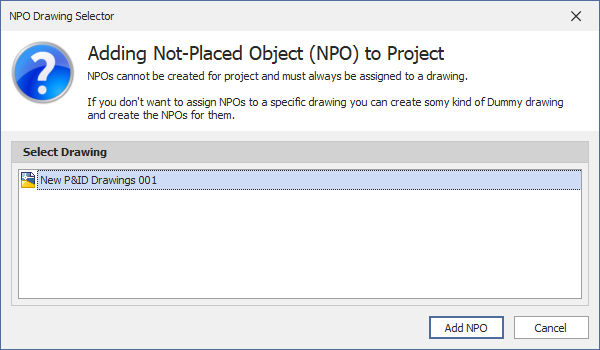
When you selected Project Data under Views, then you are asks to select a drawing to which the NPOs will be related to.
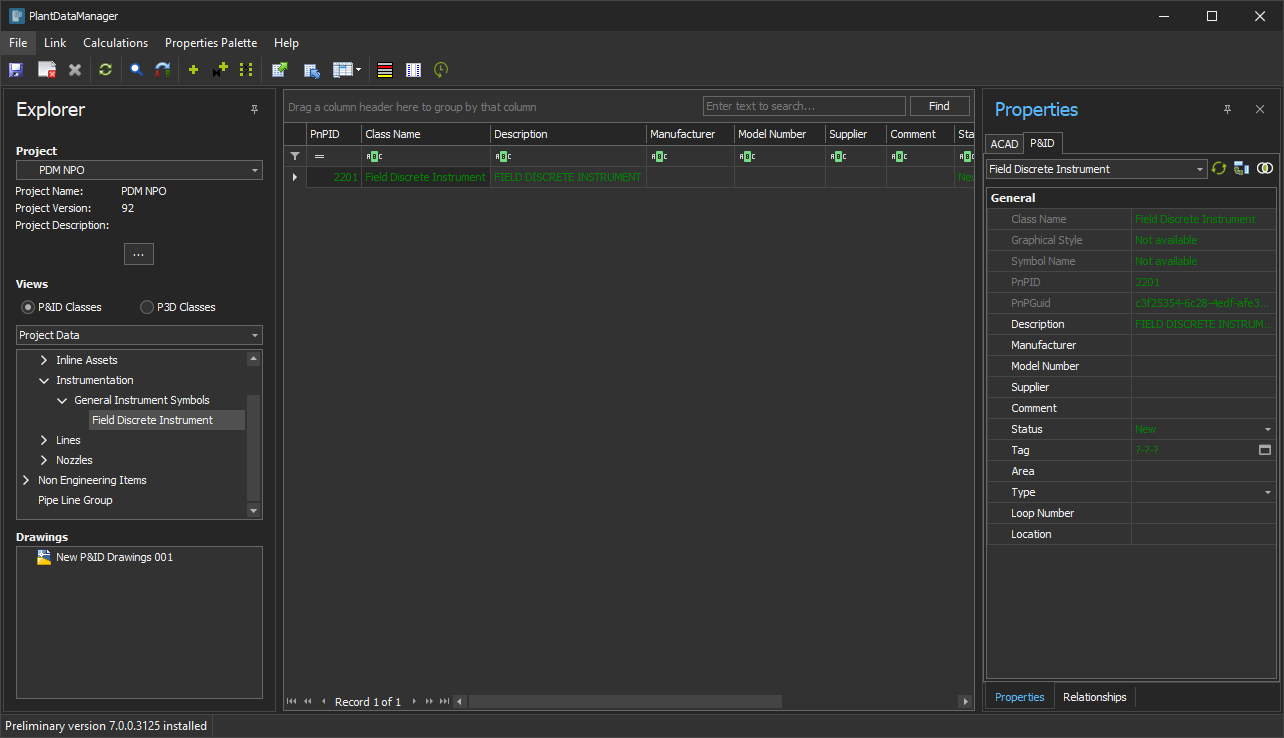
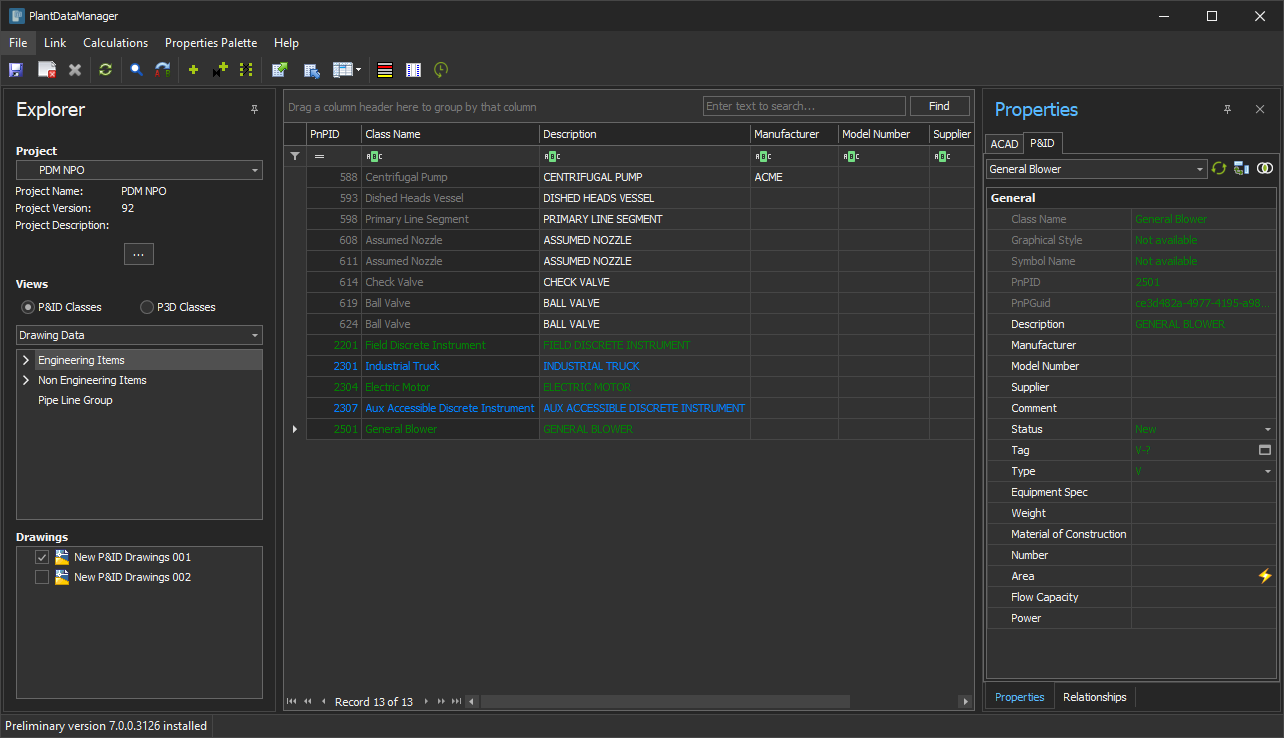
When we clicked on Add and close and then Add NPO go to the class ourselves you see now a row with a green text color. You also see this color in the Properties Palette.
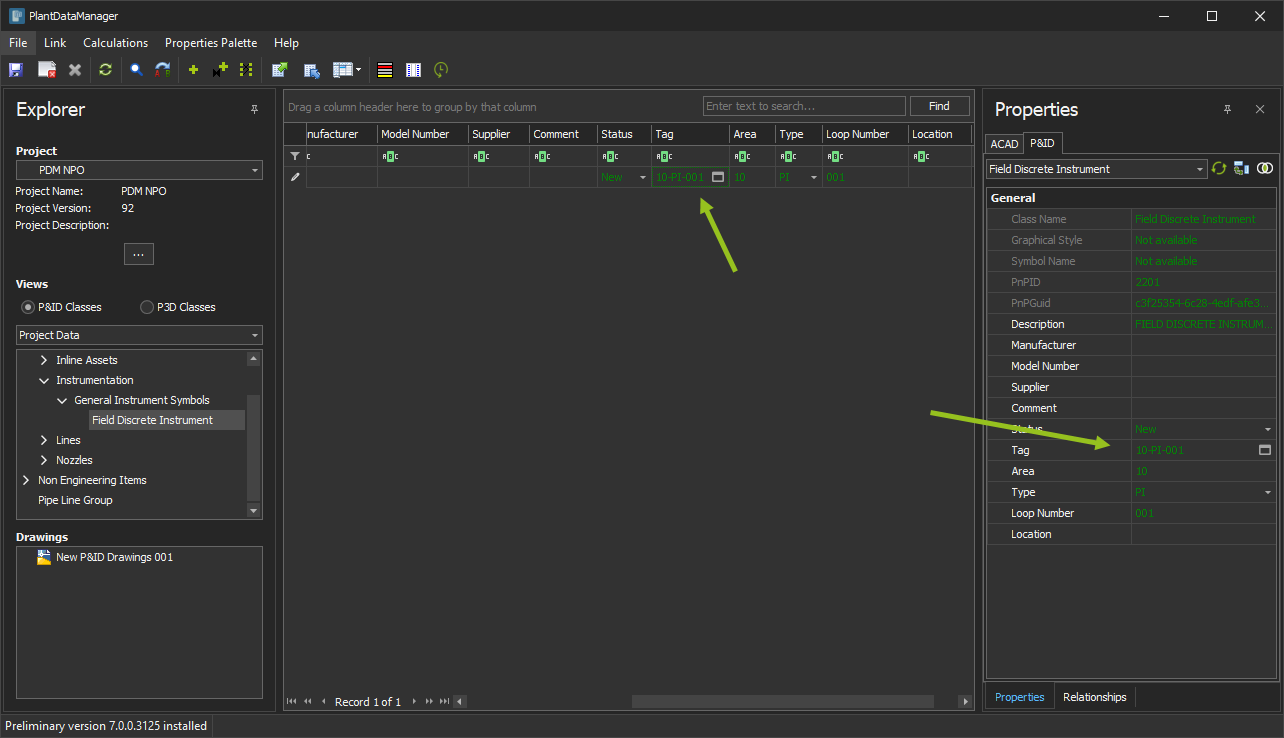
The object has the same columns (fields/properties) as a regular Placed Object. Therefore, you can edit the Tag also.
Now with the Tag.
Now we create a Non-Graphical NPO (NGNPO). The procedure is the same, just a different button in the toolbar.
With NGNPOs you can select any class. No matter if the class has a symbol or not, because you won't insert this object later in Plant 3D.
Again, when you selected Project Data under Views, then you are asks to select a drawing to which the NPOs will be related to.
The object appears with a blue text color.
When we click on EngineeringItems we see both NPOs.
|
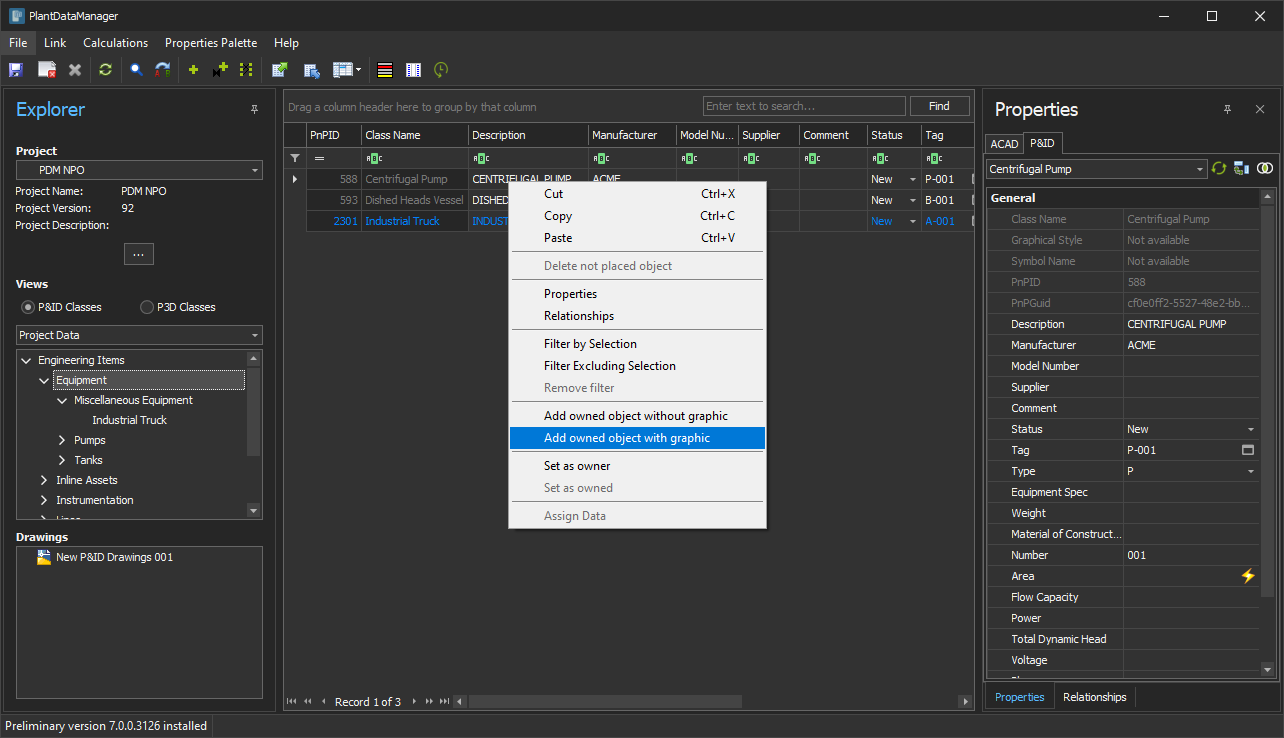
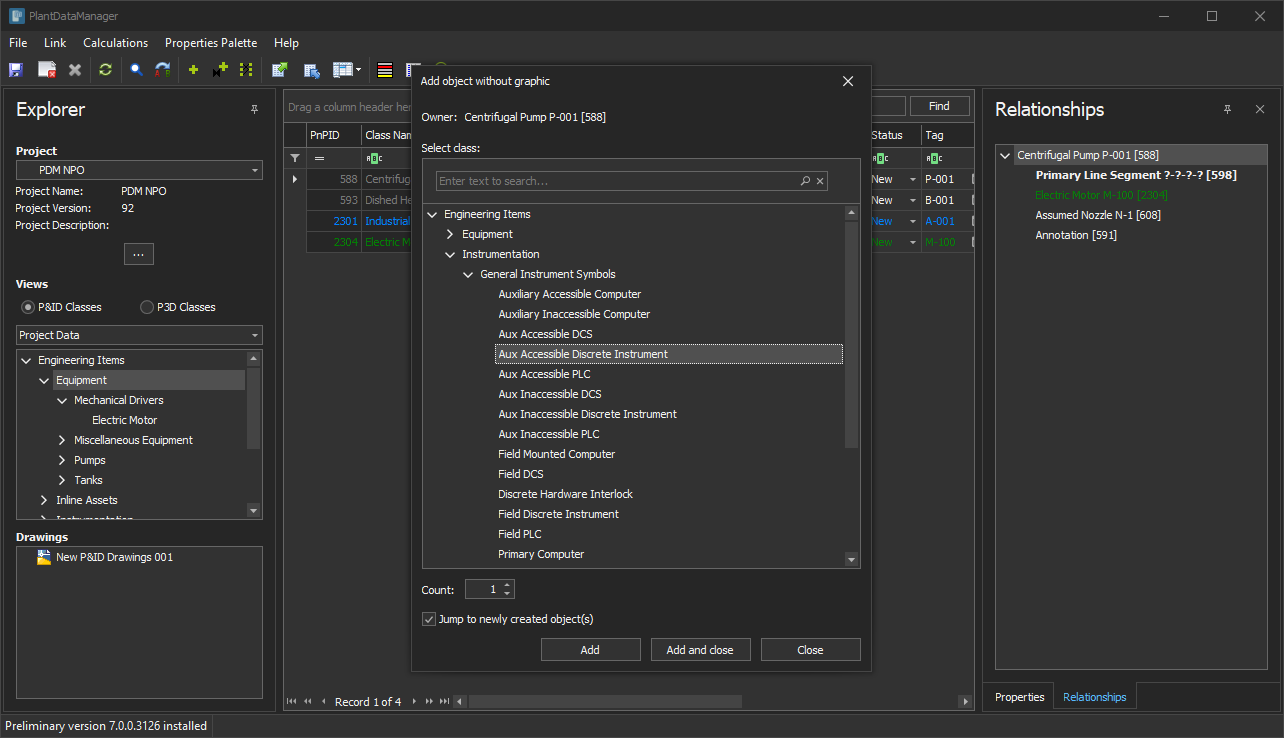
You can create NPOs also with a relationship which creates the NPOs "under" another object. Let's make a right-click on the pump and select Add owned object with graphics. This will create a Graphical NPO under the pump.
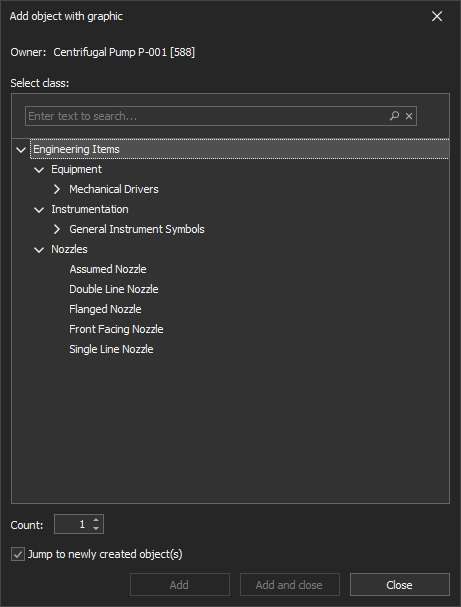
The same dialog appears as before, but now the selection of classes is limited, because only some classes can be related to the pump. How to define this will be explained under Using Relationships. And since we create a graphical NPO you will see only the classes which have a symbol assigned to it.
We select an "Electric Motor" and click on Add and close.
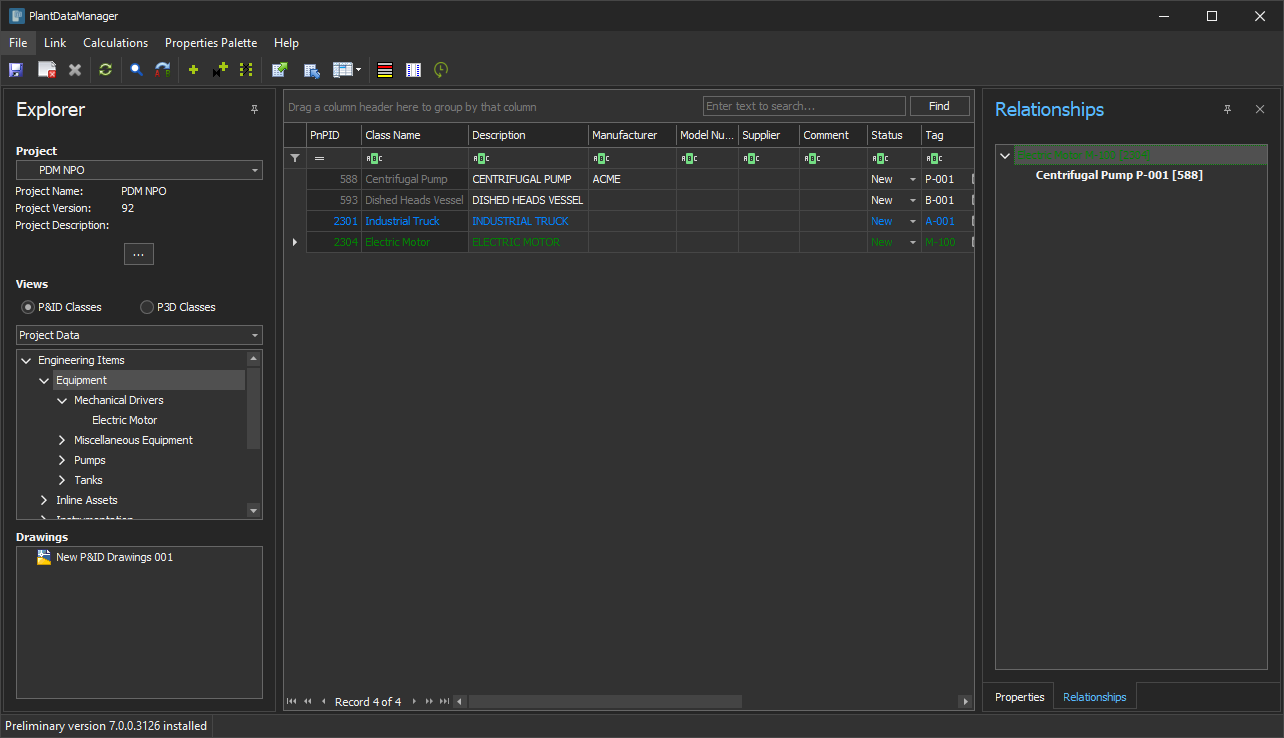
Under Equipment we now see the "Electric Motor" with a green text color. If you have the Relationships panel open and have the motor selected, we see the motor belongs to the pump. How the Relationship panel can be used, will also be explained under Using Relationships.
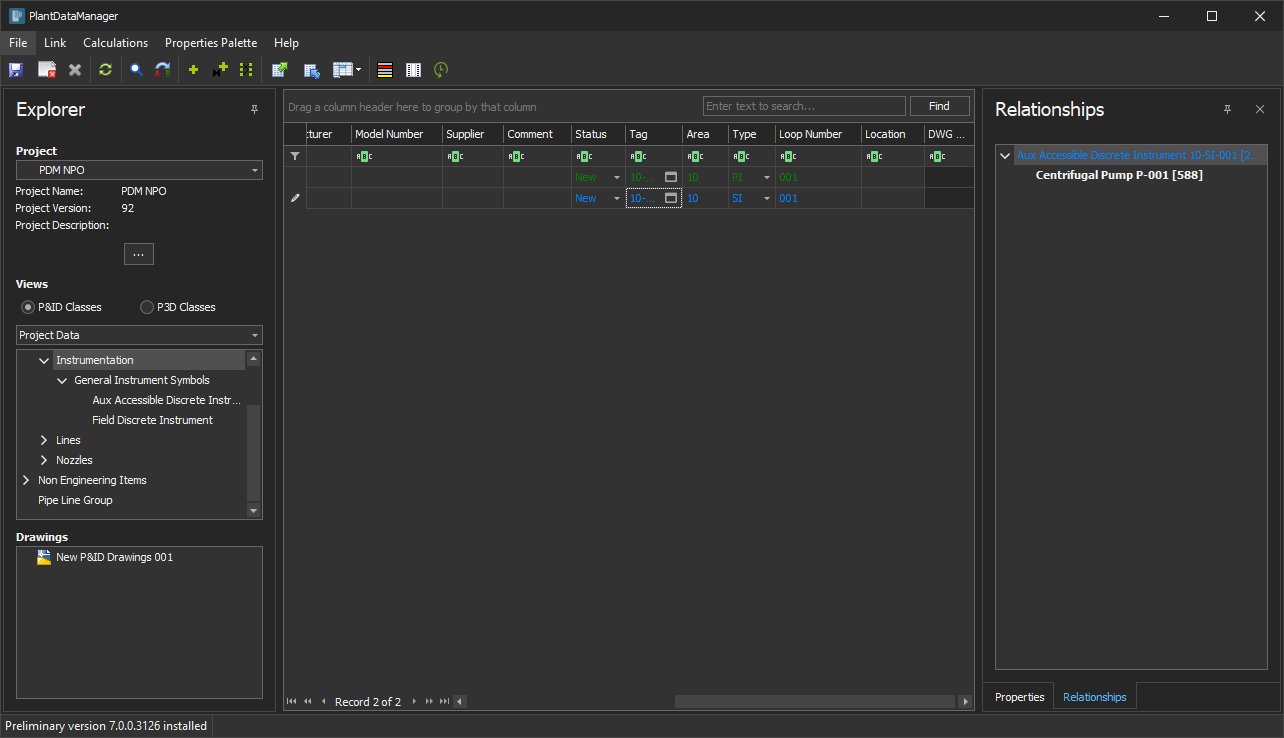
If we select Add owned object without graphics we are again limited to the "allowed" classes.
This time we see the NPO with a blue color. Again, we can edit the Tag as well.
In the Relationship panel we see again, that the Instrument belongs to the pump.
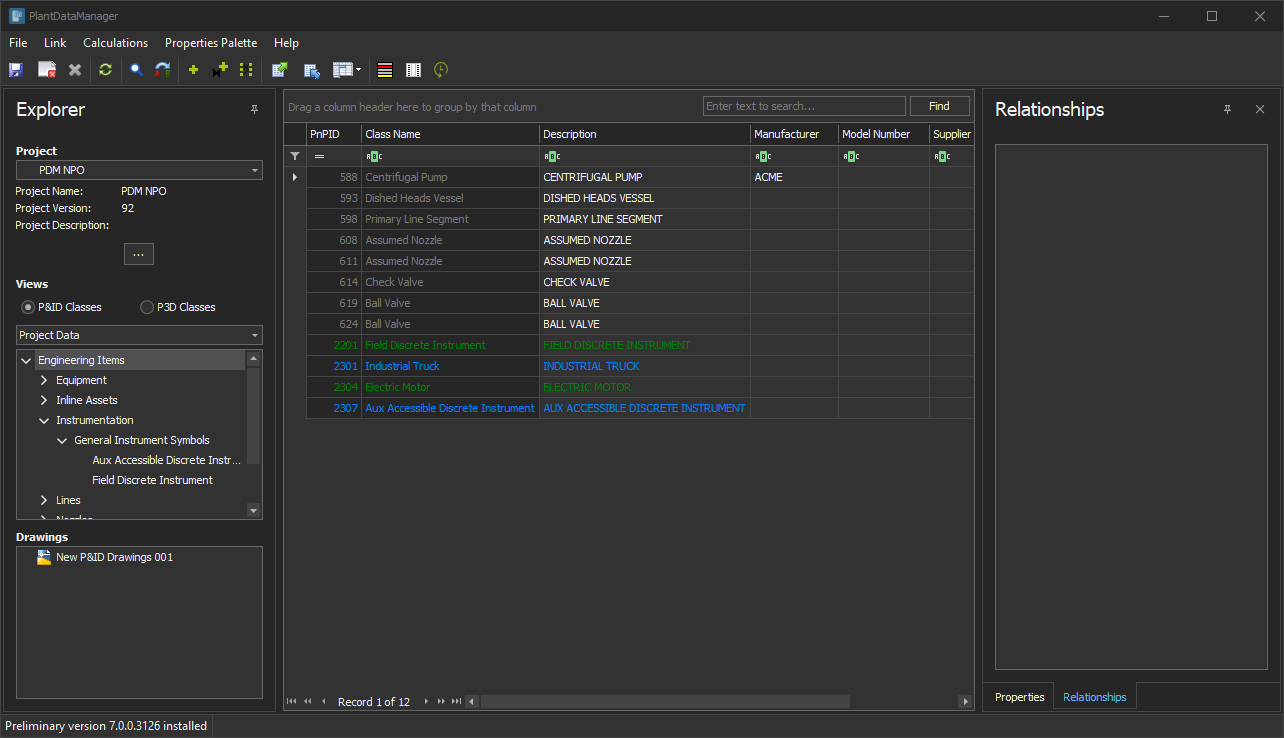
If we click on "EngineeringItems" we see all rows from this example.
|
![]() Pre-select drawing when creating NPOs
Pre-select drawing when creating NPOs
In the section above Add unrelated objects with no selected drawing there was no drawing selected when creating the NPO. So PlantDataManager asked you to which drawing the NPO should be assigned to. The can expect the same behavior when you have Drawing Data view selected and you selected multiple drawing.
However, if you select only 1 drawing and you add a NPO...
...there will be no dialog asking you to select a drawing.
|
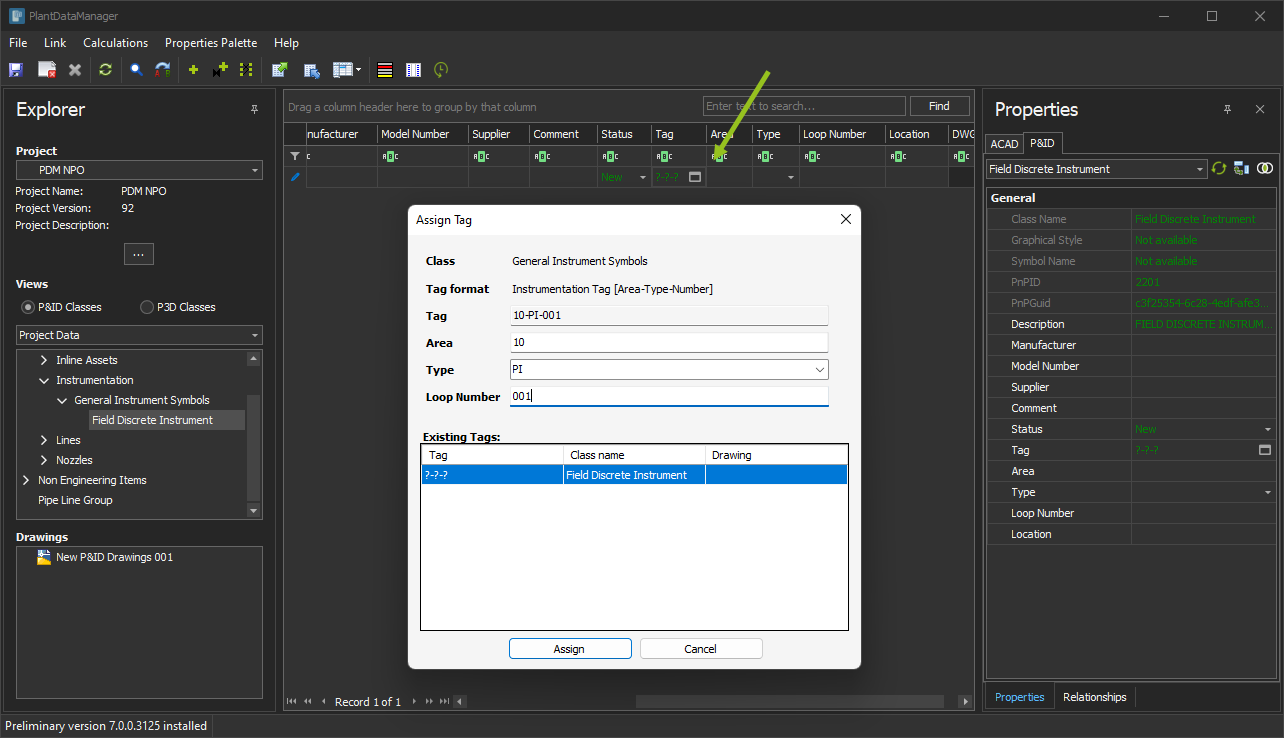
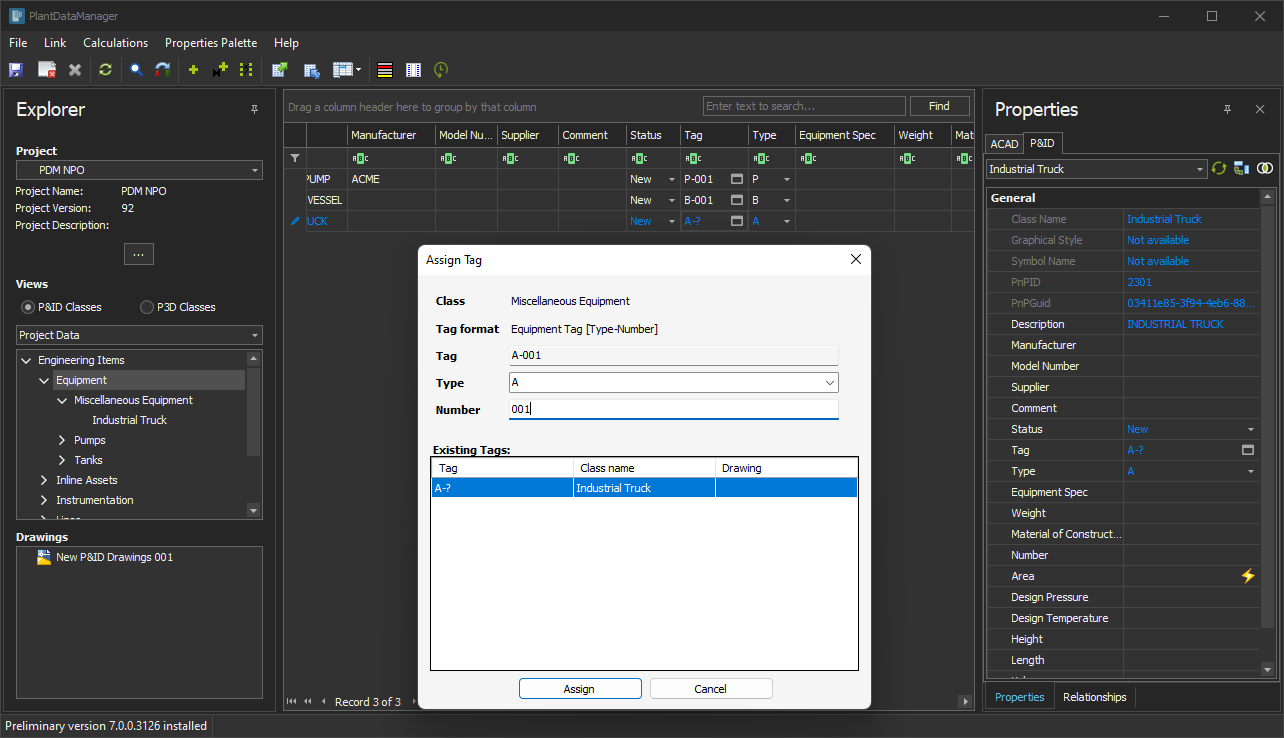
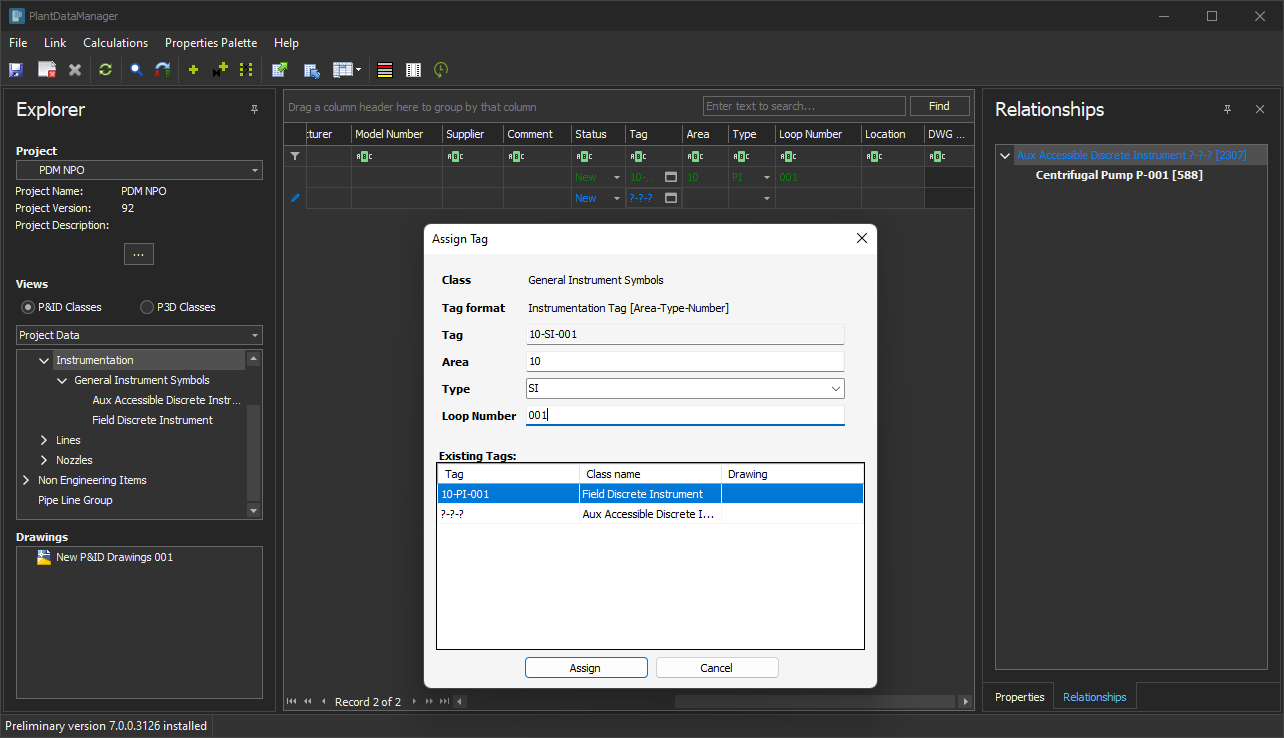
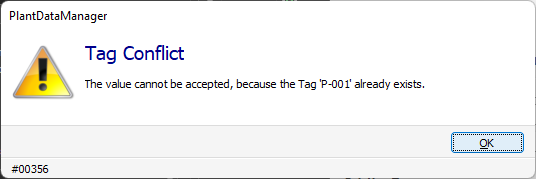
When you assign a Tag to a NPO it will be checked like any other object. Not only if the assigned Tag exists in another NPO, but also if it exits for a Placed Object. If there is a conflict you get the following dialog.
|
Next Chapter: Relationships