|
<< Click to Display Table of Contents >> Length |
  
|
|
<< Click to Display Table of Contents >> Length |
  
|
Under Revision
The chapter explains how you manage the Length part of the Bolt Catalog.
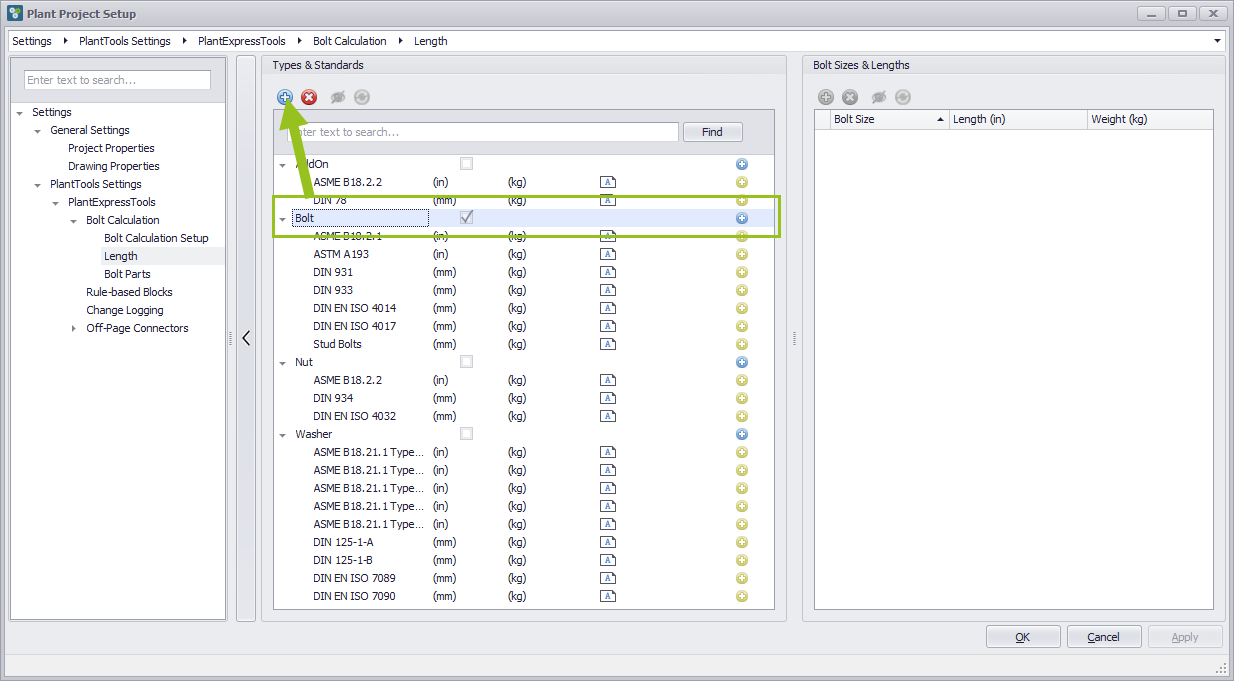
Create new Part Type
Press the add button to create a new part type. A new entry appears, which can be named individually.
Delete Part Type
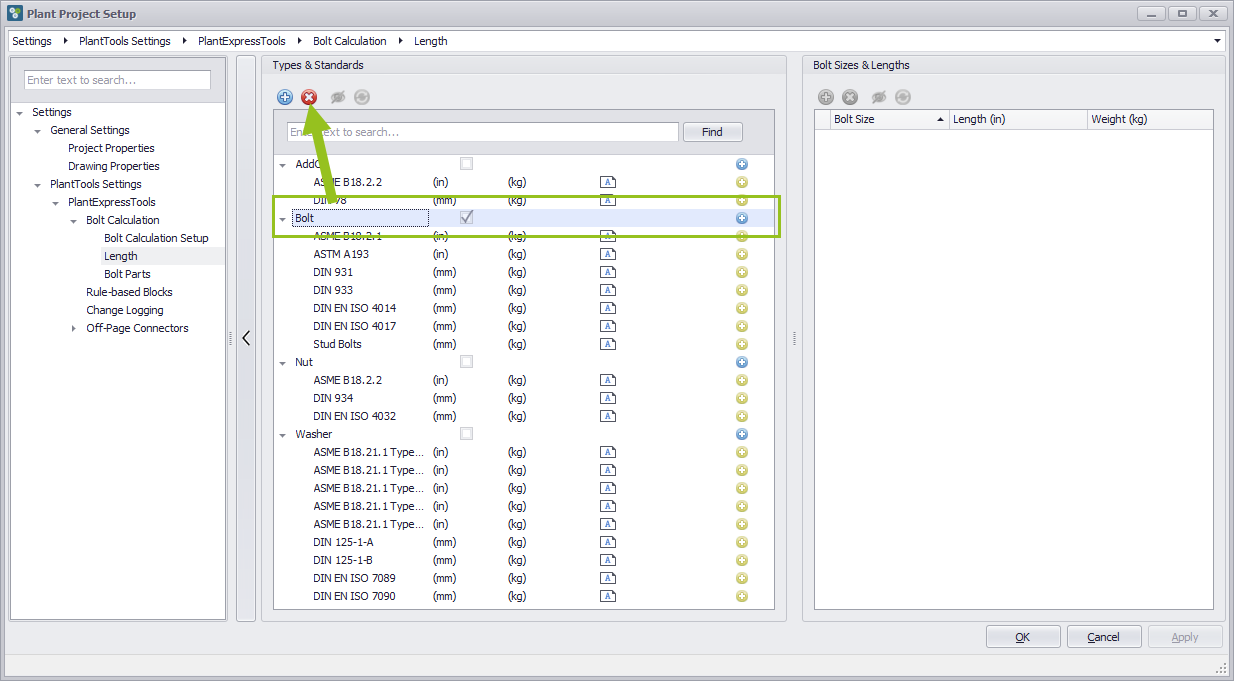
Press the delete button to delete an existing part type. The corresponding line to be deleted must be marked. The marked entry is now temporarily deleted and will no longer be shown. The temporarily deleted entry is only permanently deleted when you press the apply button in the lower right corner.
Show/Hide items marked for deletion
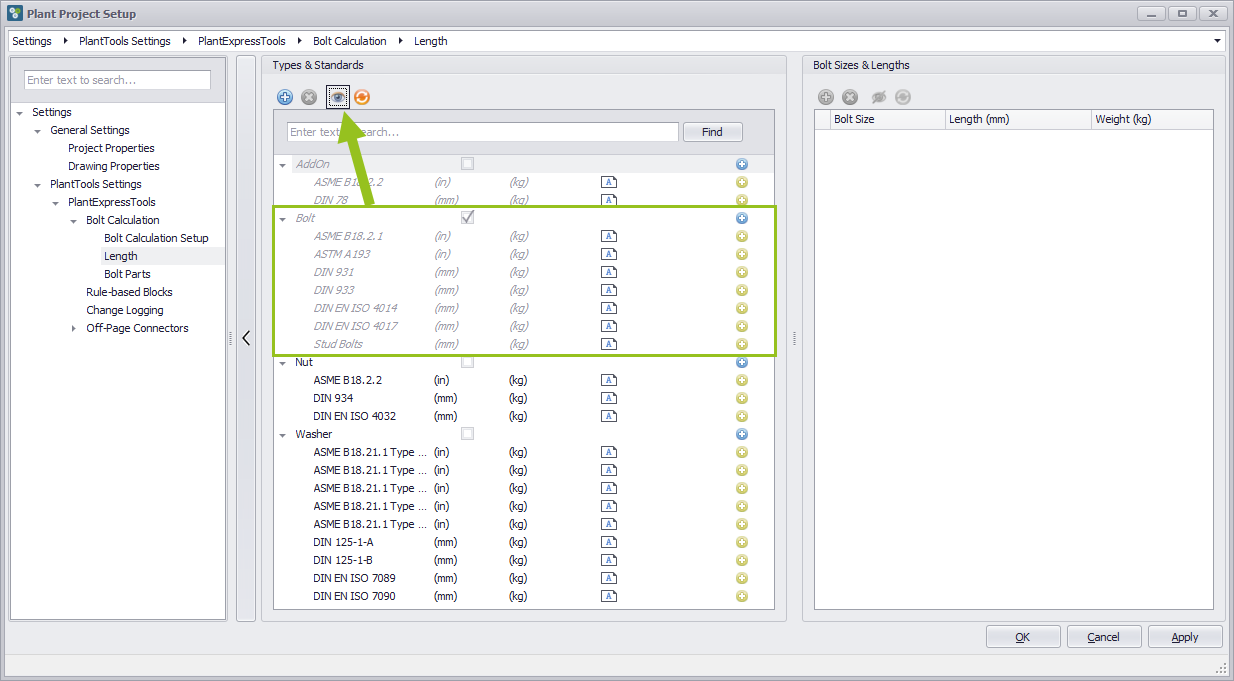
Deleted lines are removed from the list and are no longer visible. However, if deleted entries are to be shown again, the Show/Hide button should be pressed. Previously deleted entries are showed grayed out.
Restore Part Type
To restore the grayed out and previously deleted entries, the restore part type button should be pressed. The entries are now available again.
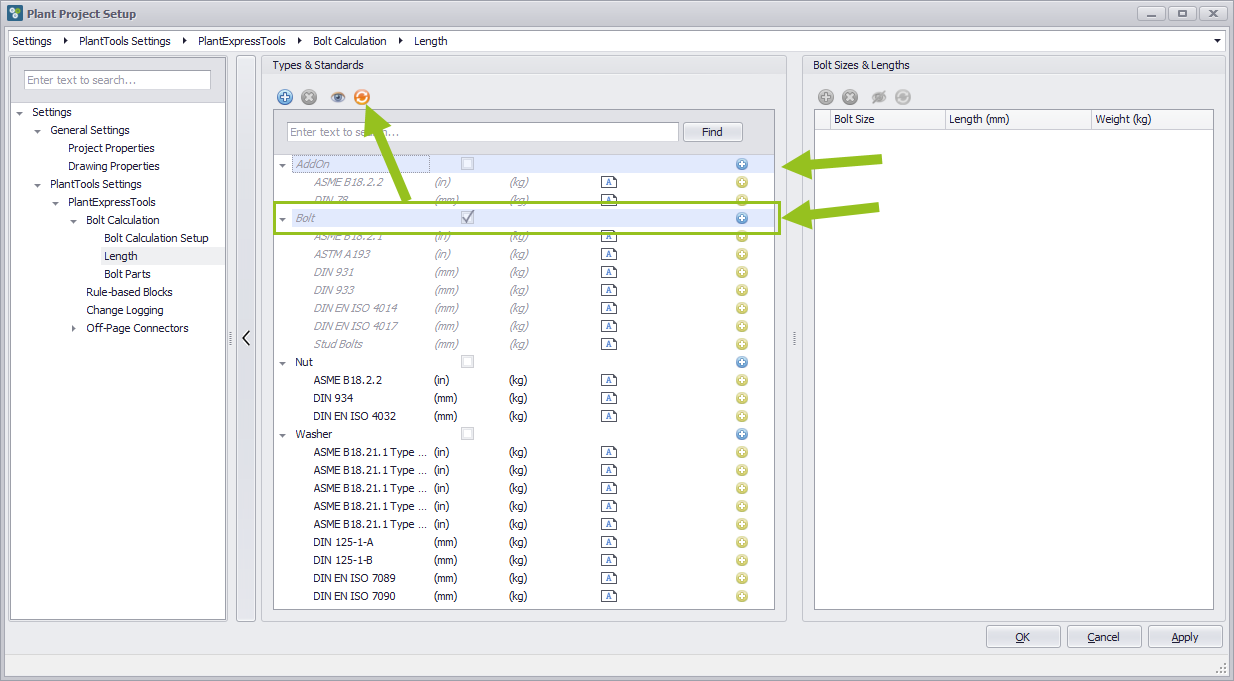
Find a designation
if designations cannot be discovered immediately, they can be located using the Find button. In the left area, Ihich allows text input, the name to be found must be entered beforehand.
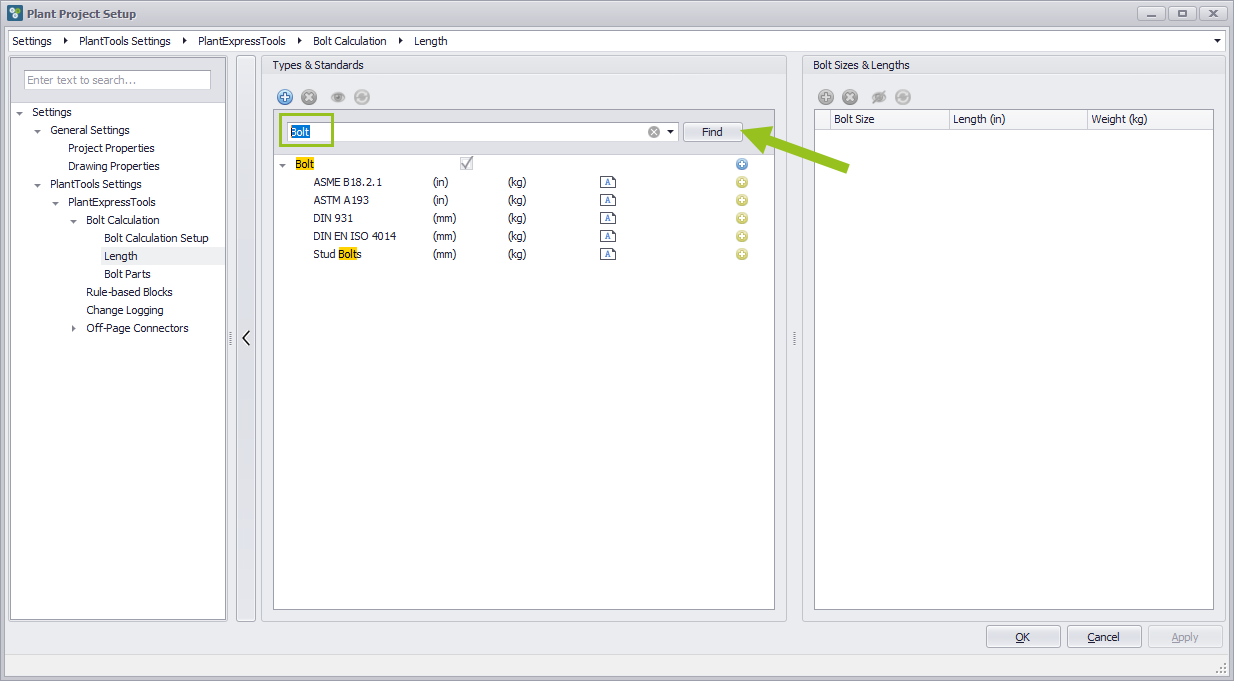
Clear Row entries
If entries in the write field are incorrect or different than desired, the line can be cleared using the Delete button. Then a new attempt can be made.
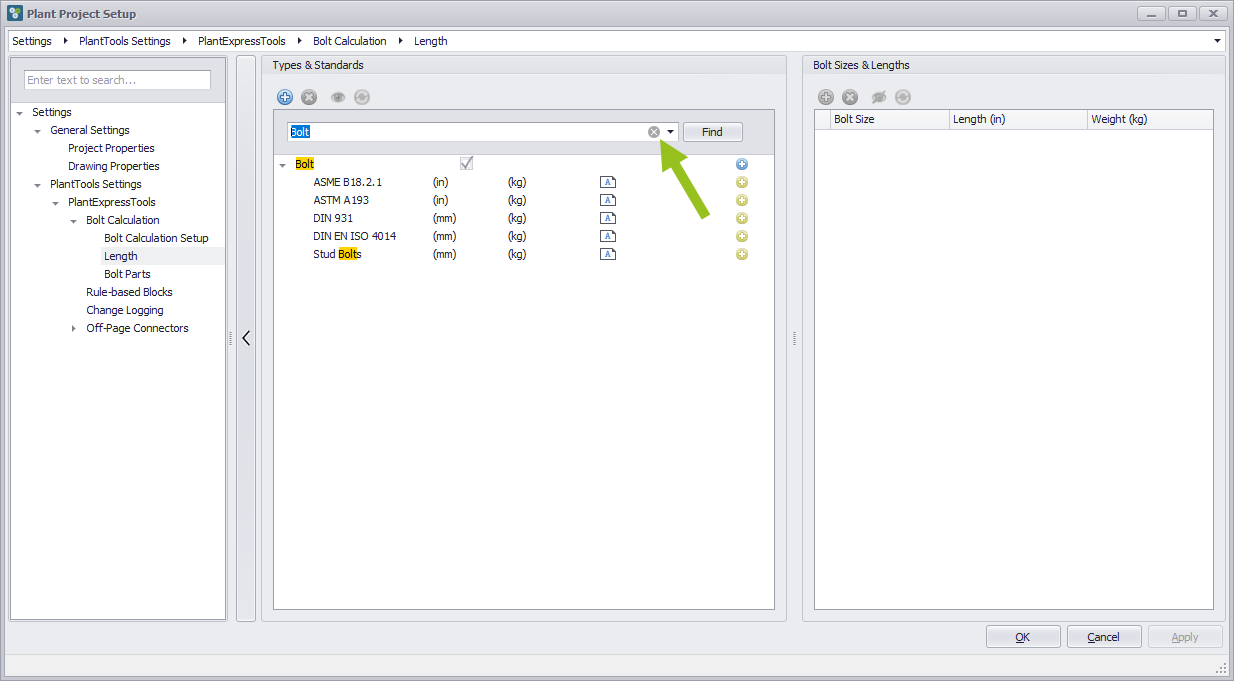
Drop down arrow
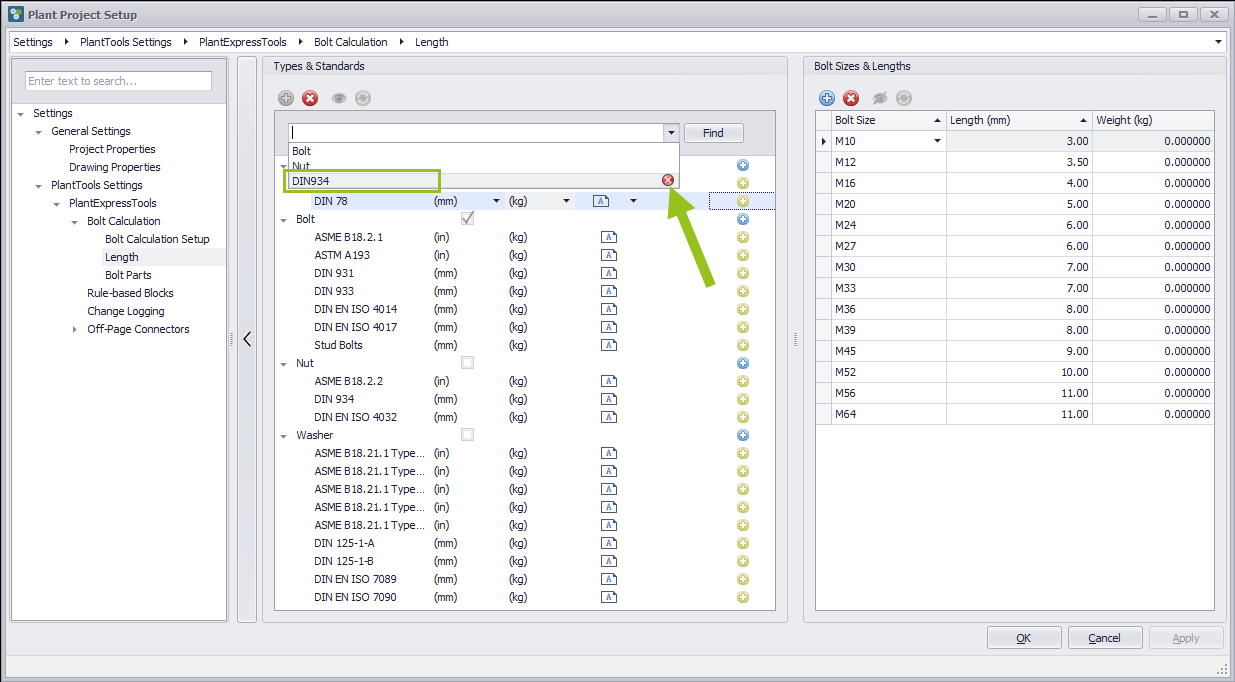
The system remembers previously entered texts. If you want to use a previously entered text again, you can use the drop down arrow to fold down a pull down menu in which the previously entered text is displayed. These texts can be selected by clicking on them.
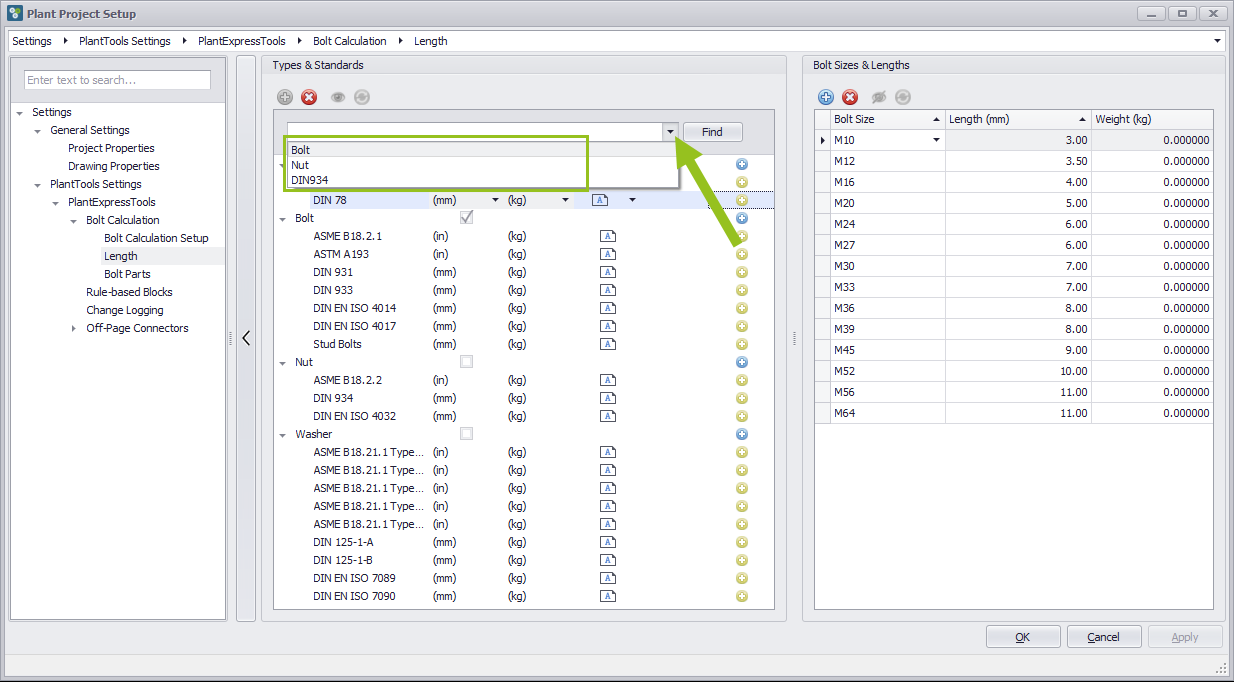
Delete previous entries
If a desired entry has been selected, it can be removed from the list of entries with the delete button on the right if it is no longer needed.
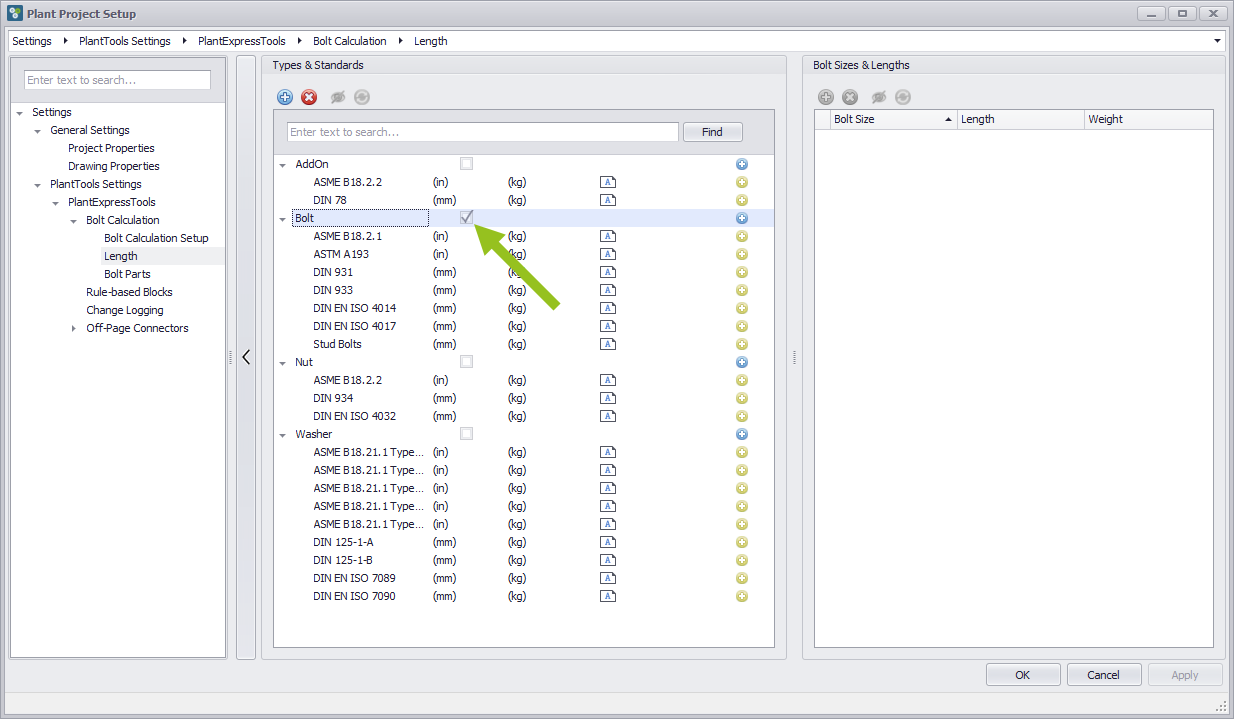
Checkbox for classify Bolt
To see to which heading the bolt parts refer, the checkbox shows the checkmark.This tick cannot be moved to the other checkboxes.
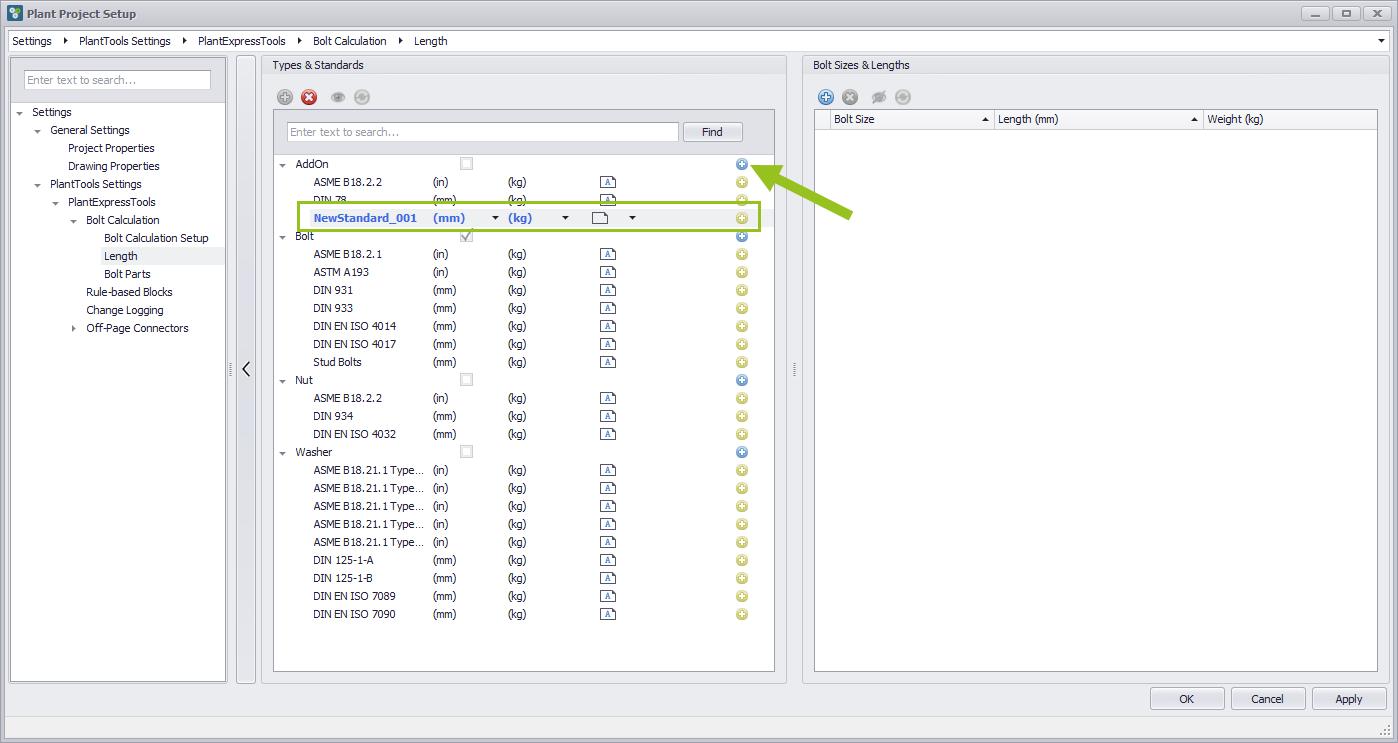
Add a new Standard
At the end of each heading line there is an add button. with this button you can define a new standard. A new line with the name NewStandard_001 appears, which can be named individually. Using the dropdown arrows in column 2, the length units can be set, in column 3 the weight units and in column 4 remarks can be entered.
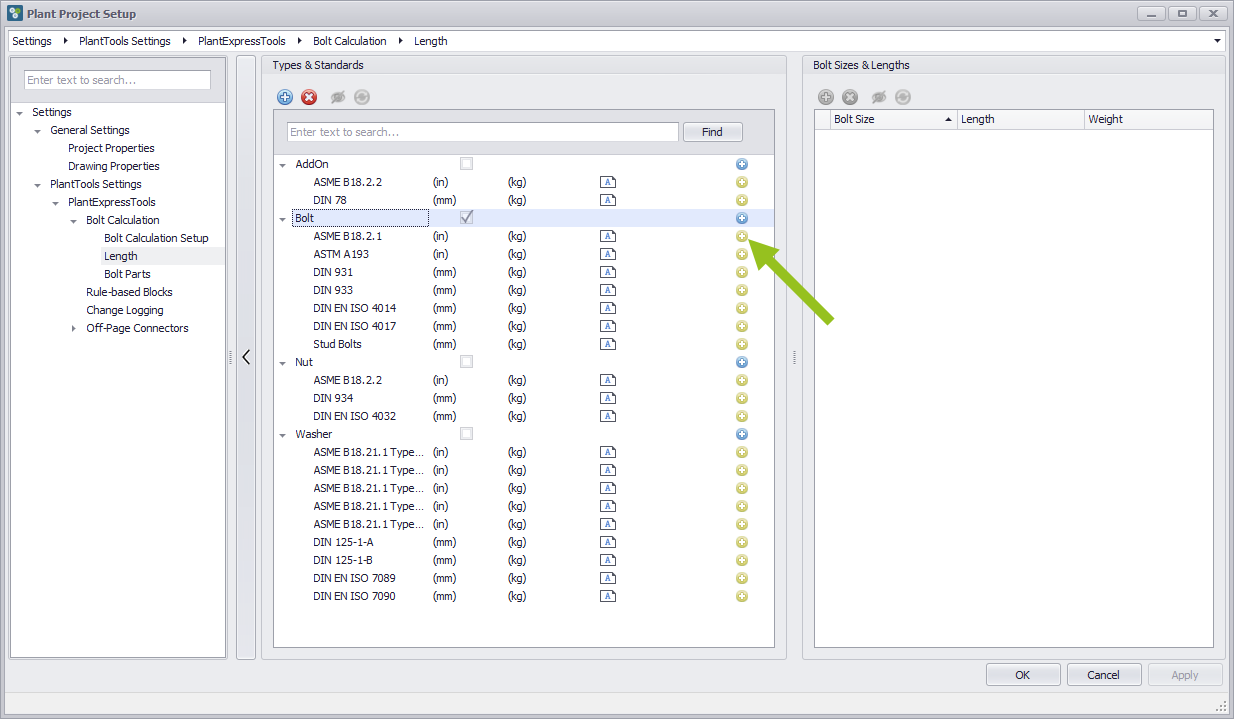
Copy as a new Standard
The button copy as a new standard is located at the right edge of the respective standard line. This allows you to duplicate an existing standard with all its parameters.
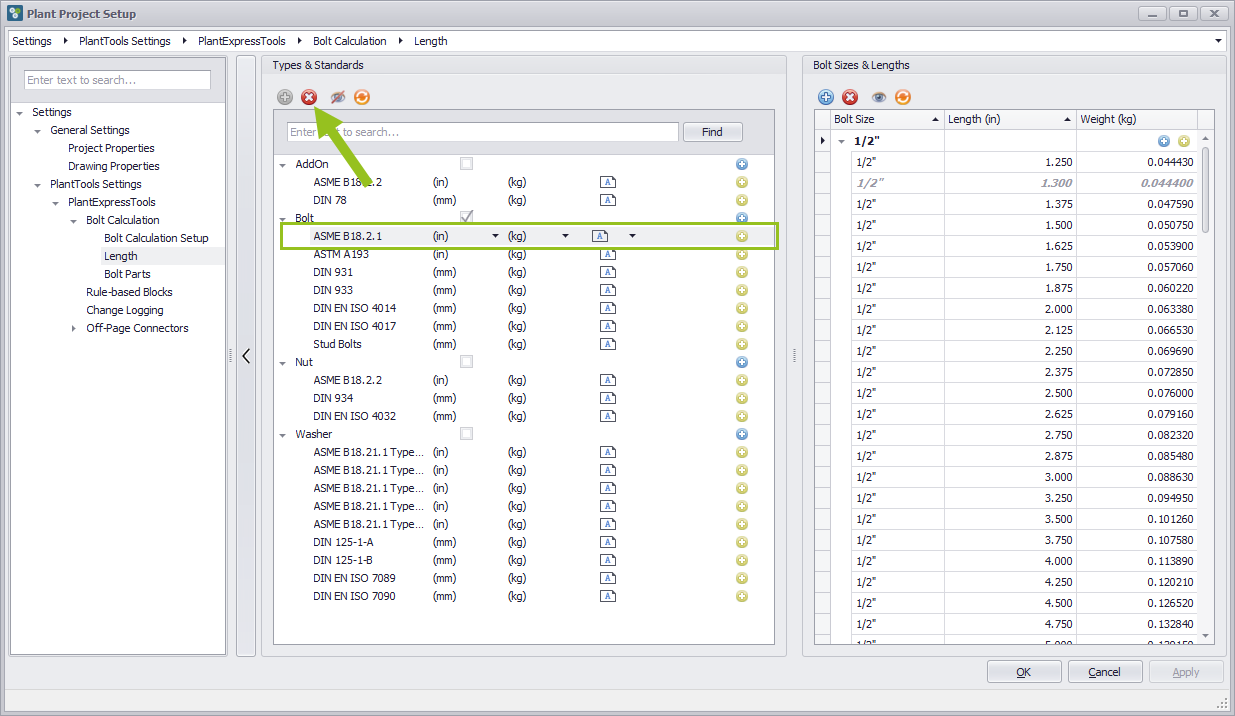
Delete Standard
If the marker is on a line Standard, this line can be removed with the Delete button.
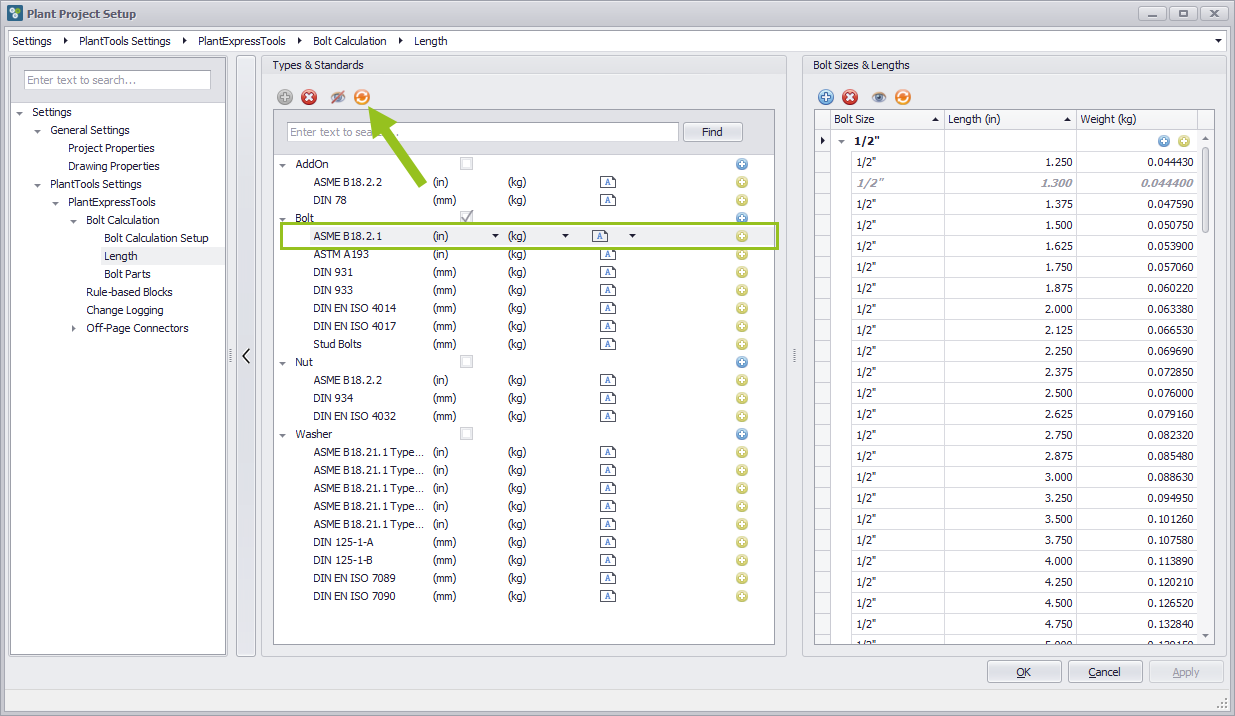
Restore Standard
If a Standard line has been removed, this line can be retrieved with the Restore Standard button.
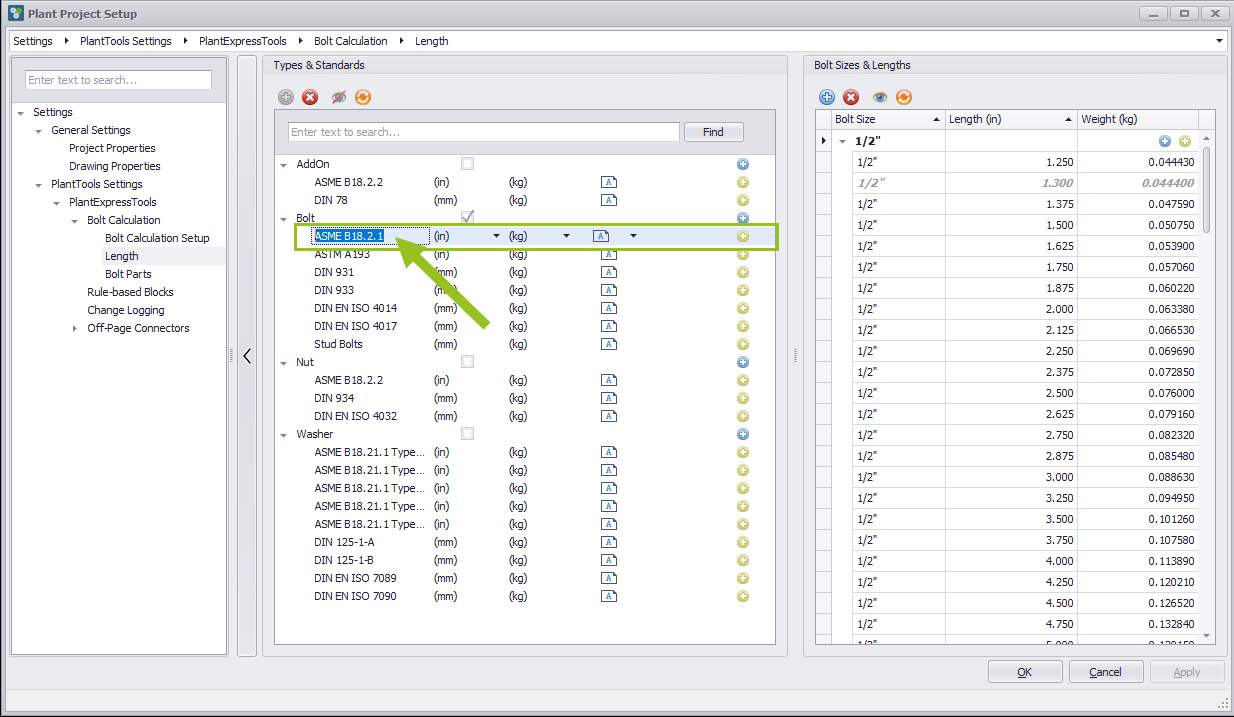
Rename Standard
If it becomes necessary to rename an entry, it is sufficient to click the mouse pointer in the name field shown in the first column. Now a write cursor is available to change the name entry.
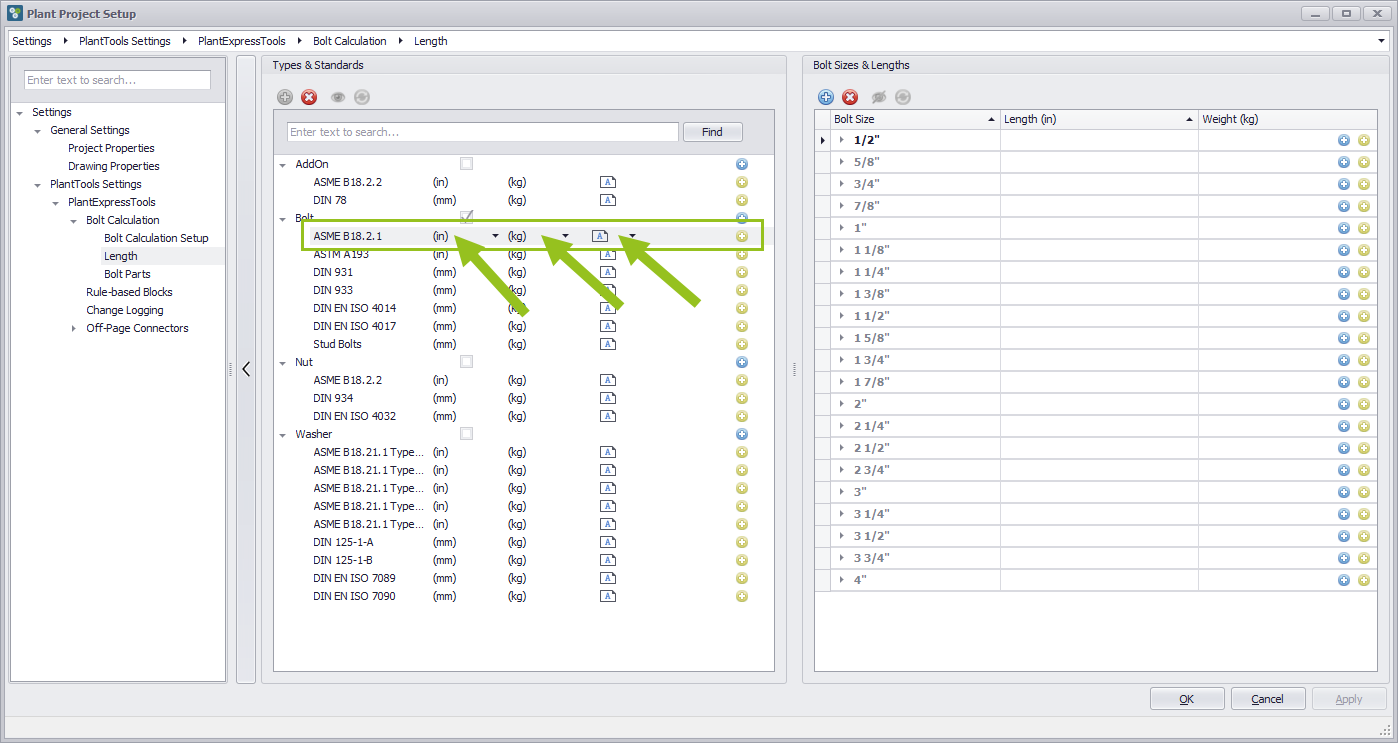
Set Units and Description
Not only the name of the standard can be changed, you can also select the length and weight units and add remarks to the standard. To do this, click the drop-down arrow and select the desired units. Furthermore, in the fourth column you can select the drop down arrow and you get a remarks editor where you can add individual entries.
Add a new Bolt Size Definition
Press the add button to create a new Bolt size definition. A new entry appears, which can be named individually.
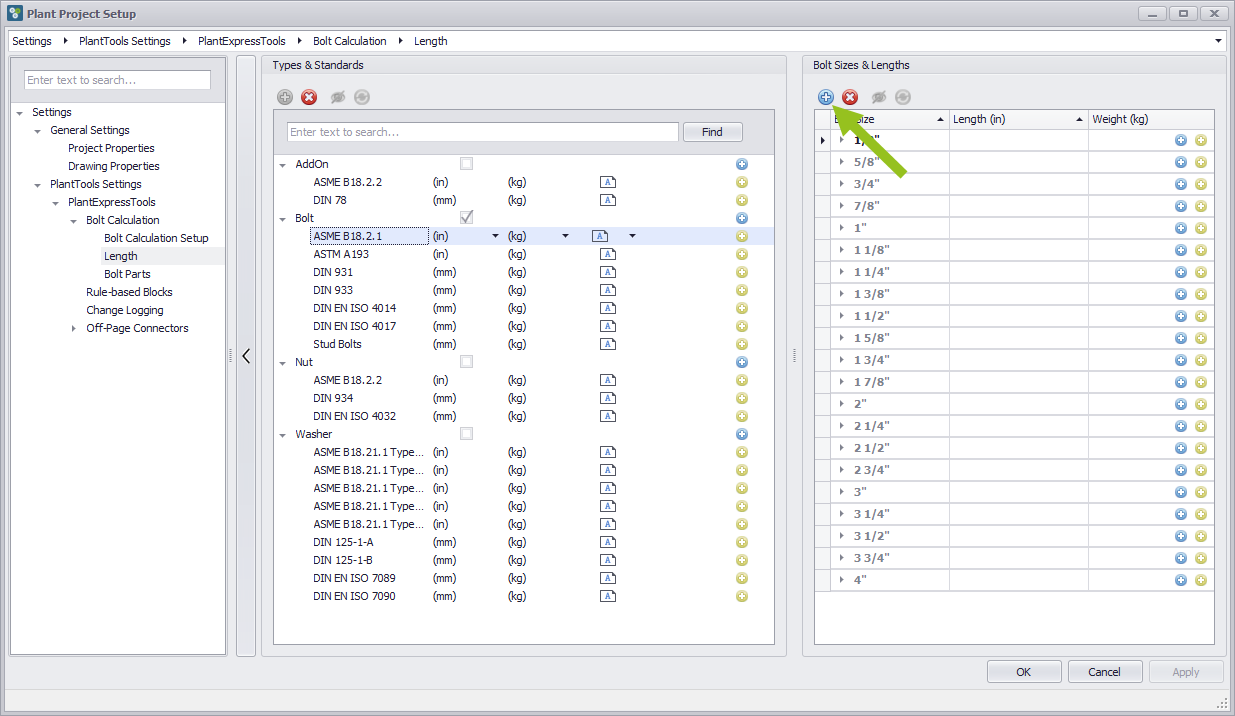
Tipp: AddOns don't get length and weight
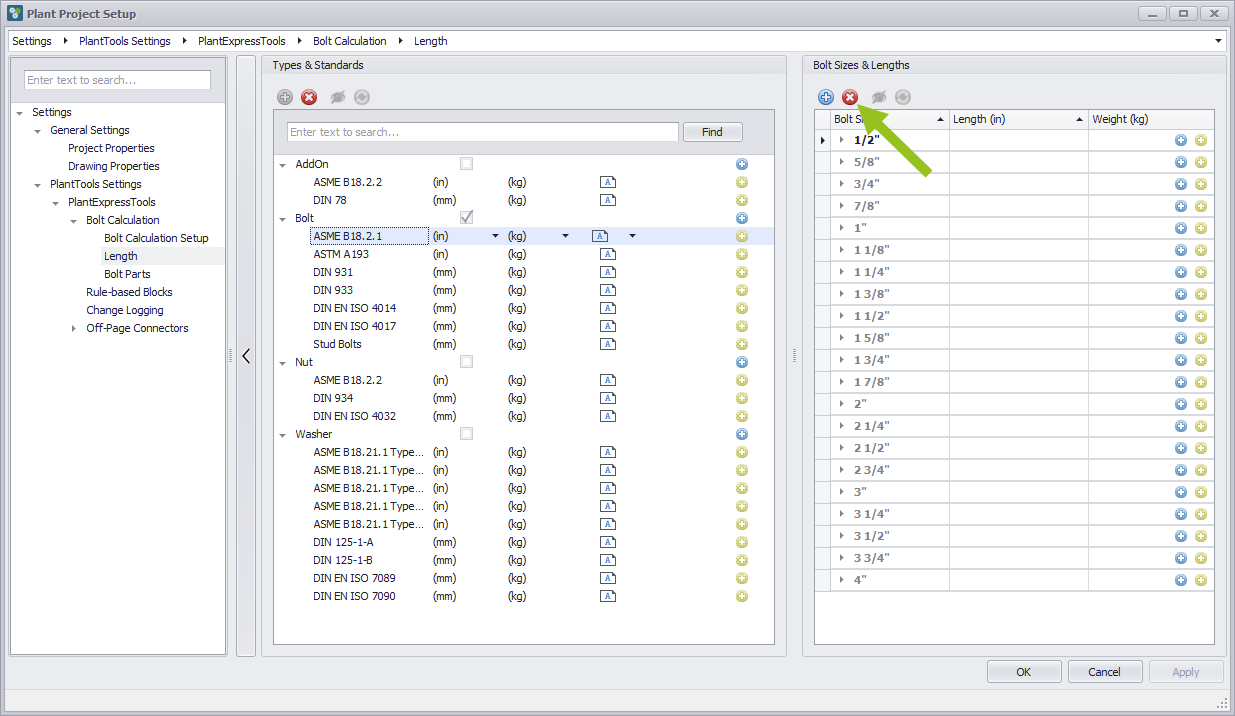
Delete a Bolt Size Definition
Press the delete button to delete an existing Bolt Sizes & Length entry. The corresponding line to be deleted must be marked. The marked entry now is deleted and will no longer be shown.
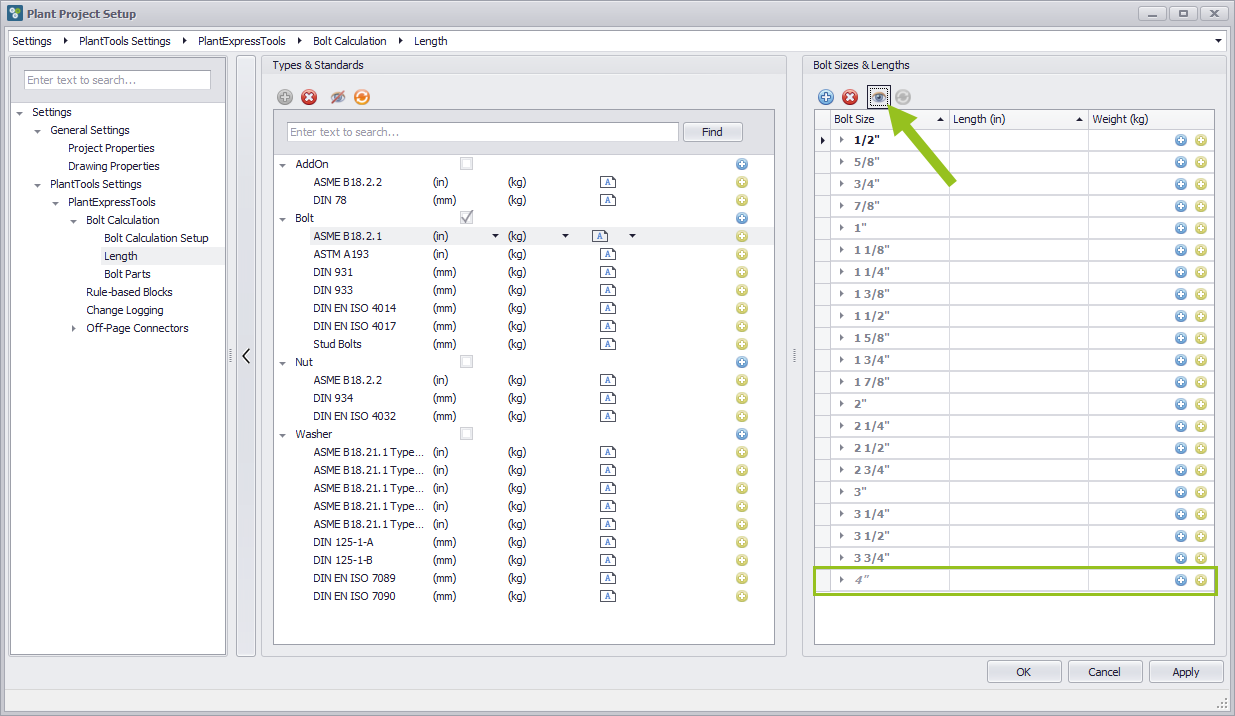
Show/Hide the item marked for deletion
Deleted lines are removed from the list and are no longer visible. However, if deleted entries are to be shown again, the Show/Hide button should be pressed. Previously deleted entries are showed grayed out.
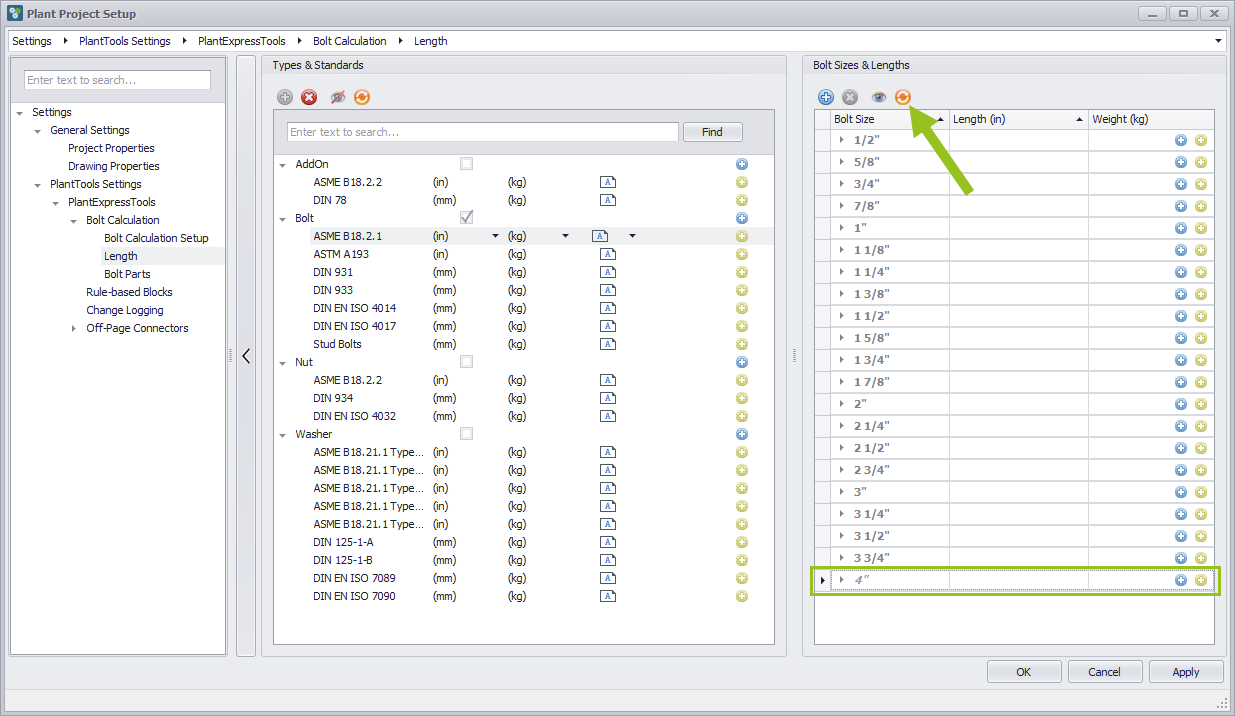
Restore Bolt Sizes
To restore the grayed out and previously deleted entries, the "restore bolt size button" should be pressed. The entries are now available again.
Add a new Bolt Length Definition
Press the add button on the right to create a new Bolt length definition. A new entry appears, which can be named individually. Furthermore, existing designations can be selected by folding down the drop down arrow. Also, the length and weight can be entered, depending on whether the units of the Bolt Standard are in metric or imperial. To make it easier to see whether a new entry has been made, new entries are marked in bold.
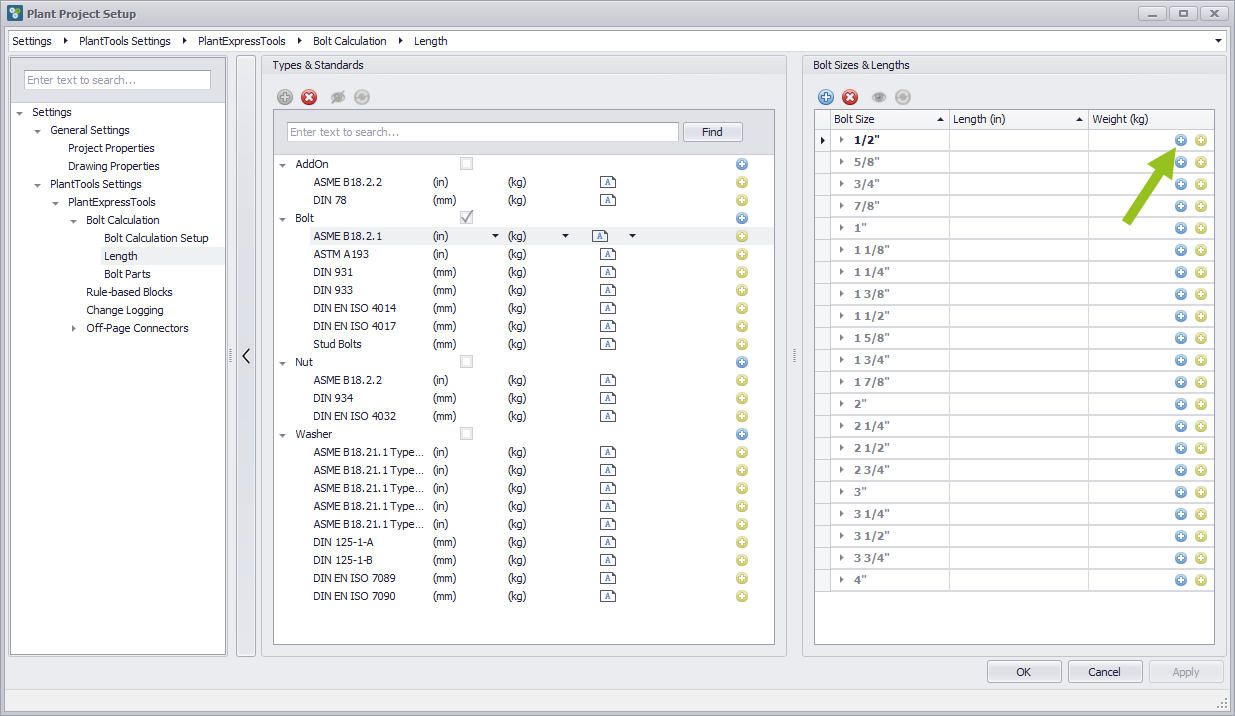
Copy as new size definition
The button copy as a new size definition is located at the right edge of the respective line. This allows to duplicate an existing bolt size with all its categories.
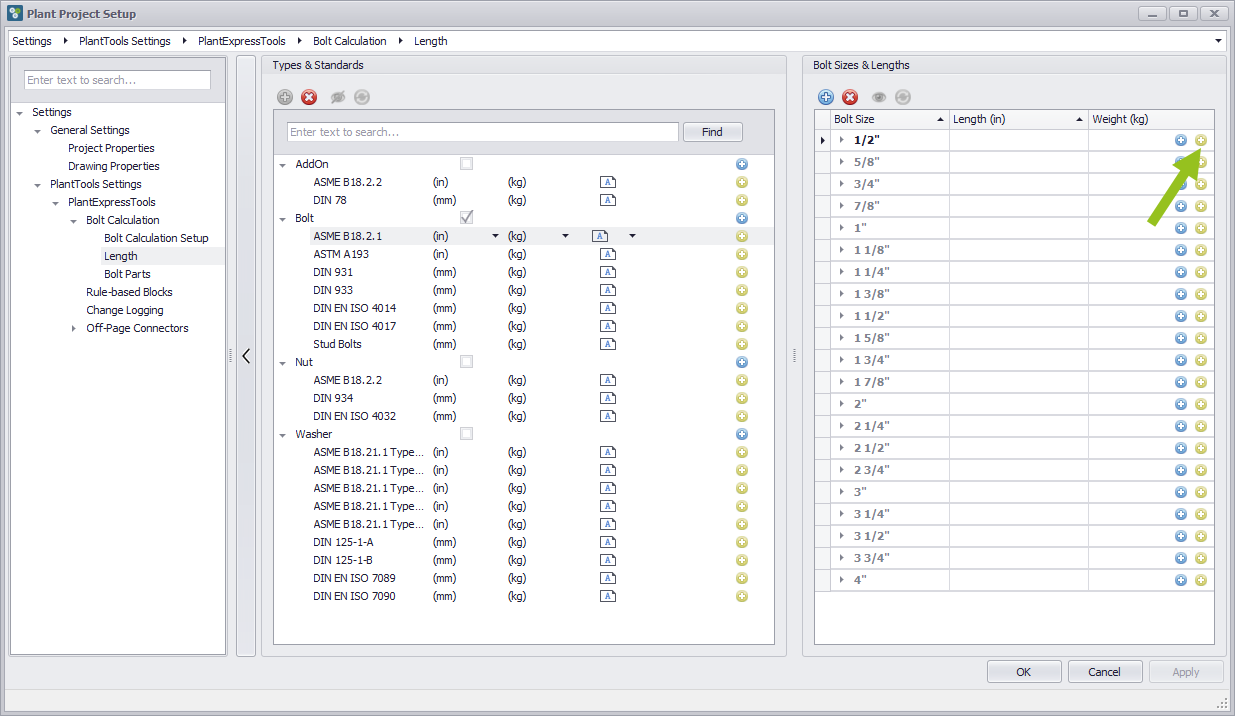
Show Number of length definition
Normally, the Bolt Sizes subcategories are not directly visible. By selecting the drop-down arrow on the left you can see all length definitions. The associated lengths are given in millimeters (mm), the weight in kilograms (kg).
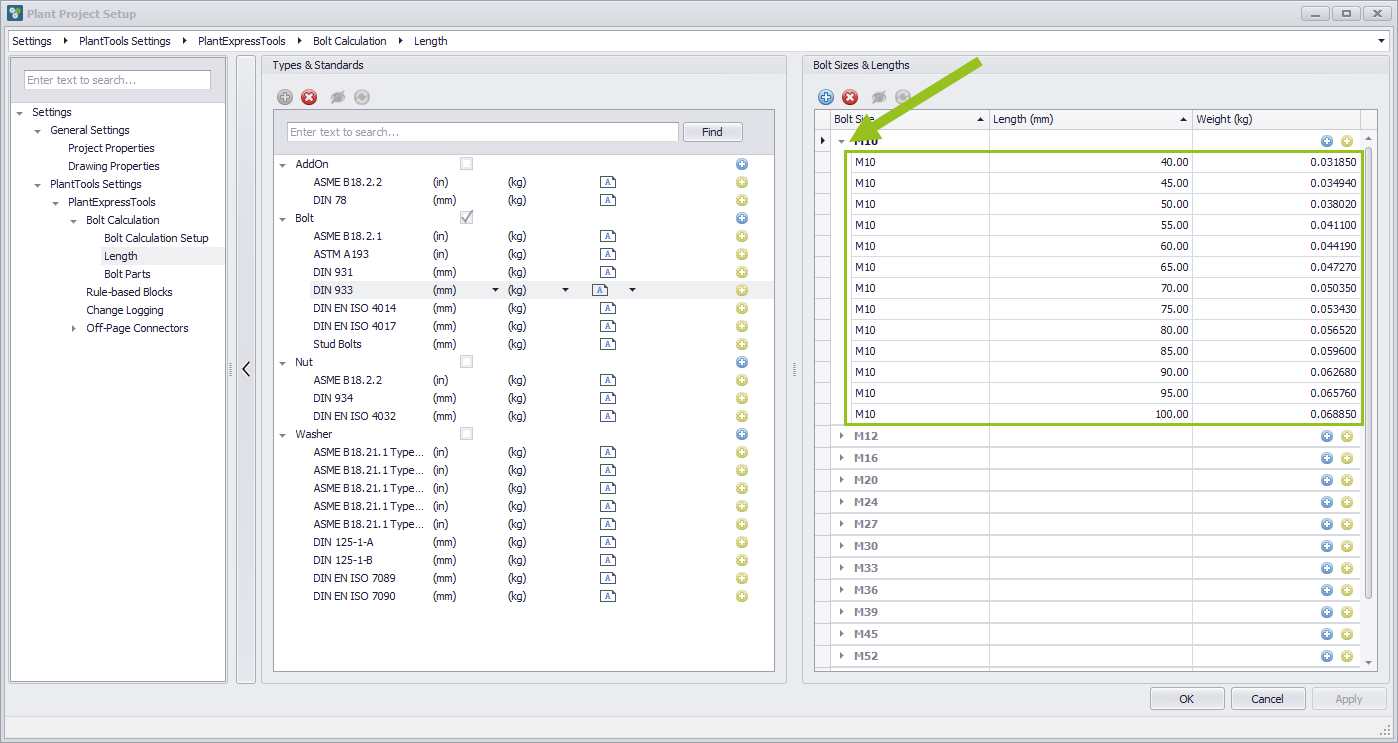
Delete Bolt Length
Press the delete button to delete an existing Bolt Length entry. The corresponding line to be deleted must be marked. The marked entry now is deleted and will no longer be shown.
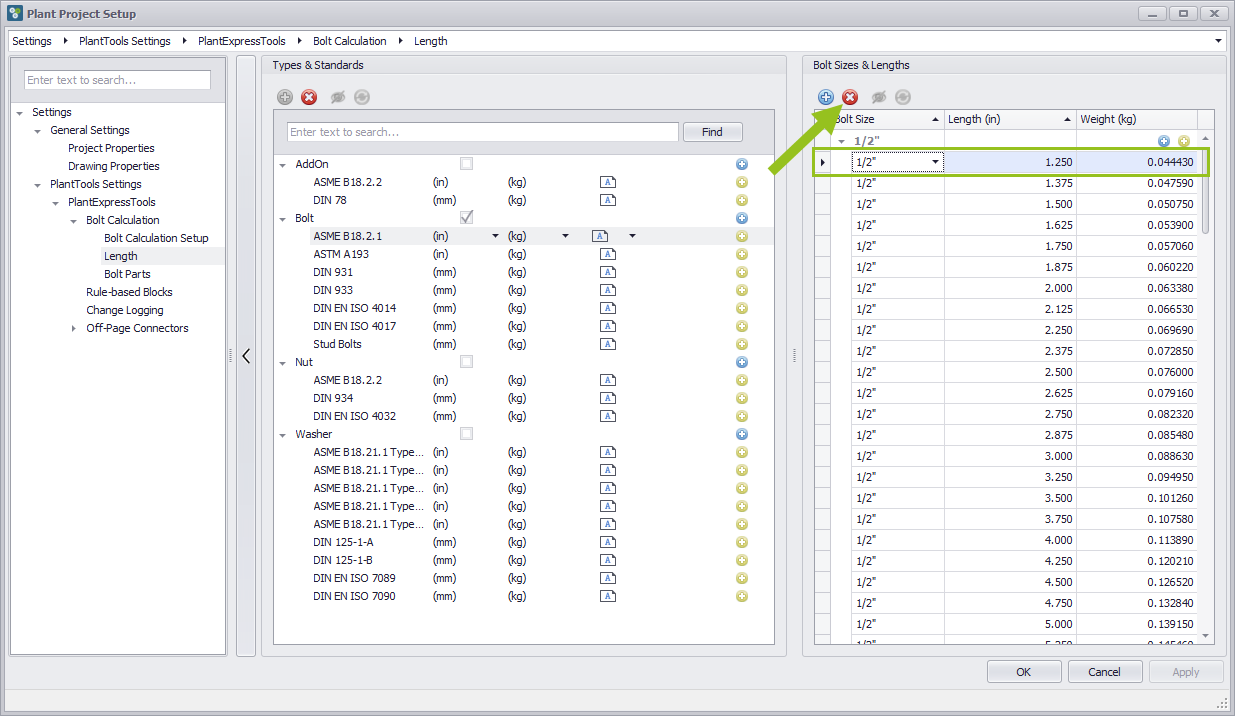
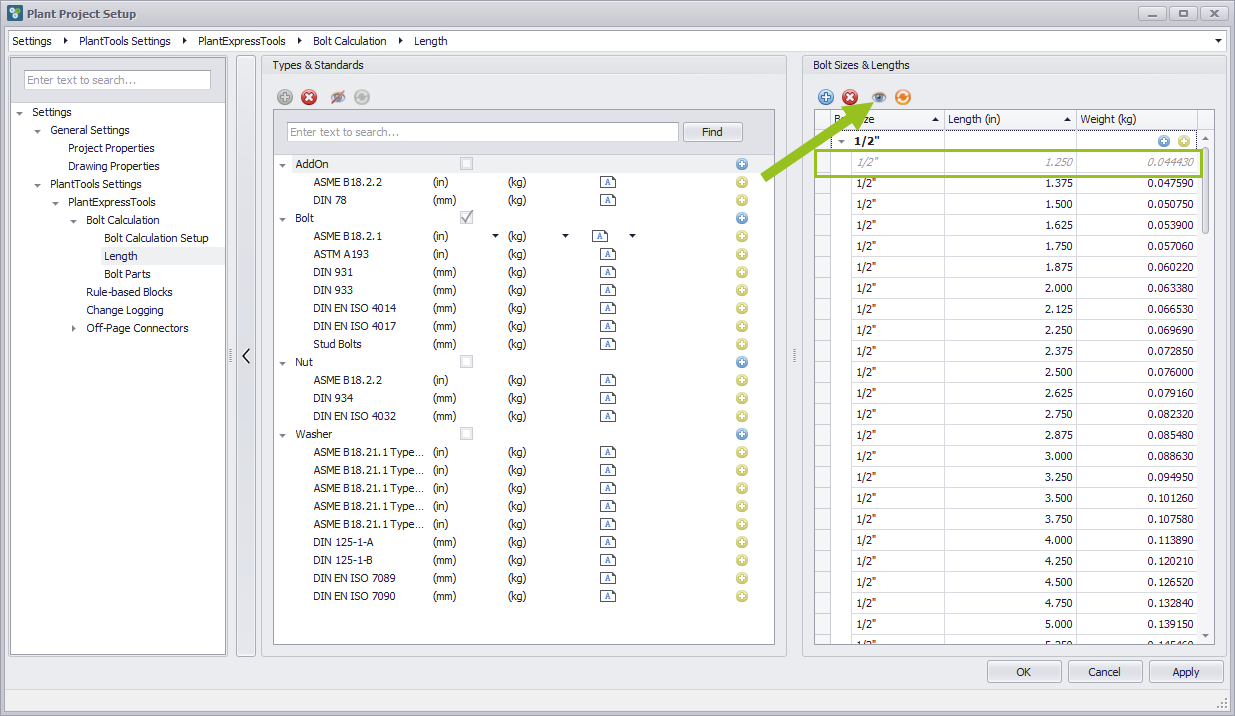
Show/hide deleted Bolt Length
Deleted entries are removed from the list and are no longer visible. However, if deleted entries are to be shown again, the Show/Hide button should be pressed. Previously deleted entries are showed grayed out.
Restore Bolt Length
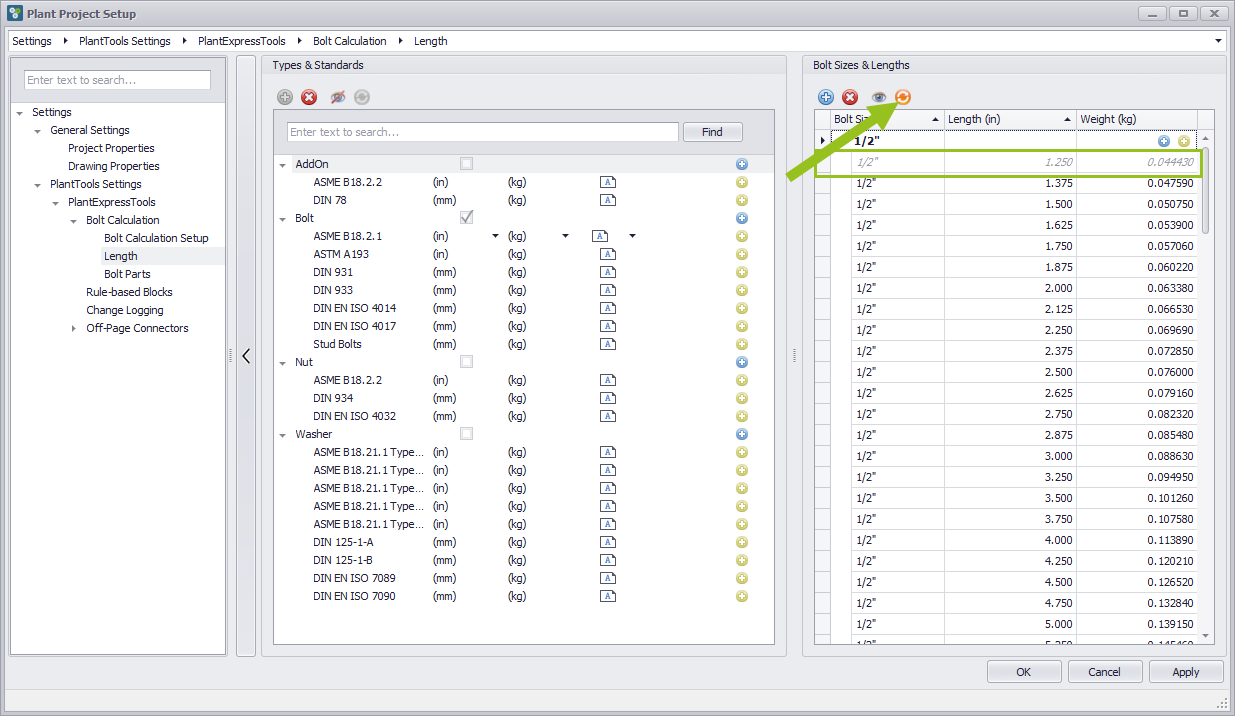
To restore the grayed out and previously deleted entries, the restore bolt length button should be pressed. The entries are now available again.
Export Part Type or Standard
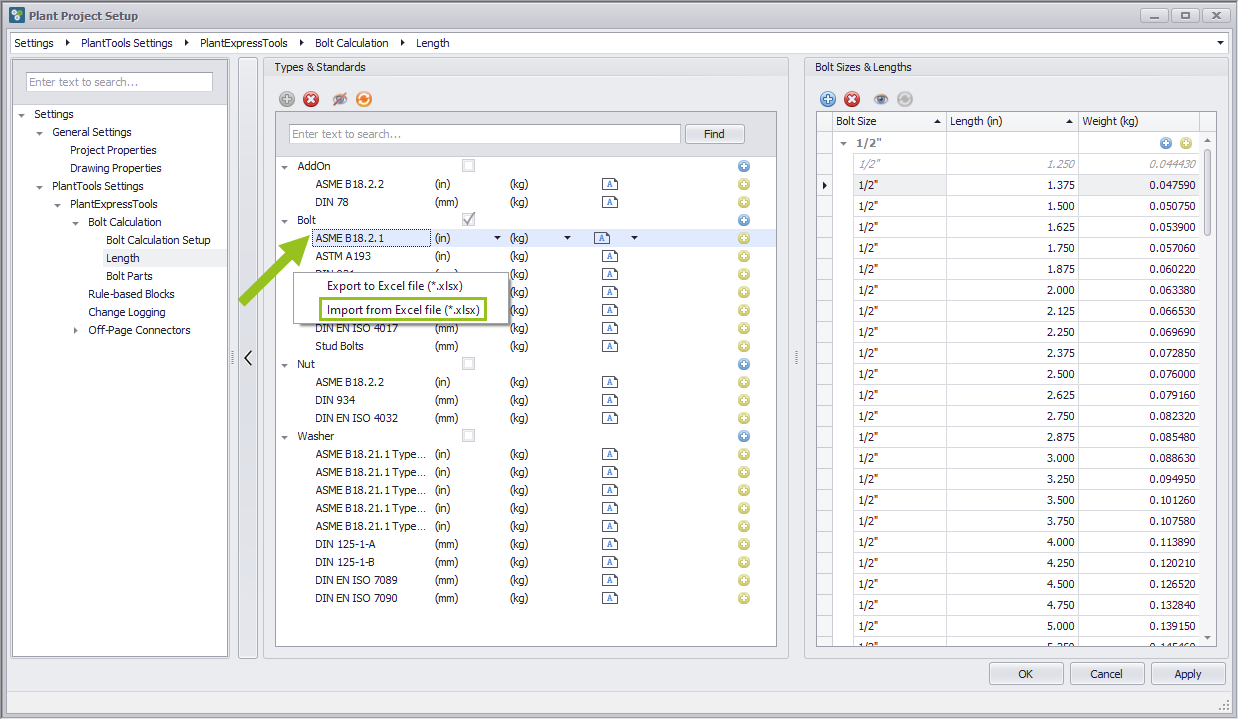
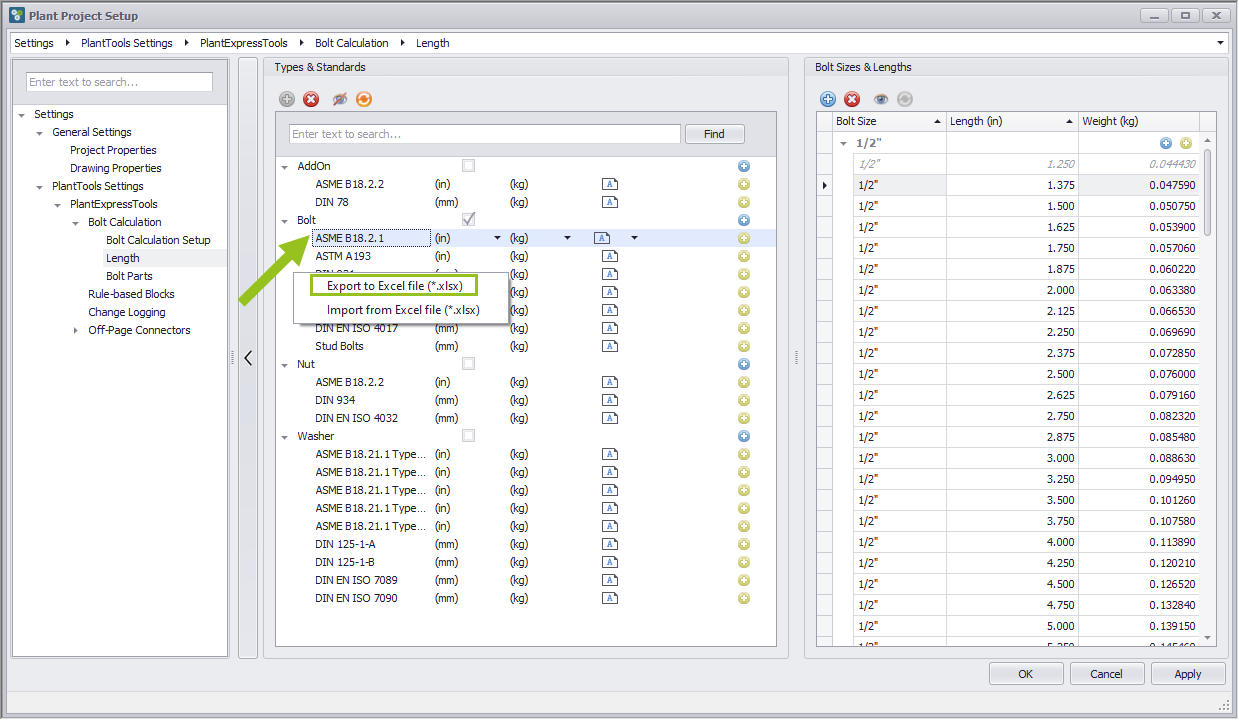
Entering data in the present dialog box is sometimes very time-consuming, so you have the option to do this input in MS Excel. With the right mouse button one clicks on the desired entry to get a pop up menu with two commands. Once the entire standard to MS Excel to export and after completion of the data maintenance in MS Excel to import the data back to Plant Project Setup in the desired category.
Edit exported Excel File
Under Construction
Import Part Type or Standard
