|
<< Click to Display Table of Contents >> Usage |
  
|
|
<< Click to Display Table of Contents >> Usage |
|
In this chapter we will explain how the project and drawings are created or updated.
Make sure you read and understood the Setup chapter first.
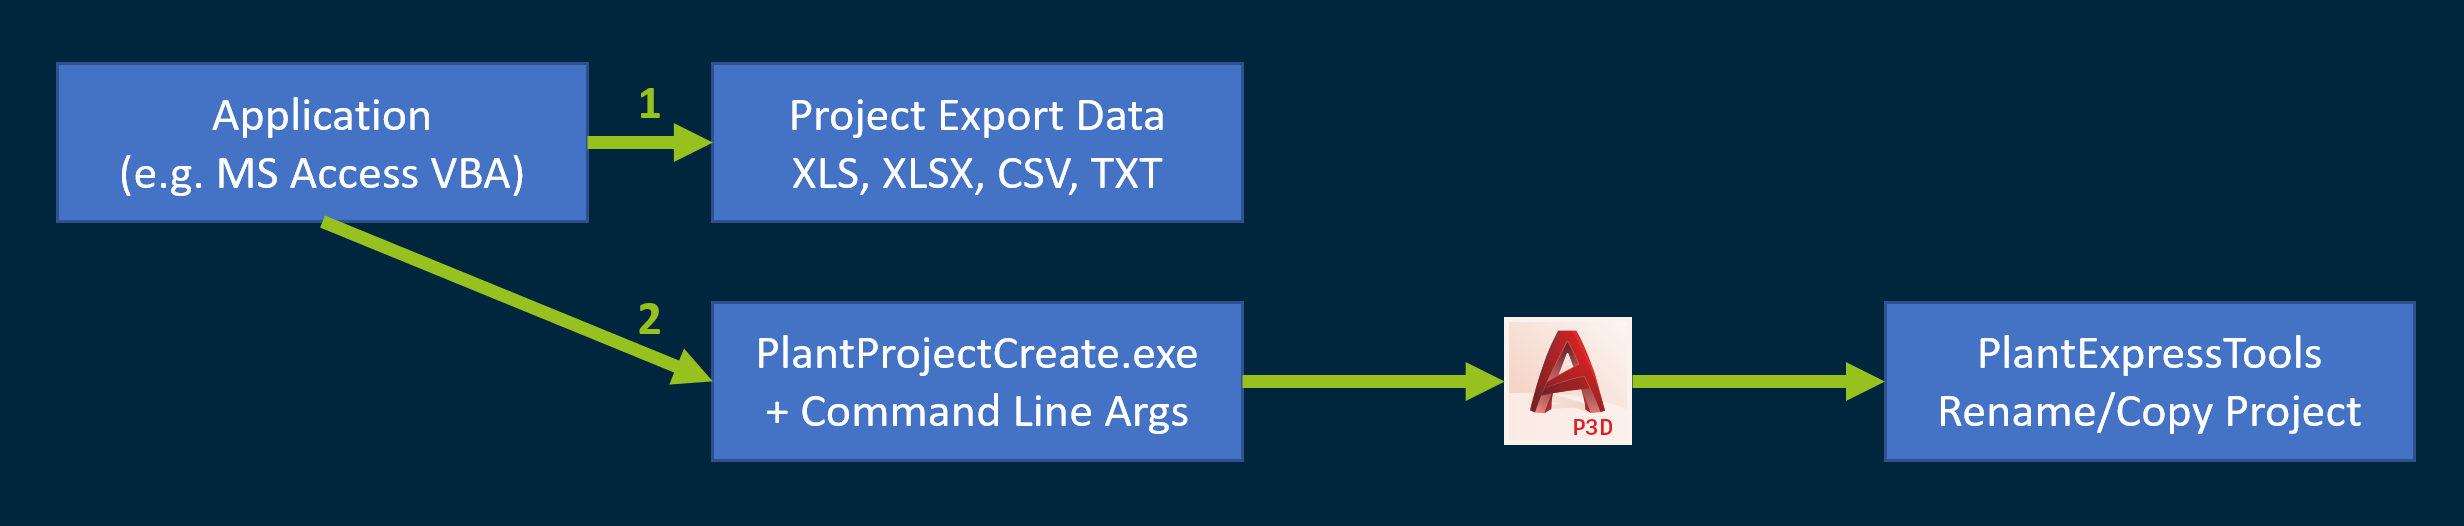
The typical use case for PlantProjectCreate is to be used from within another application like MS Access. There are two steps involved. This application first (1) exports the data necessary for creating the project, drawing and setting of the properties. Then the application starts PlantProjectCreate with some command line arguments and the exported data (2) which then starts Plant 3D and uses the Rename/Copy function of PlantExpressTools.
However, in this chapter we do this manually.
Since the project template file is typically empty (with the exception of the header row), I will just copy the template file and fill it with rows for the creation.

Those are the example data. The columns had been explained under Setup.
The project path can contain UNC paths.

Again, typically an application like MS Access would start PlantProjectCreate with the appropriate command line arguments.
For the purpose of this documentation we use a simple batch file.
Remark: All paths can contain UNC paths.
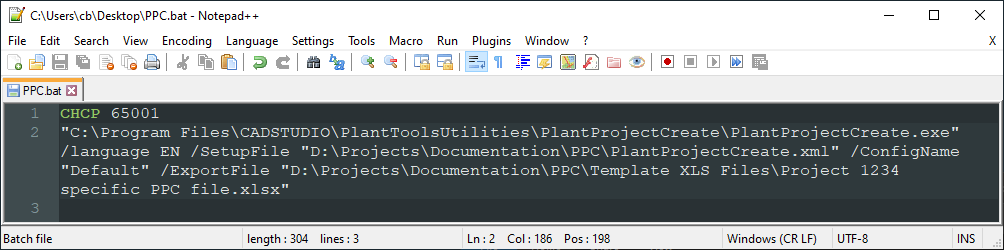
The first line "CHCP 65001" make sure that any special characters like German äöü can be handled.
Then PlantProjectCreate will be started with several command line arguments.
"C:\Program Files\CADSTUDIO\PlantToolsUtilities\PlantProjectCreate\PlantProjectCreate.exe"
Then you can use the language setting which influences any messages which may appear during the creation process.
/language EN
Next you use /SetupFile" to define the path and name of the Setup file of PlantProjectCreate.
/SetupFile "D:\Projects\Documentation\PPC\PlantProjectCreate.xml"
Then the configuration name from the setup file.
/ConfigName "Default"
Finally the project specific template file with the rows of data to create the project and drawing.
/ExportFile "D:\Projects\Documentation\PPC\Template XLS Files\Project 1234 specific PPC file.xlsx"
This is how it looks like in an editor.
If you now start the batch file, you will see the Plant 3D splash screen.
After some activity in Plant 3D you will see the final dialog.
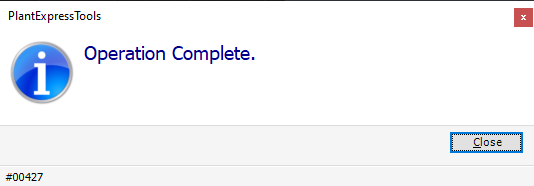
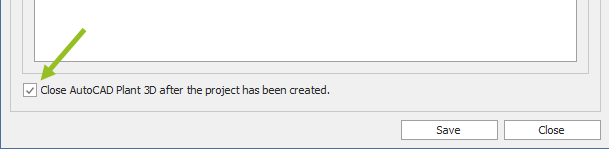
Remark: Dialog #00427 will not appear if the checkbox Close AutoCAD Plant 3D after the projerct has been created is enabled.
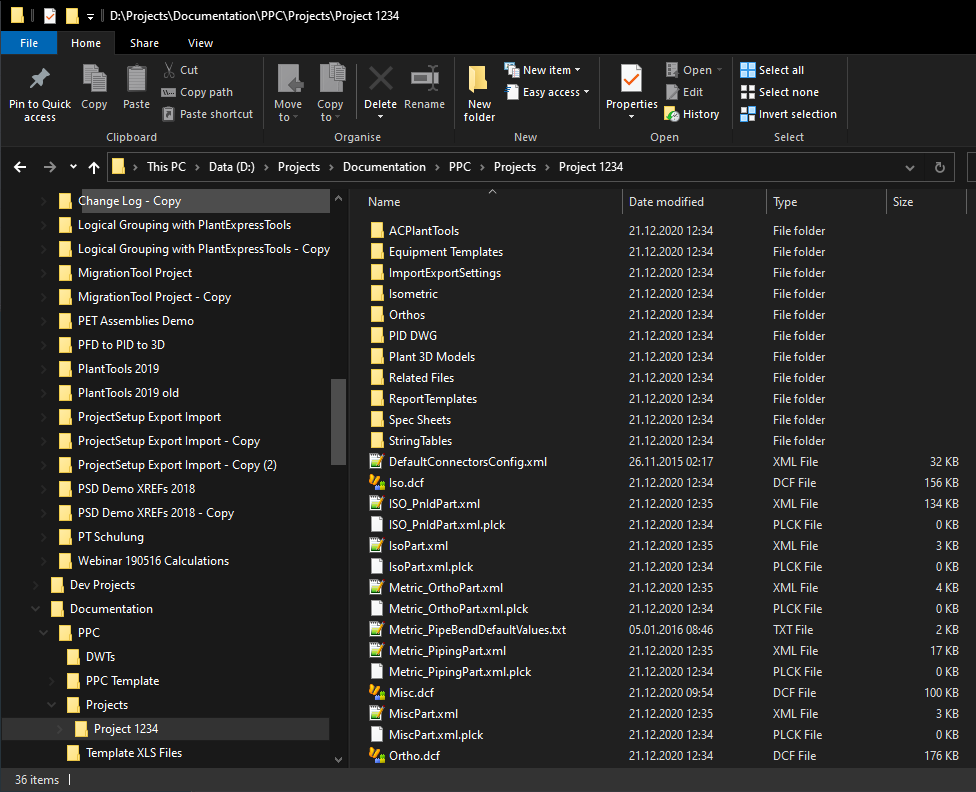
On our hard drive we see our new project.
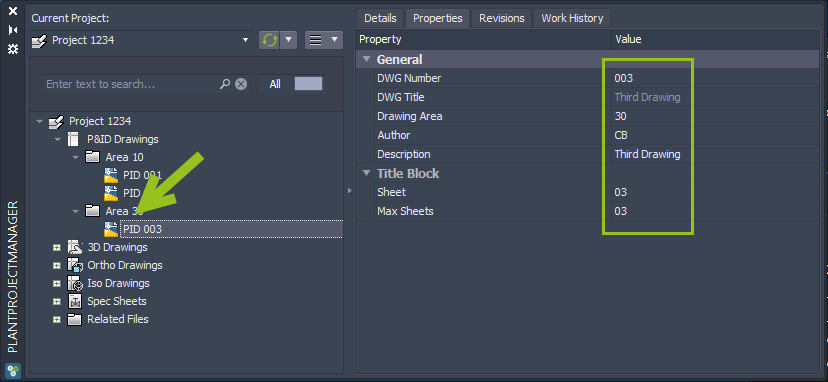
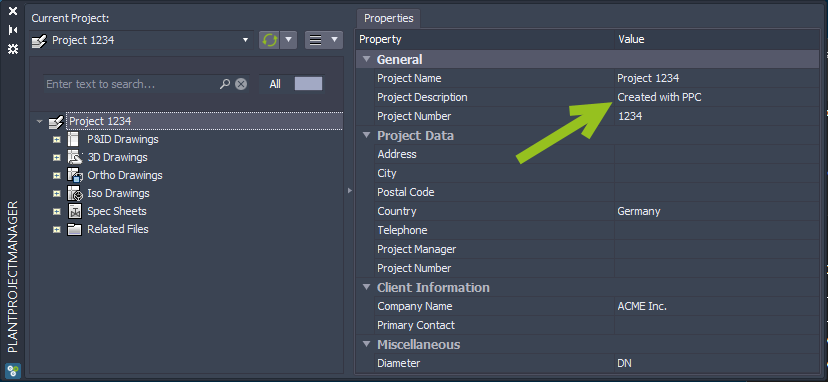
In Project Setup or PlantProjectManager we see the new project name and all the properties we mapped.
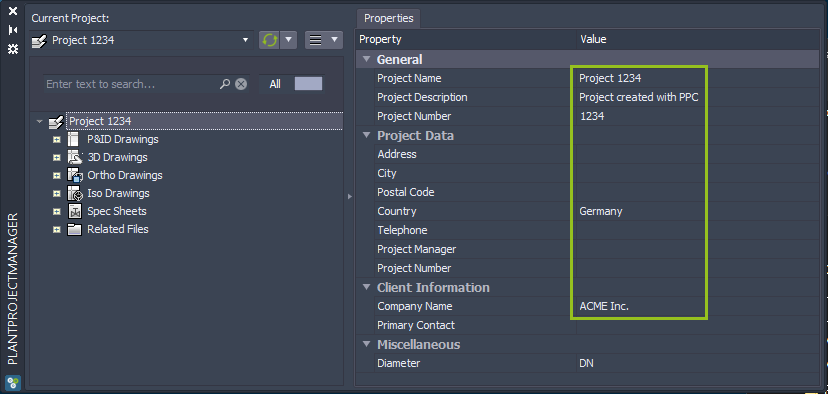
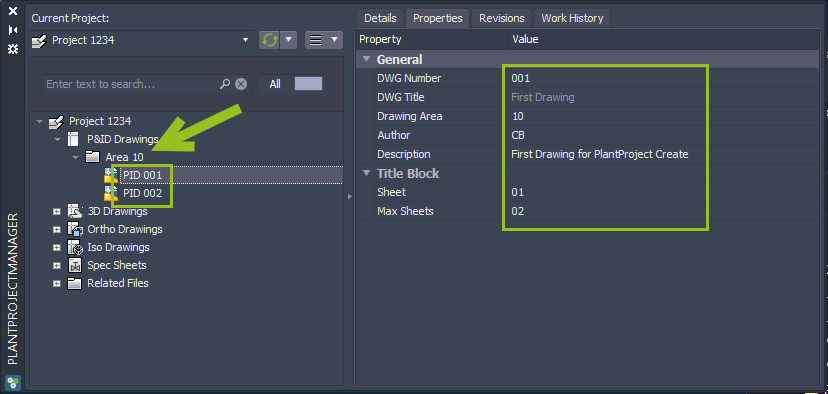
For the drawings we see the folder "Area 10" with the 2 drawings and the drawing properties.
You can use PlantProjectCreate to update your project. This can be change property values or additional drawings.
In this image you see in the first two rows in dark green/blue the changes made. And a third new drawing.

You just start the batch file again.

Remark: Dialog #00427 will not appear if the checkbox Close AutoCAD Plant 3D after the projerct has been created is enabled.
You see the new Project Description.
And the changed drawing properties.
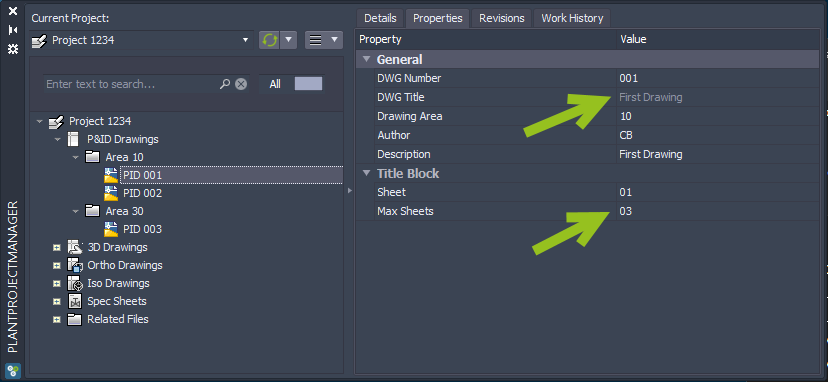
And also the new third drawing in a different folder.