|
<< Click to Display Table of Contents >> User Interface |
  
|
|
<< Click to Display Table of Contents >> User Interface |
|
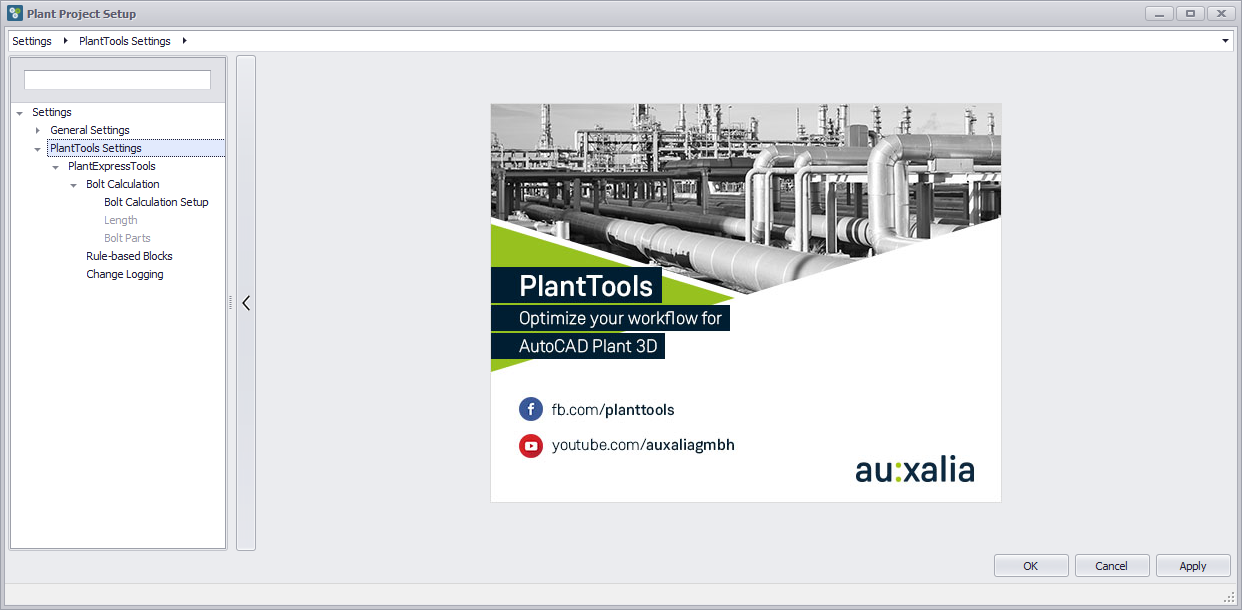
This chapter describes how you navigate in PlantProjectSetup.
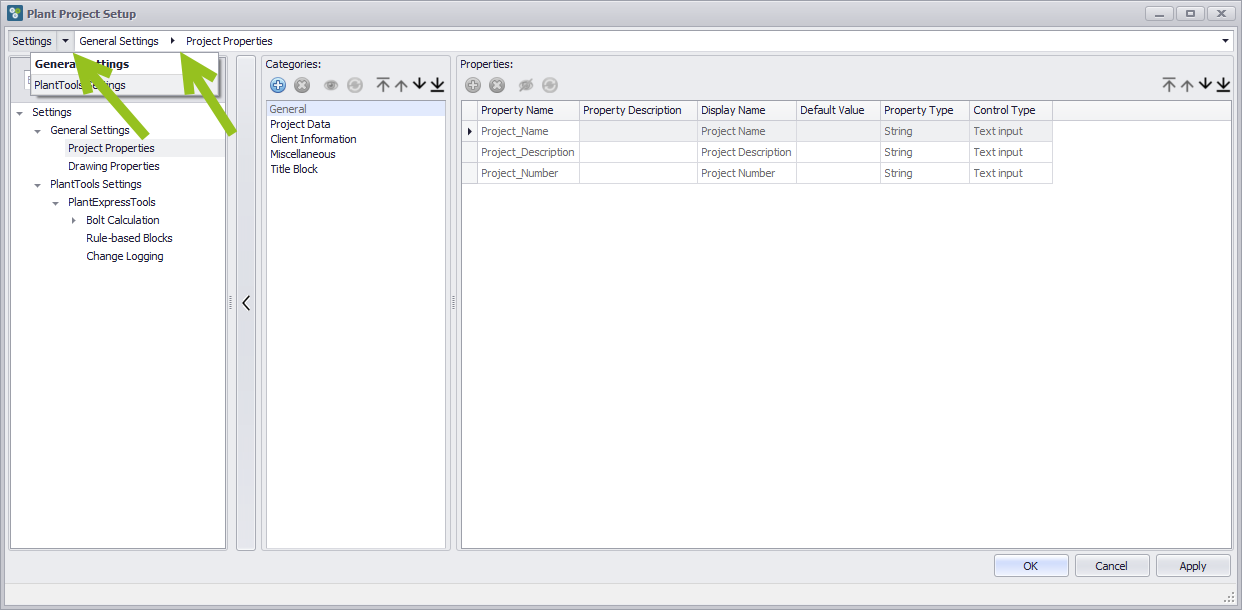
On the left you have the tree for the various categories. Under "General Settings" you will find the Project and Drawing Properties.
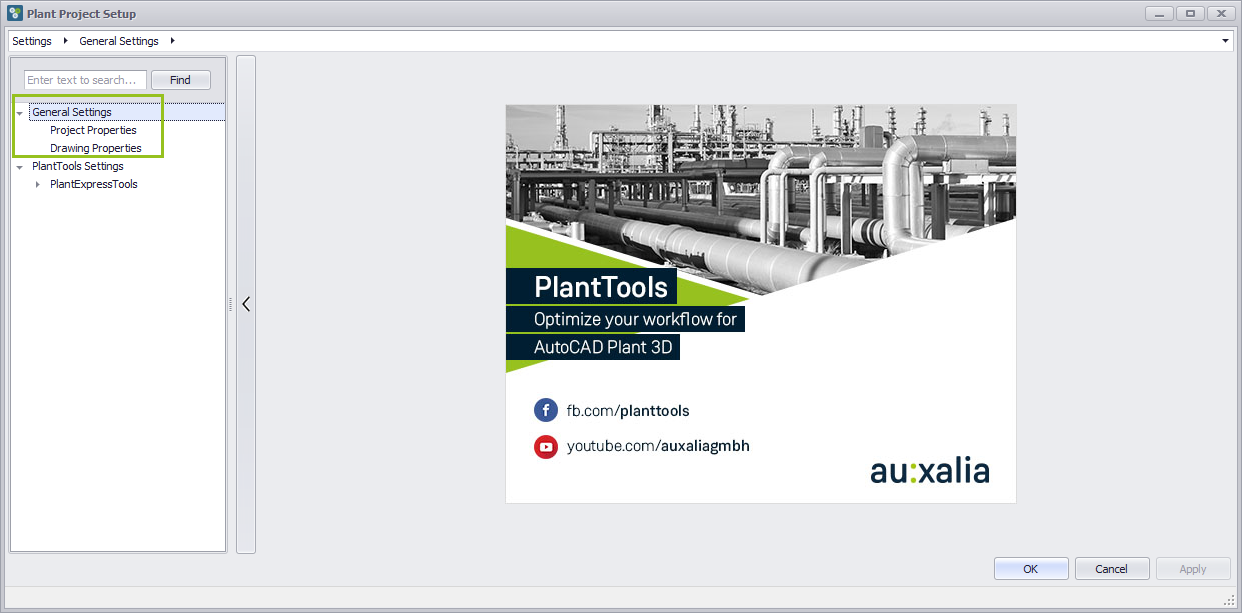
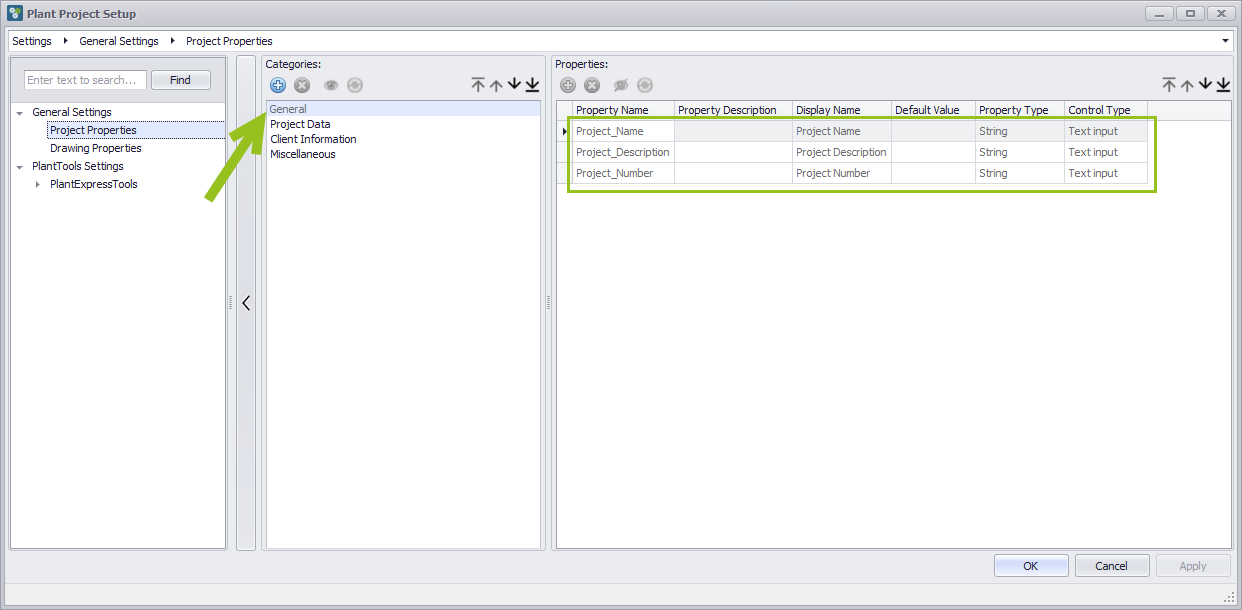
If you click on Project Properties you will see the Project Categories and its Properties.
You see that the Category "General" is greyed-out, because this Category cannot be deleted. Also those Properties which are greyed-out cannot be deleted. Those are standard Categories and Properties needed by Plant 3D.
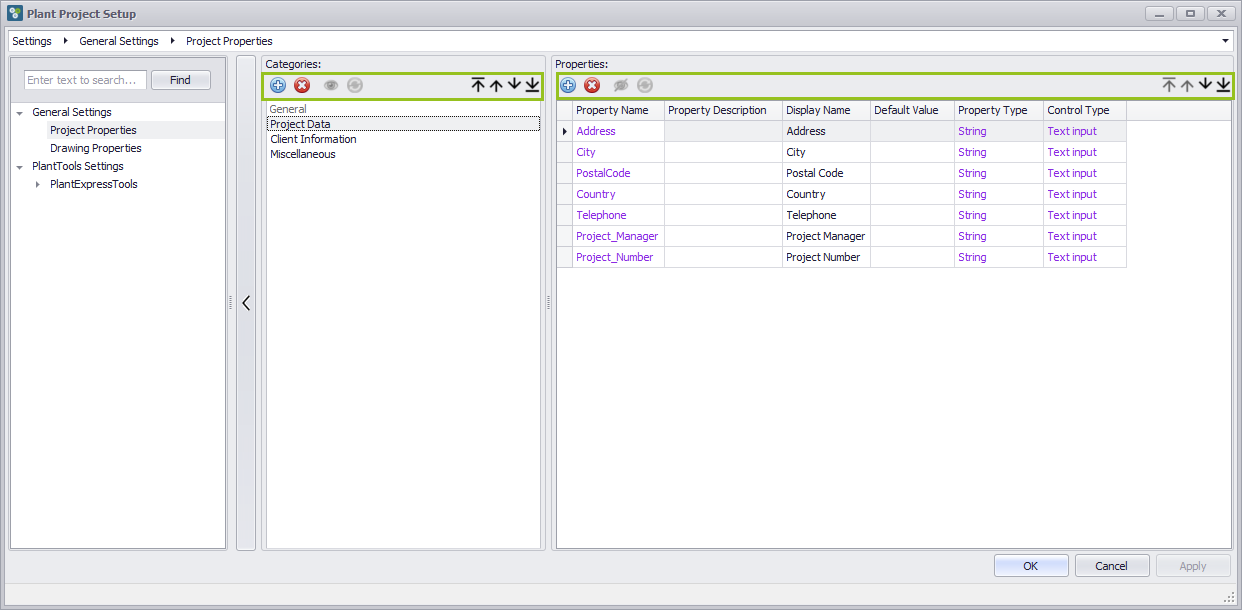
Above the Category and Properties section you see a toolbar with various buttons. The functions of these buttons will be explained in detail in the following chapters.
Categories in black text color and Properties in magenta can be deleted.
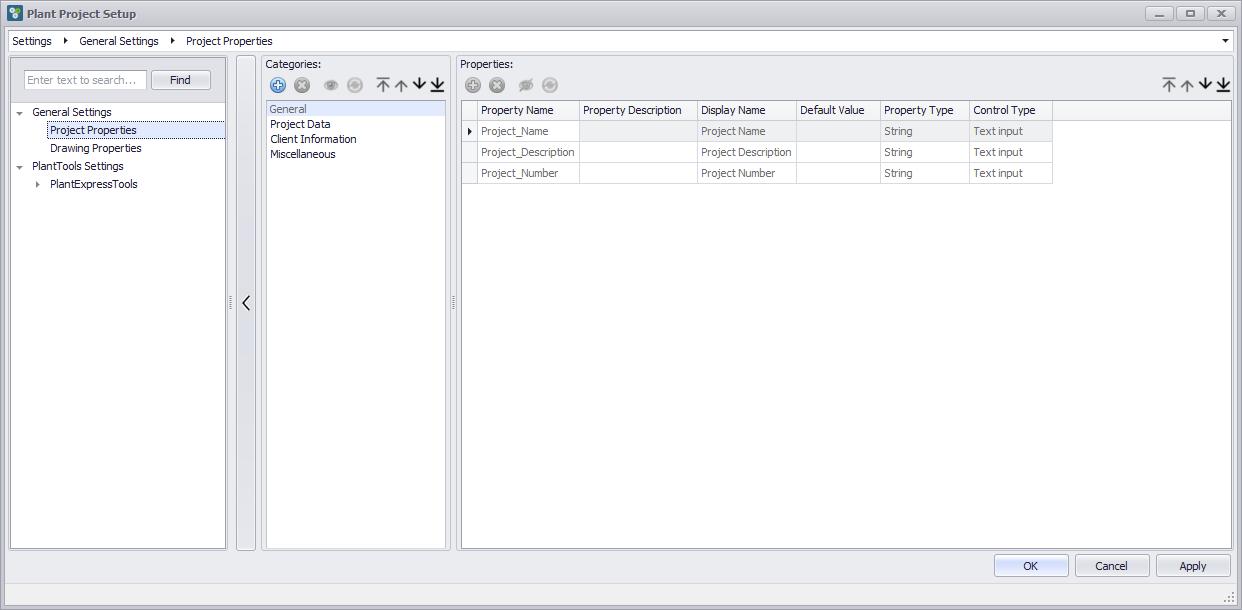
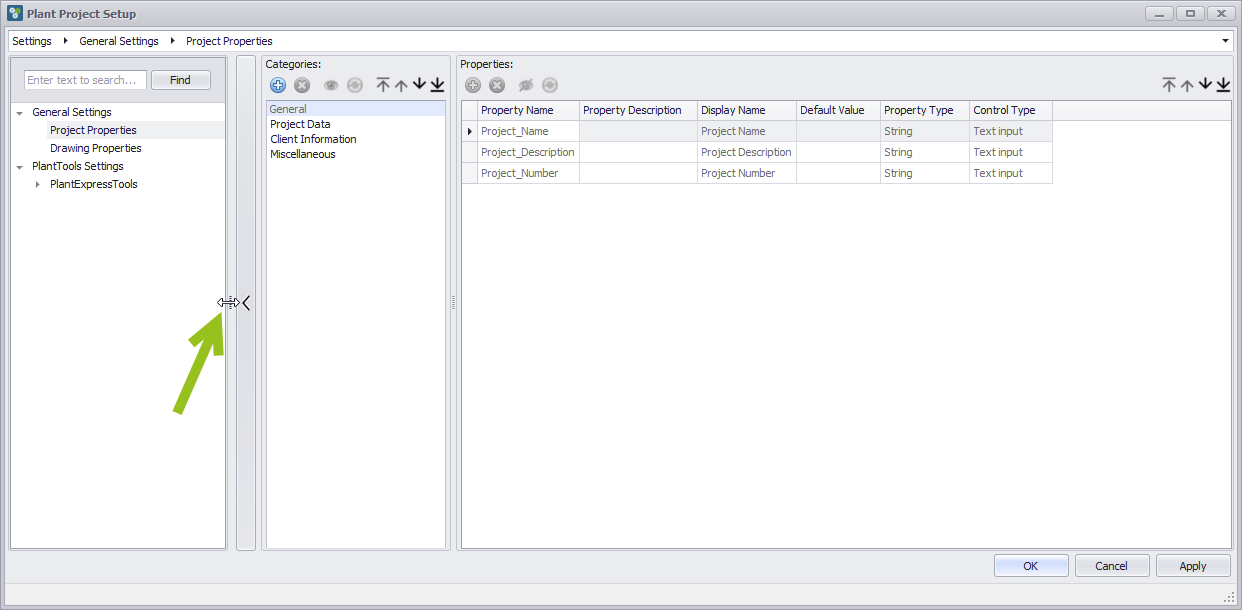
You can find a splitter between the middle and right areas which allows you to change the how wide the two areas should be.

Now we moved the splitter to the left.
There is another splitter between the tree and the middle section.
Now it is more to the right.
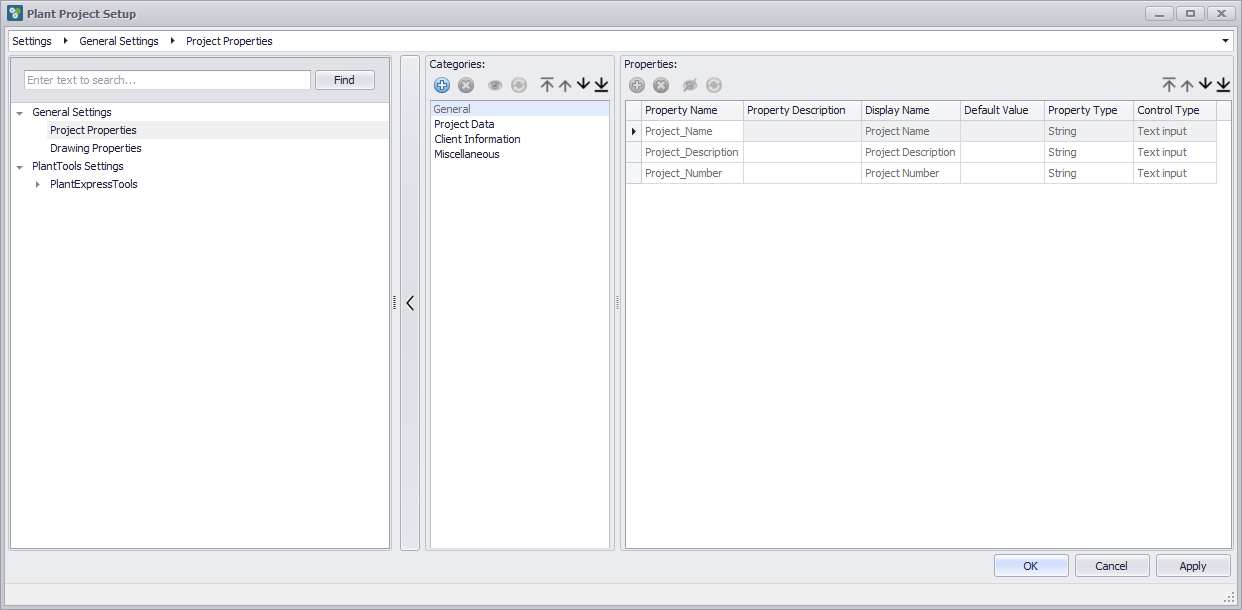
Between the tree and the middle part is a vertical button which allows you to hide the tree.
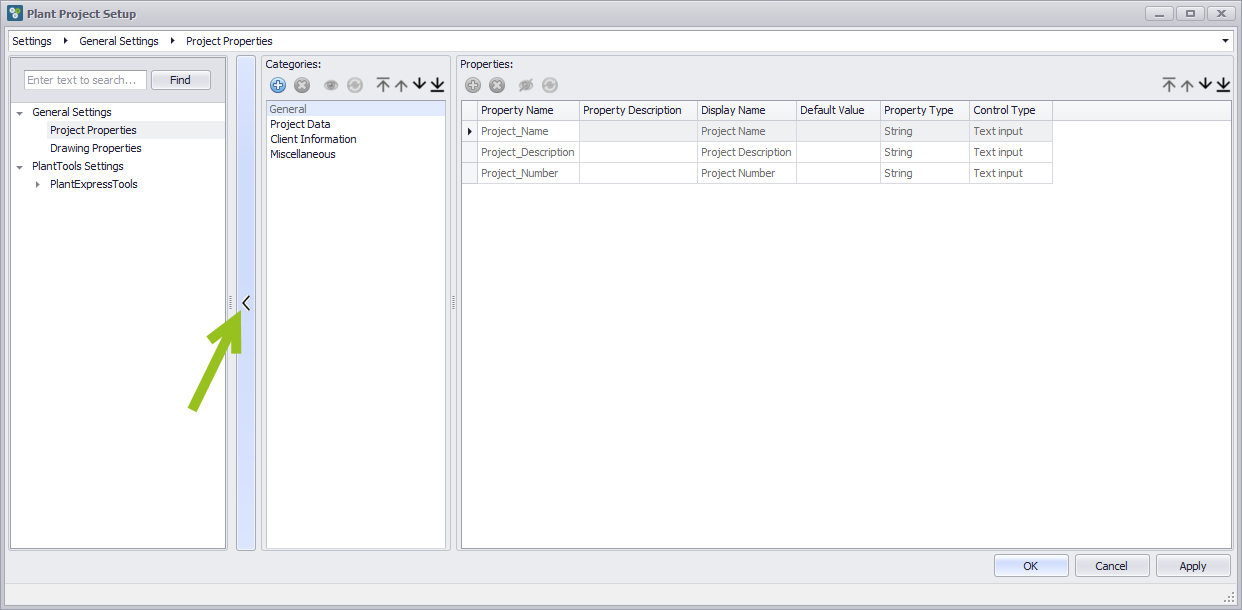
Now the tree is not visible anymore. Note that the arrow flipped.
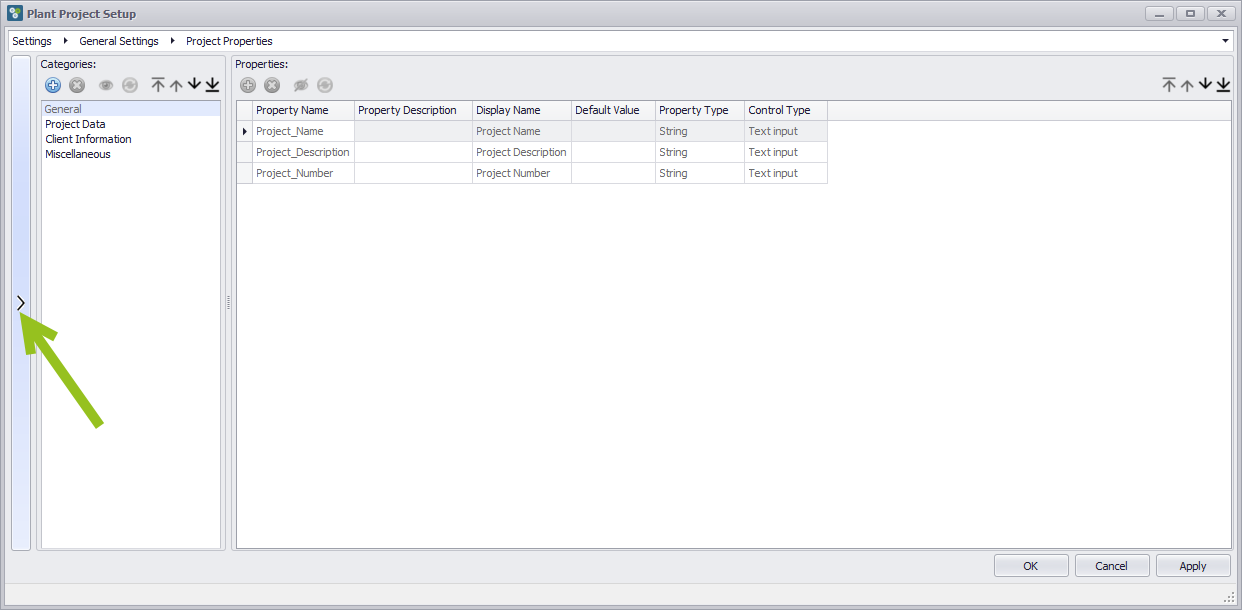
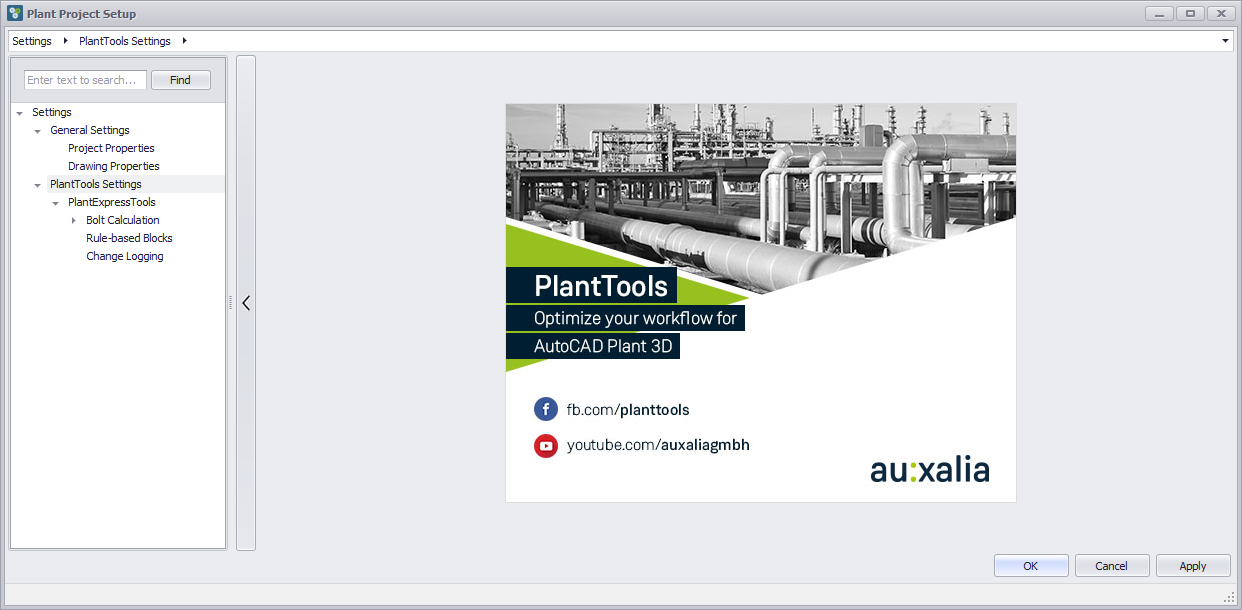
At the top there is the so called Bread Crumb control similar to Windows Explorer. This row can be used to navigate the tree and jump to a sub-node. This is especially convenient when the tree is hidden.
Now we are at PlantTools Settings.
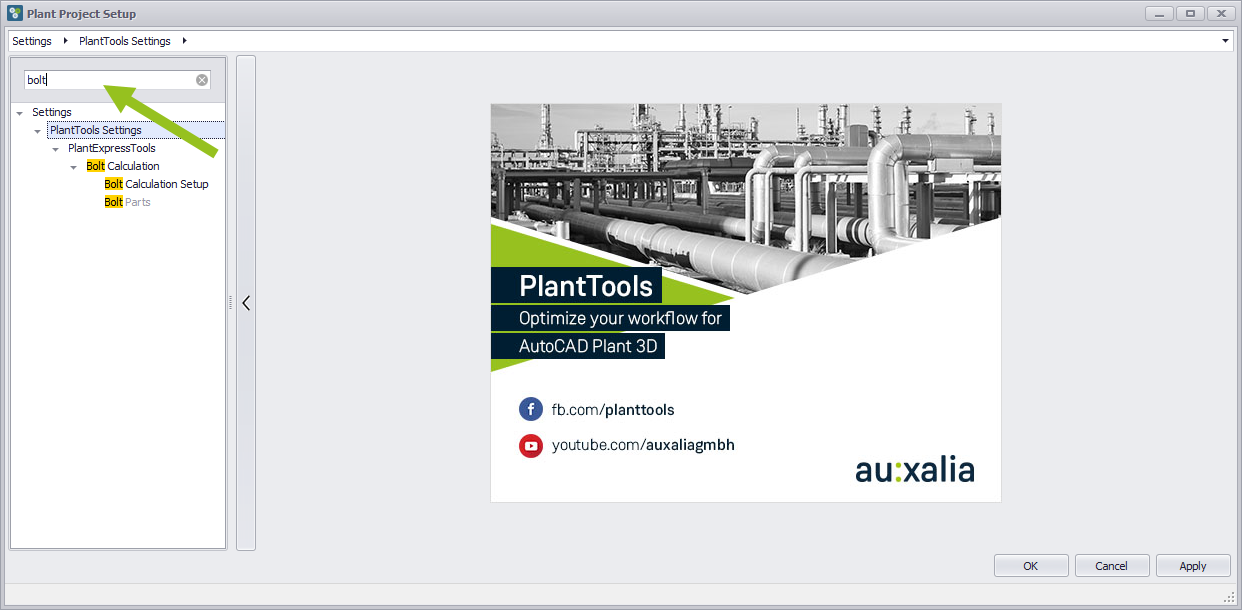
You can also filter for a text in the tree. Type in the text and the tree will be filtered right away.
To delete the text you can use the delete key or click on the X symbol.
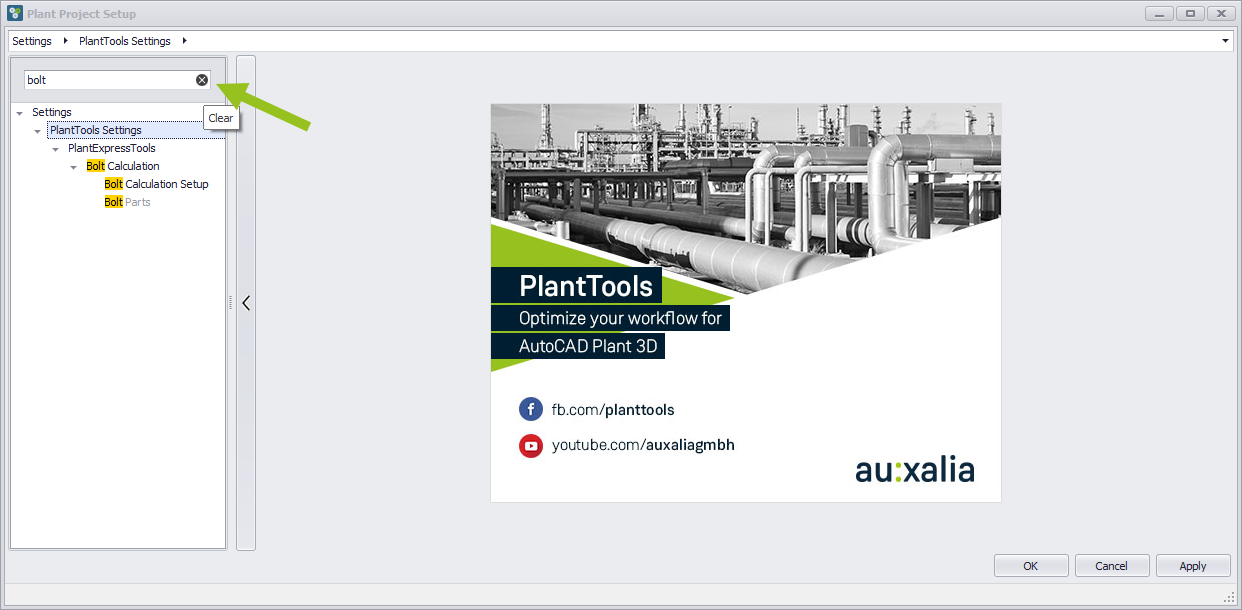
Now the tree is unfiltered.
Next Chapter: Create Category