|
<< Click to Display Table of Contents >> New List using SQL Server |
  
|
|
<< Click to Display Table of Contents >> New List using SQL Server |
|
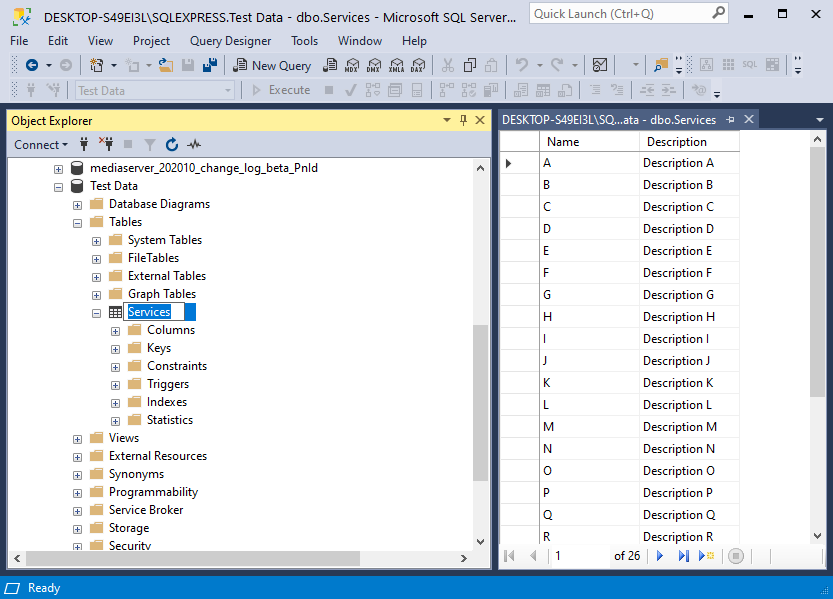
In this example we use a SQL Server database with the table "Services".
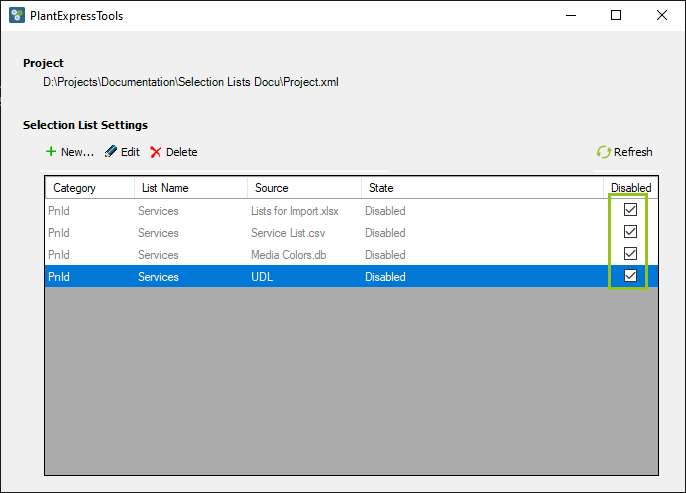
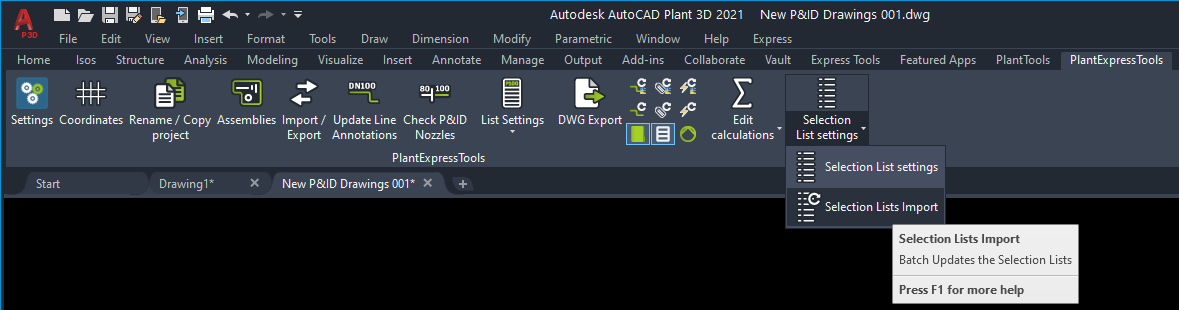
We open the main dialog again.

We see the configuration of the previous chapters. Make sure they are all disabled before continuing.
As with MS Access we create a new UDL file.
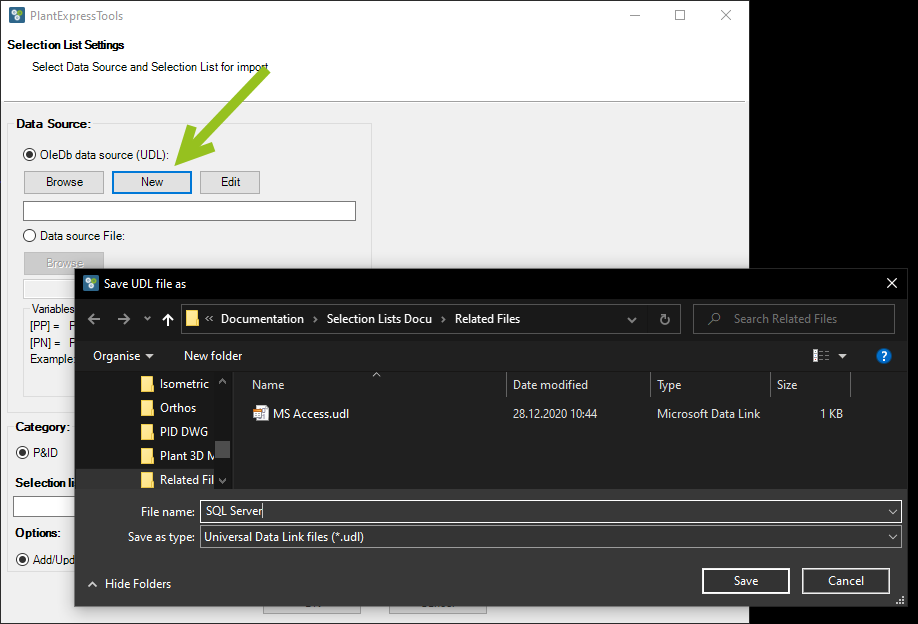
We get the same empty dialog.
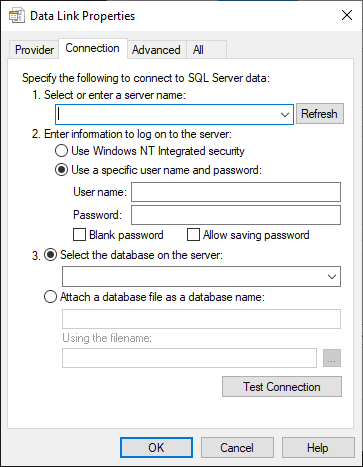
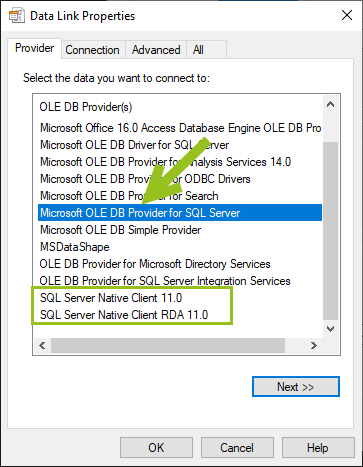
This time we need to select a SQL Server provider. Windows by default already have the "Microsoft OLE DB Provider for SQL Server" installed. The other Providers may come with installing SQL Server or SQL Server Management Studio. Or you can download them here.
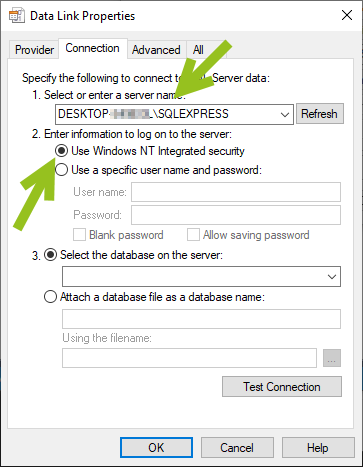
You type in the SQL Server name.
Typically SQL Server databases don't use their own user name and password to identify yourself, but rather use the Windows user name.
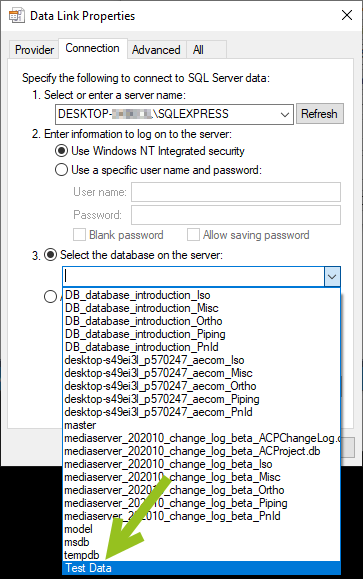
After you typed in the server name you can select the database from SQL Server.
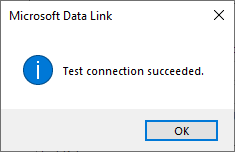
As with MS Access you should test the connection to make sure everything is ok.
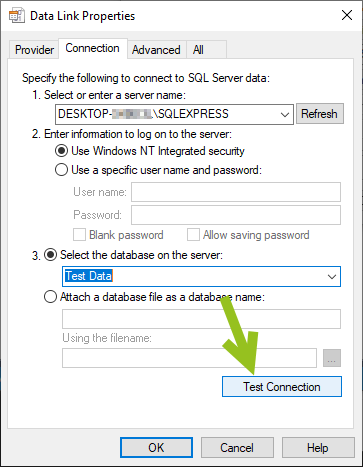
Make sure you get a positive result.
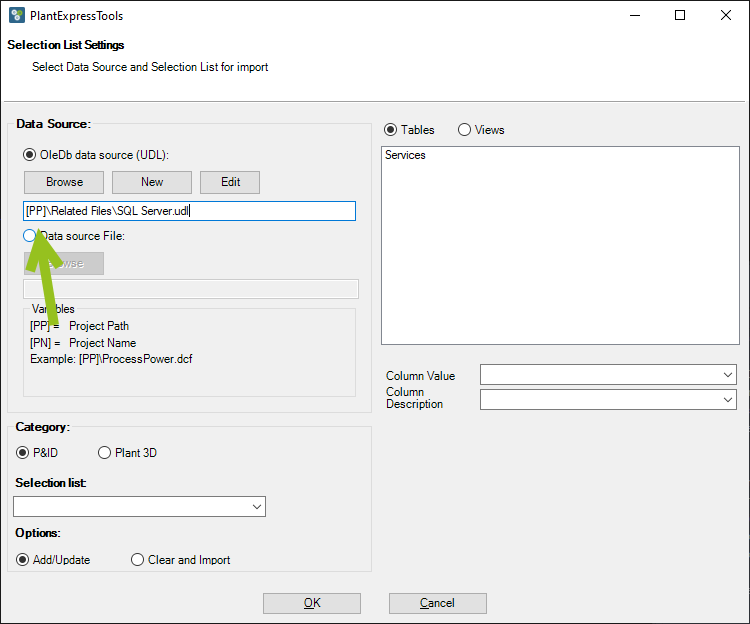
Again, the path and files name is shown.
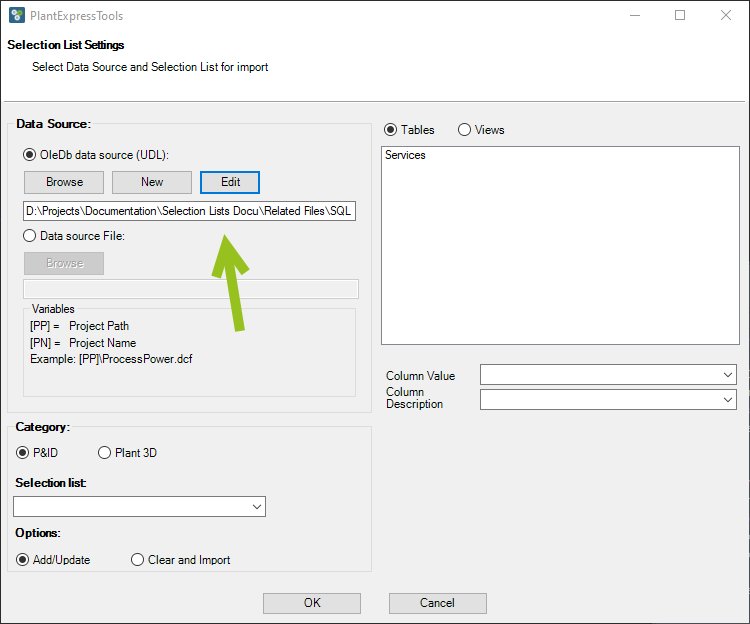
We make it relative again.
We select the table, columns and category settings.
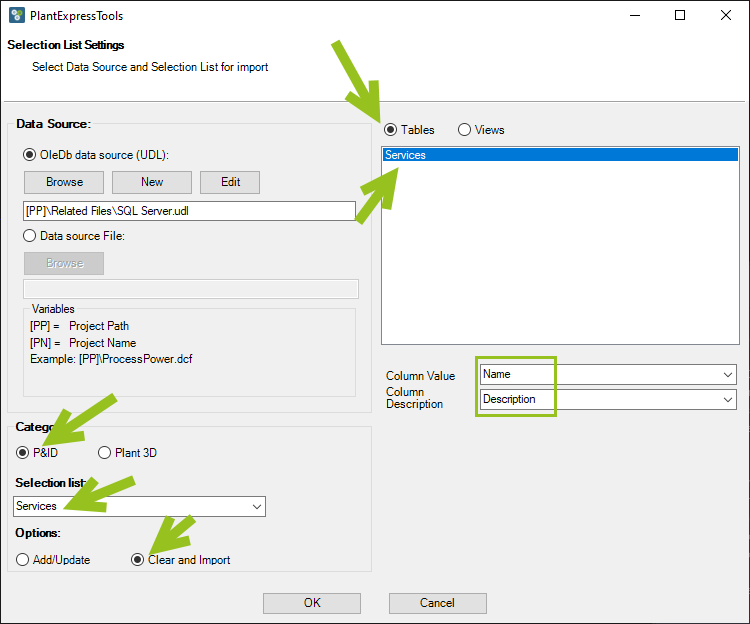
We see the new line.

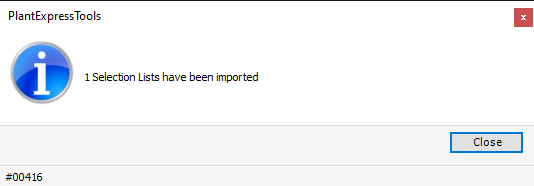
We update the Selection List.
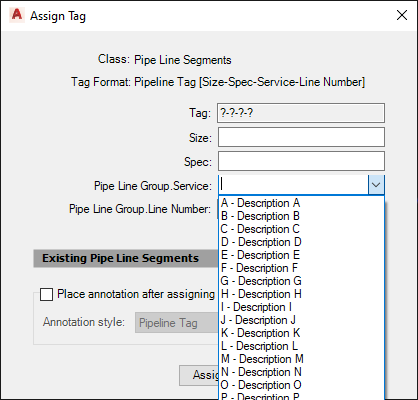
We get the result.
When we check we see the content from our SQL Server database.
Next Chapter: Delete Lists