|
<< Click to Display Table of Contents >> New List using MS Access |
  
|
|
<< Click to Display Table of Contents >> New List using MS Access |
|
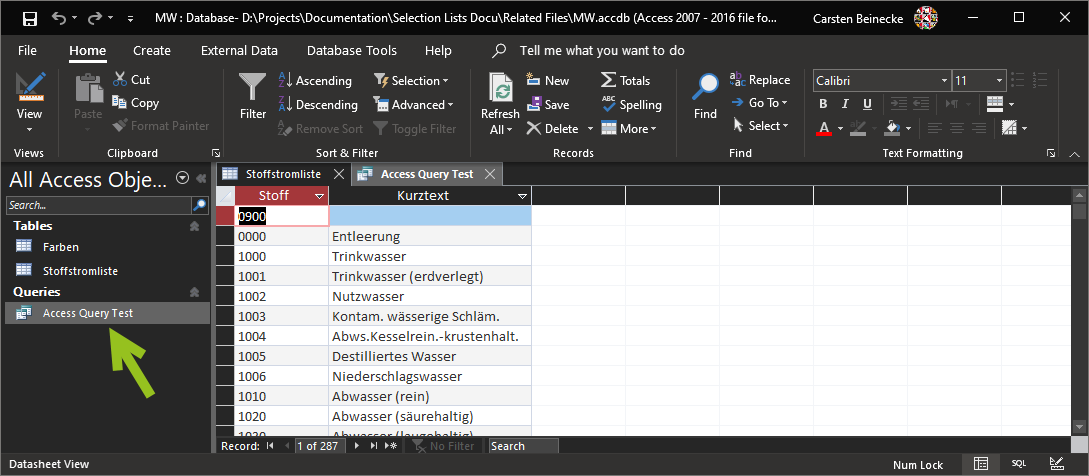
In this example we use a MS Access database with the table "Stoffstromliste". This is actually from a German customer.

But there is also a query "Access query Test" which contains only two rows from the table.
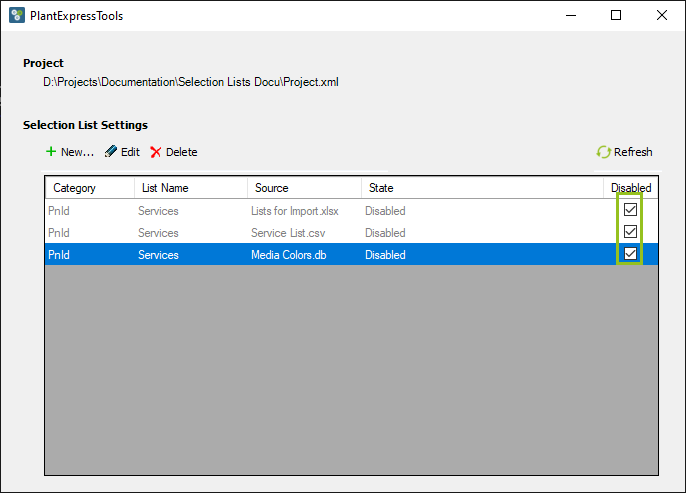
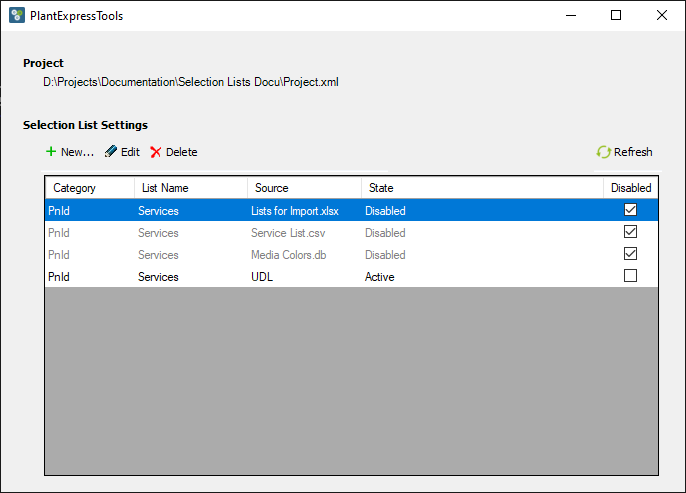
We open the main dialog again.

We see the configuration of the previous chapters. Make sure they are all disabled before continuing.
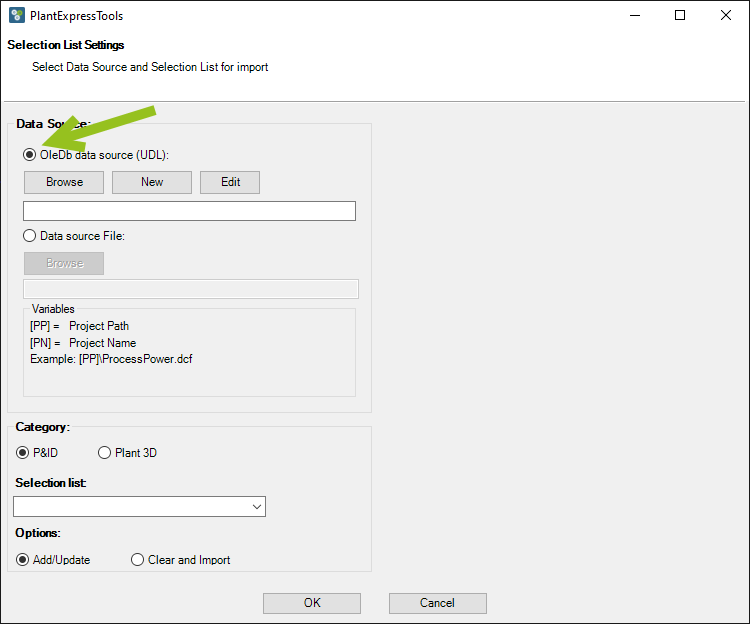
This time we must use "OleDb data source (UDL)" for the data source.
MS Access and SQL Server database will be accessed through so called OLE DB Provider. The link to such a data source will be established through a UDL file. Which is a Windows file.
If you already created a UDL file you can select this through the "Browse" button. but we will create a new one to show how you do it from scratch.
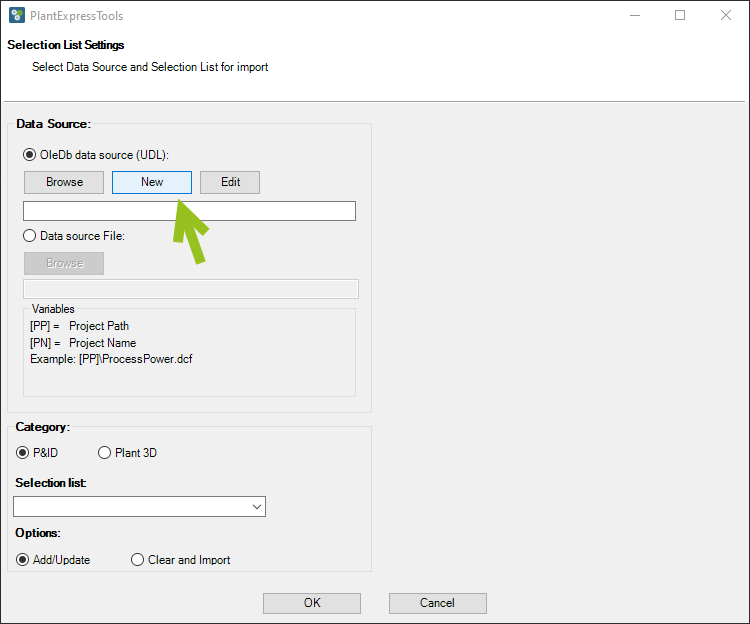
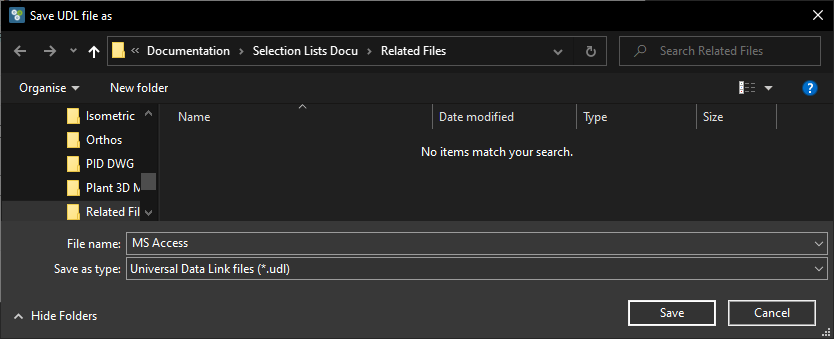
Click on "New".
Now you select a folder and type in a file name. As with the Excel, CSV and SQLite examples, you probably want to put the file somewhere under your project folder, if the database is project specific.
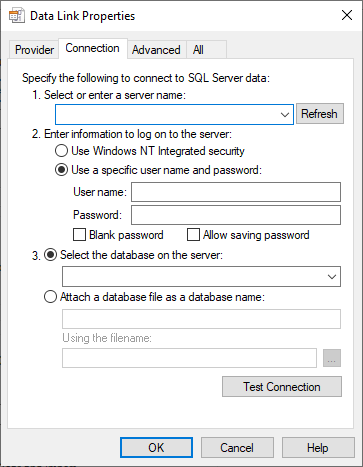
Now the "Data Link Properties" dialog opens which is a standard dialog of Windows.
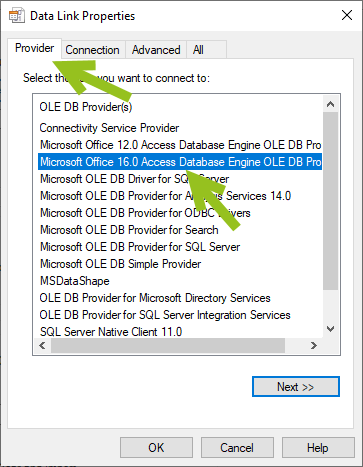
Click on the "Provider" tab and you see all OLE DB Providers installed on your machine. Several providers are installed with Windows.
The provider for Access are not available by default. Here you can find the latest one.
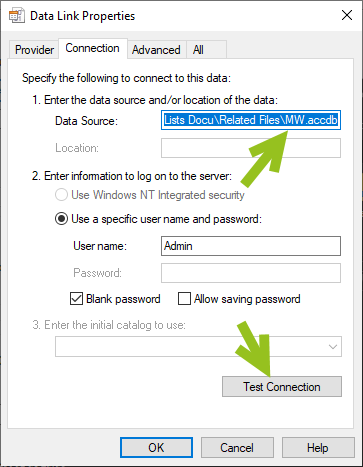
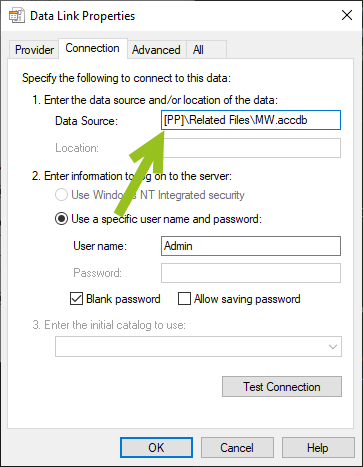
The we switch back to the "Connection" tab and select the path and file name for our MS Access database.
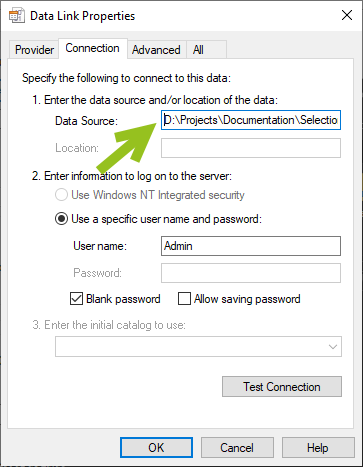
Unfortunately, there is no browse button so you have to copy the path and file name behind each other or type it in.
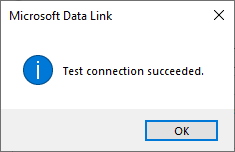
To make sure everything is ok, click on the "Test Connection" button. This makes sure that all settings are complete and valid.
You get this dialog when everything is ok.
After closing the "Data Link Properties" dialog, you see the path and file name in the configuration dialog.
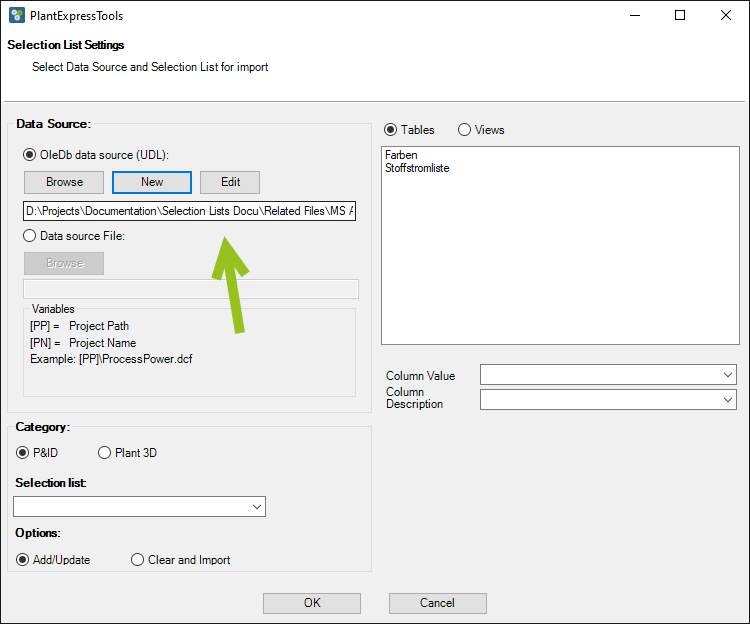
You can change the path again to make it relative.

Now we want to make the path in the UDL file relative too. For that, we click on "Edit".
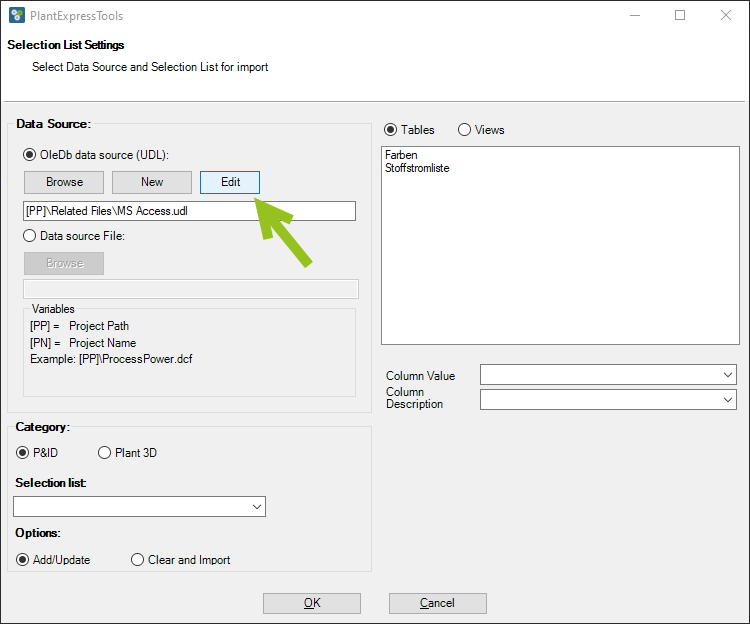
Now we change the path the same way to use the [PP] variable.
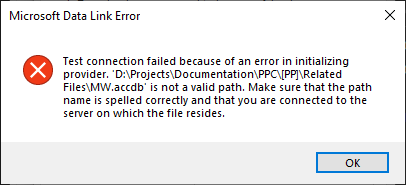
However, since this is a Windows dialog, Windows doesn't understand what [PP] means. Therefore, when you click on "Test Connection" you will get an error message. So before you change the path, make sure that you get a positive result when clicking on "Test Connection".
Tipp: The use of the [PP] variable is not needed anymore. The Selection List function will adapt the path in the UDL file automatically to a relative path. For exampl, if the UDL files and MS Access database are in the same folder, Windows doesn't require a path at all.
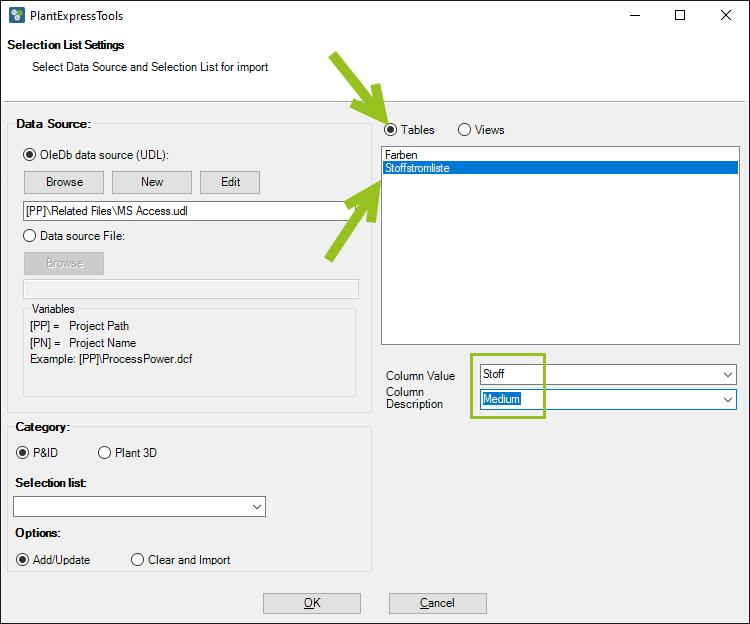
Click on OK in the Data Link Properties dialog. and select "Tables" and then the "Stoffstromliste". You the select Stoff and Medium.
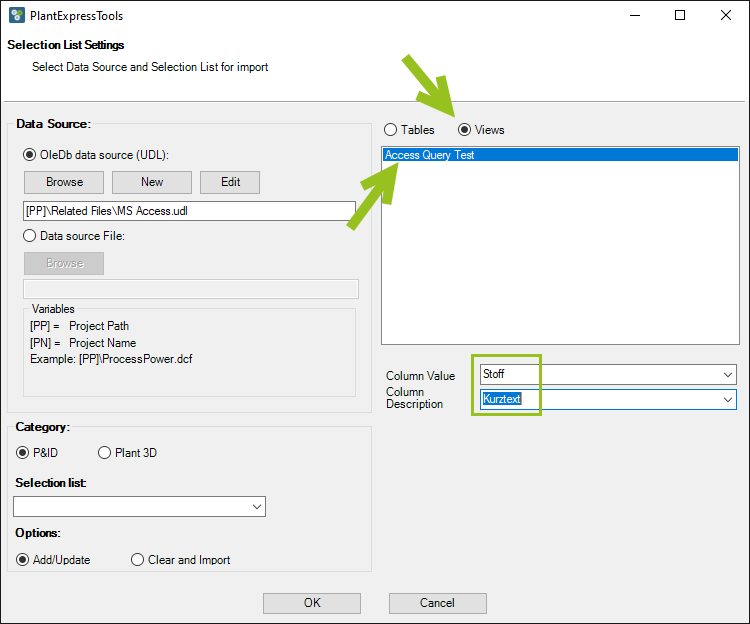
Now lets have a look at Views. We have just the "Access Query Test" view. And now we select Stoff and Kurztext.
We select the same Category settings as before.
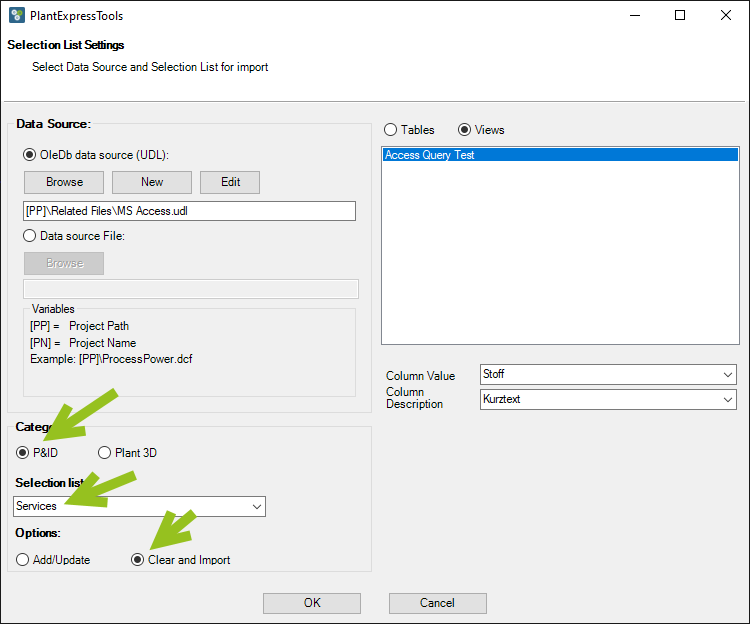
We see the new line.
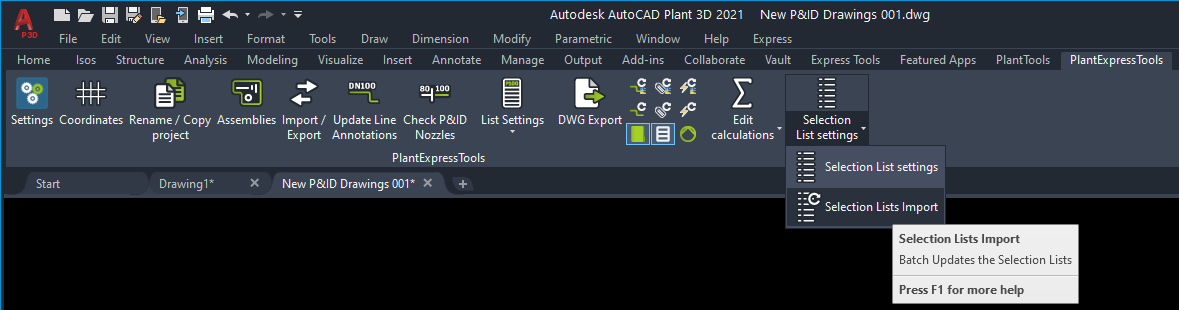
We update the Selection List.
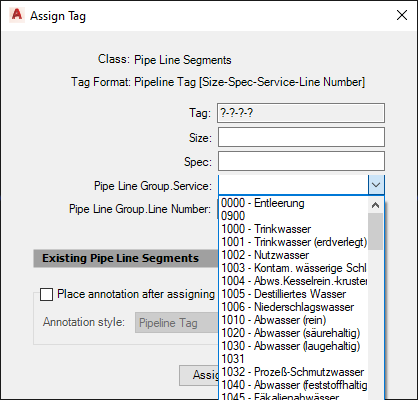
We get the result.
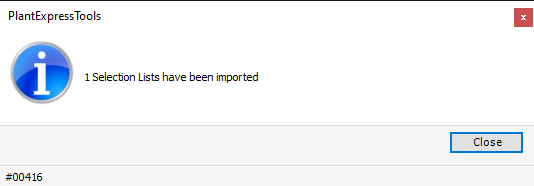
When we check we see the content from our MS Access database.
Next Chapter: New List using SQL Server