|
<< Click to Display Table of Contents >> How to use |
  
|
|
<< Click to Display Table of Contents >> How to use |
|
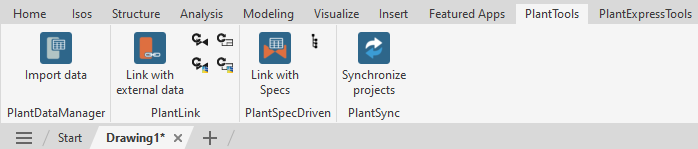
This chapter describes the workflow of PlantSync and how to use it.
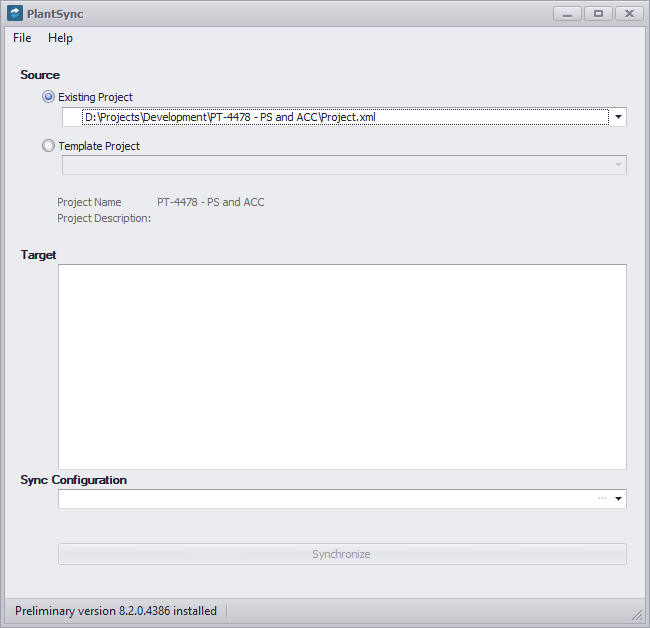
PlantSync can be found in the PlantTools ribbon.
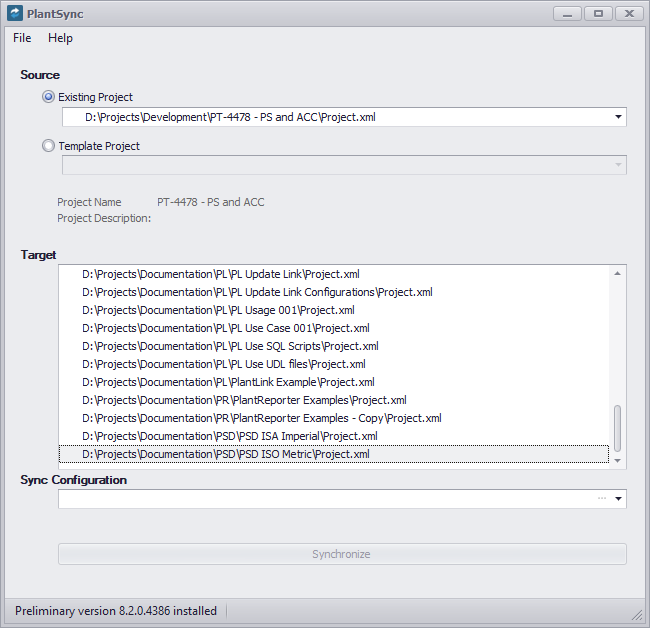
The first thing you want to do is selecting the source project which holds the project you want to check your target projects against. By default the currently loaded project is shown as the Existing Project.
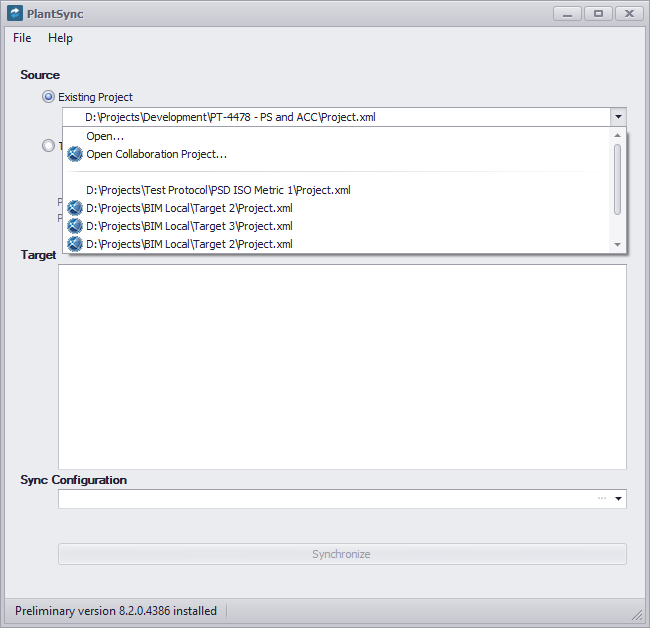
You can also select from the list recently used projects as well as using Open... or Open Collaboration Project... to select a project which is not in the list.
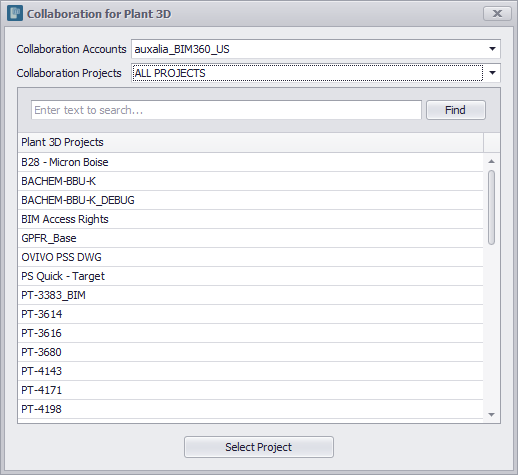
When using Open Collaboration Project... the Collaboration for Plant 3D dialog appears and start loading the project list.
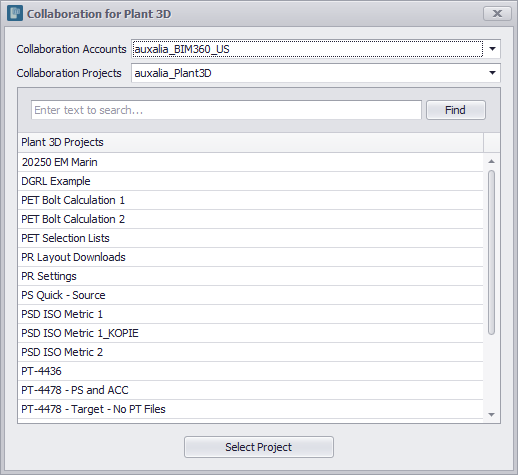
The list of Plant 3D projects is shown from the last used Collaboration Account/Project.
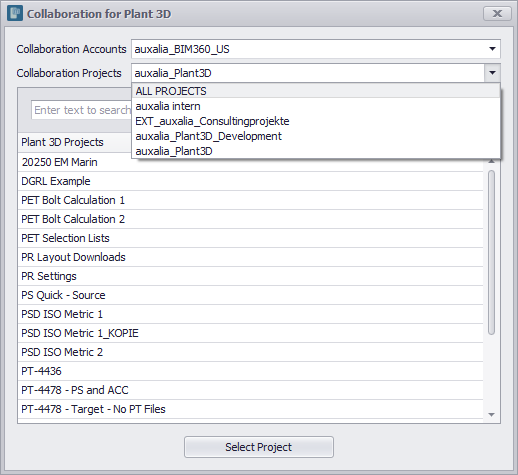
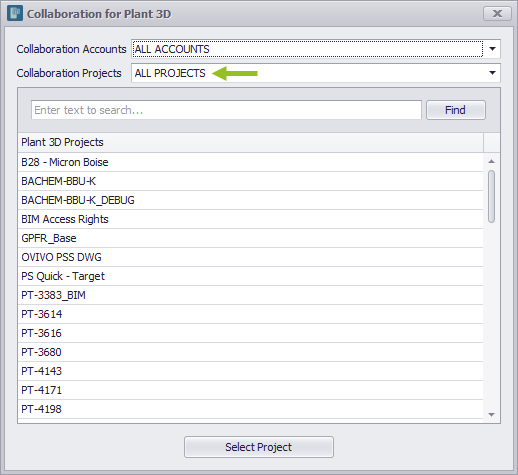
You can also select ALL PROJECTS for the Collaboration Projects to get all Plant 3D projects of all Collaboration Projects.
Of course, loading time of all the Plant 3D projects into the list depends on the number of Collaboration Projects as well as the number of Plant 3D projects in each Collaboration Projects.
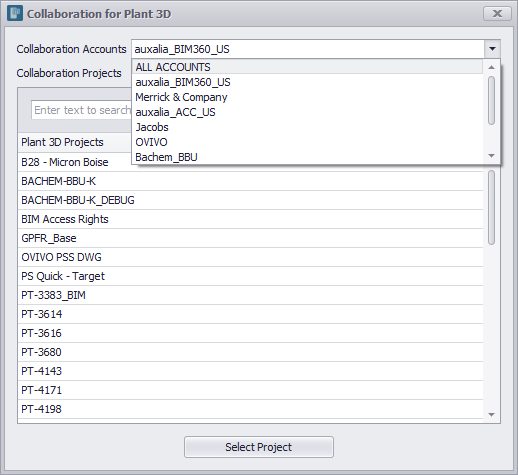
You can even select ALL ACCOUNTS at the Collaboration Accounts.
This will automatically set the Collaboration Projects to ALL PROJECTS. After all Plant 3D projects are loaded you can select a specific Collaboration Project.
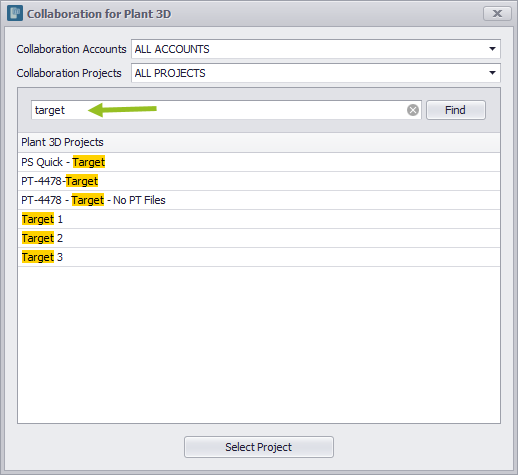
You can also enter a text to filter the projects.
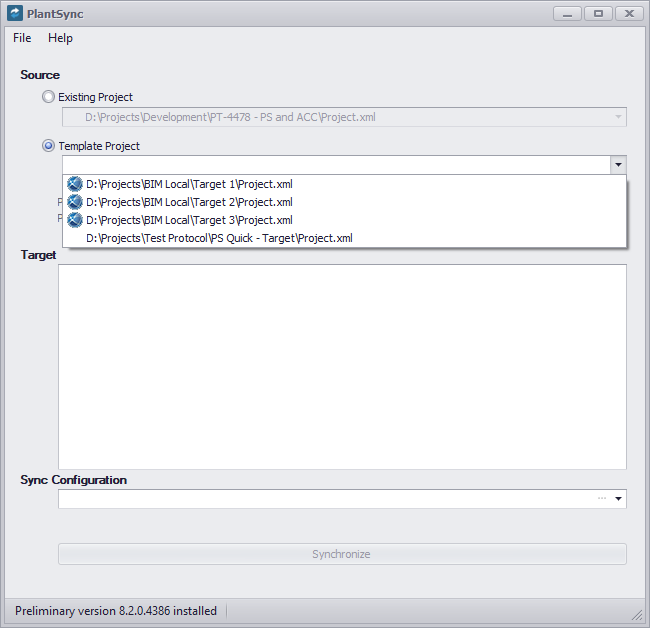
Finally, you can also select one of the Template Projects defined in the Settings.
|
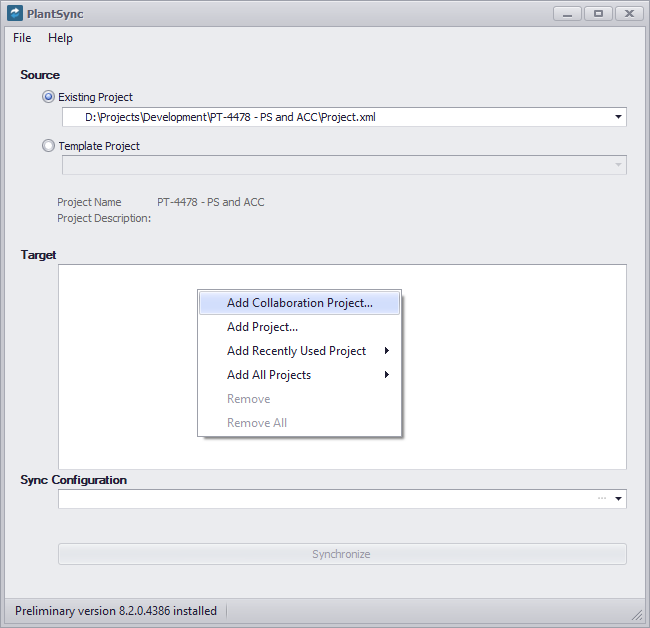
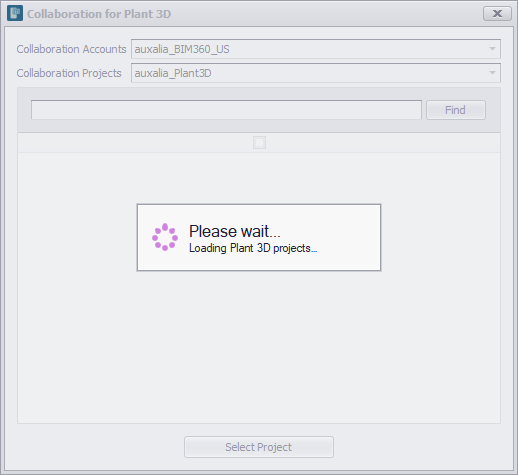
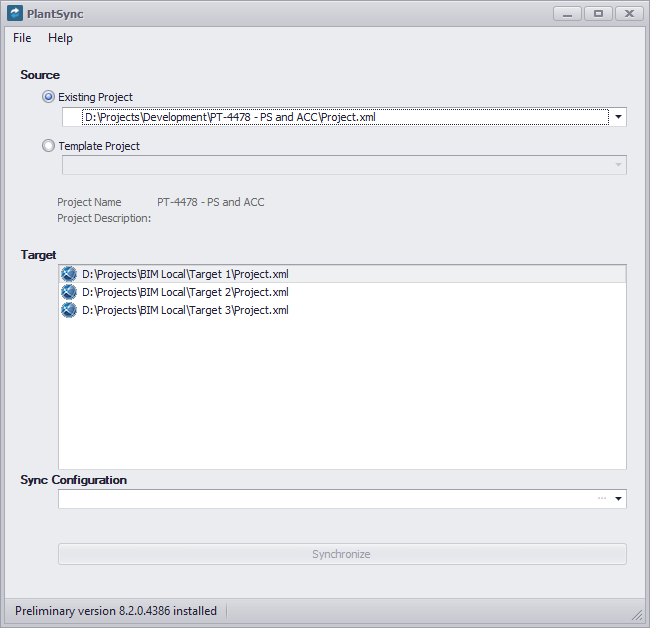
The next step is selecting one or more target projects which should be receiving the changes necessary based on the source project. The are various ways of selecting the target projects. Using Add Collaboration Project... opens the Collaboration for Plant 3D dialog.
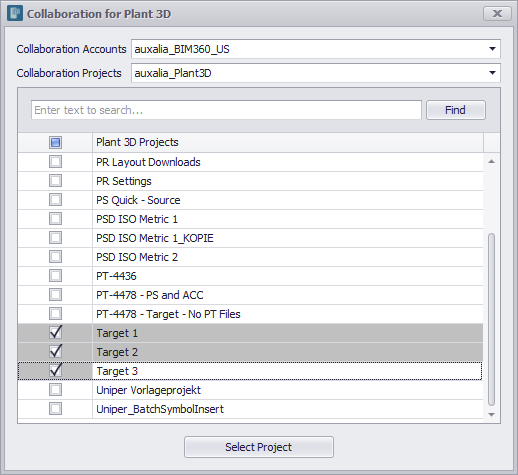
Now all Plant 3D projects of the last used Collaboration Account /Project will be loaded.
As mentioned above under selecting the source project, you can also select ALL ACCOUNTS or ALL PROJECTS for the Collaboration Account / Project to see more/all your Plant 3D projects. In the dialog you can multi-select projects when needed.
If a project doesn't already exist in your local work folder you will see a progress panel showing you the name of the downloaded project and a counter of the downloaded project in case you multi-selected projects.
At the end the projects will be shown in the list.
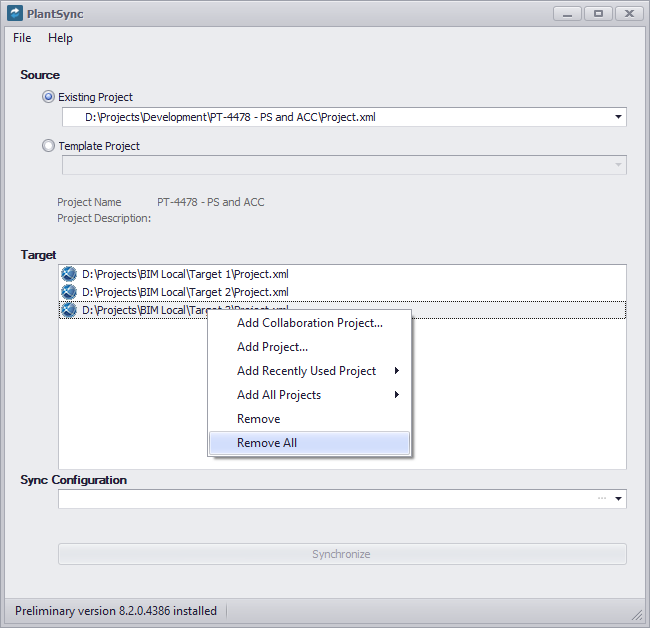
You can use Remove All or Remove to remove all or a single project from the list.
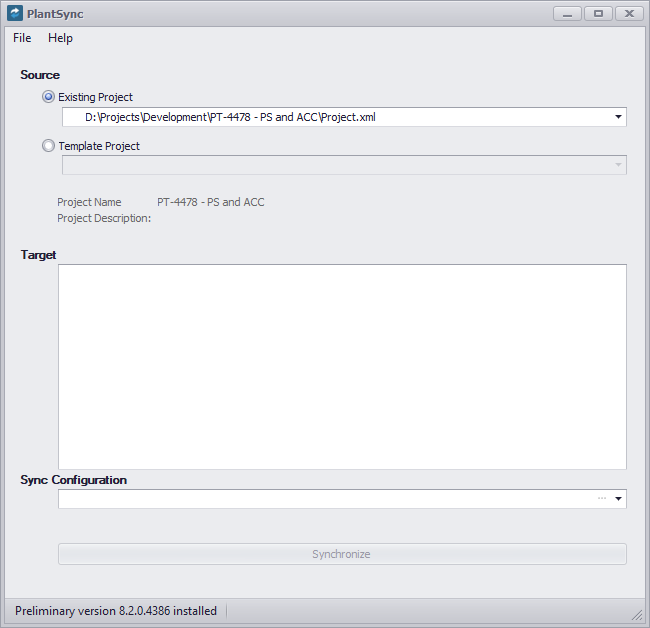
Now everything was removed.
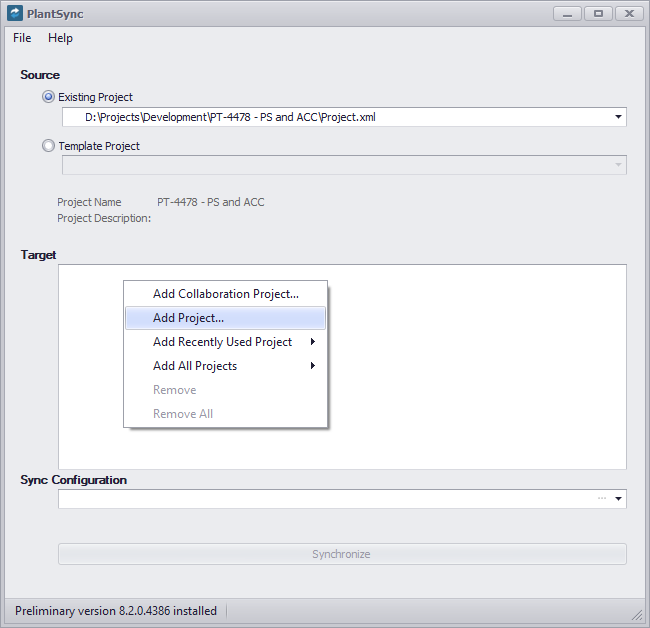
You can also use Add Project... to add a single project to the list of target projects.
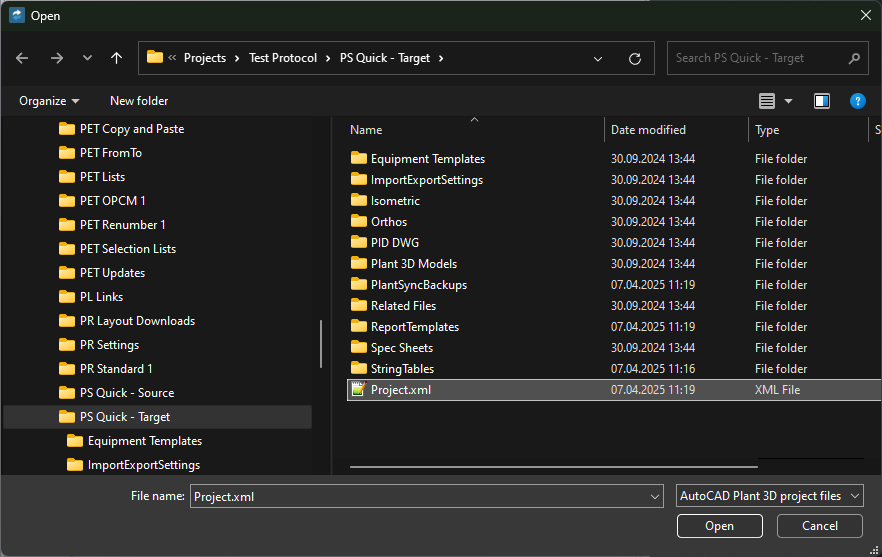
The Windows File Selector opens and you can navigate to the target project and select the Project.xml.
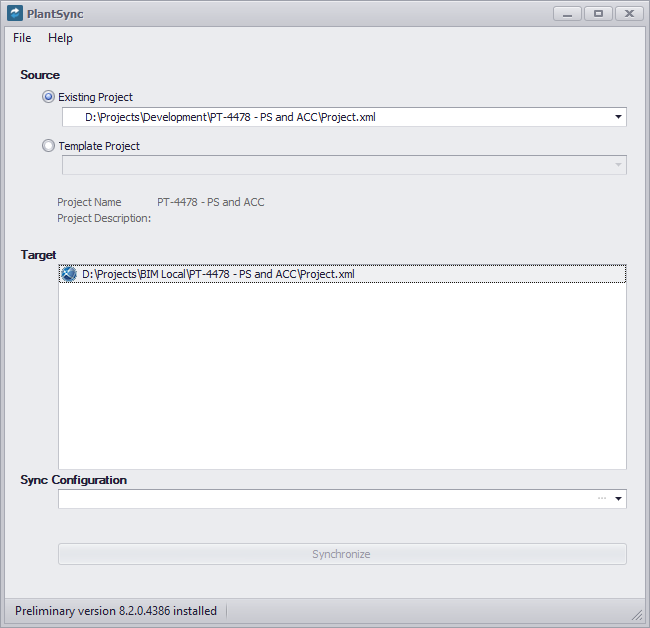
If the selected project was a Collaboration project which already exists in your local work folder the typical ACC icon will automatically shown.
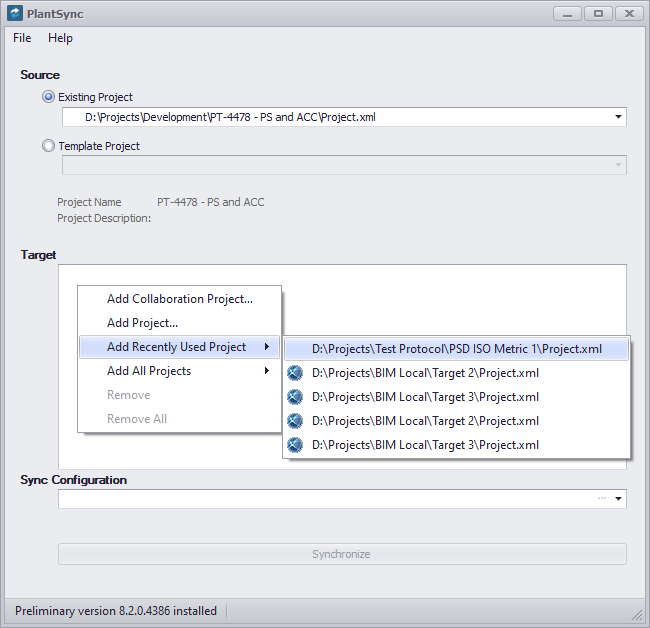
You can also from the recently used list by selecting Add Recently Used Project. Remark: Projects which don't exist anymore will be removed from the list.
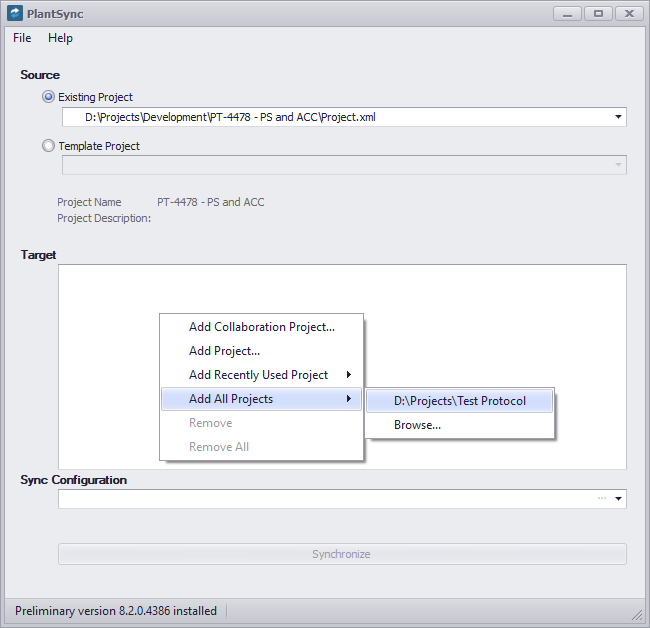
If you defined a valid folder in the Settings as the Project Top Directory you can select this folder to get all project from there.
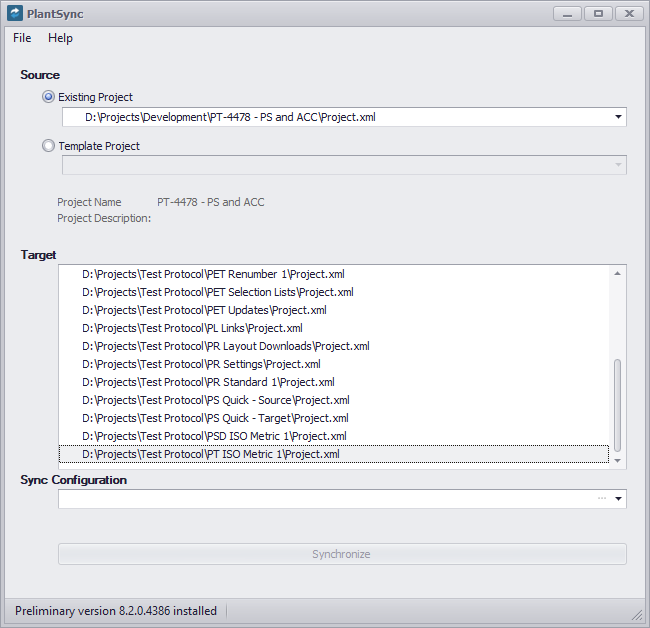
All the projects are now shown in the list.
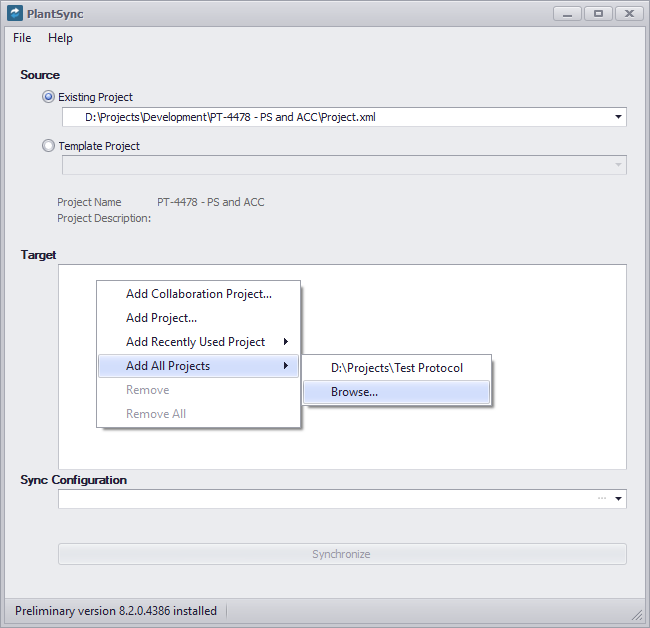
If you want to select another folder under where to search for projects you select Browse....
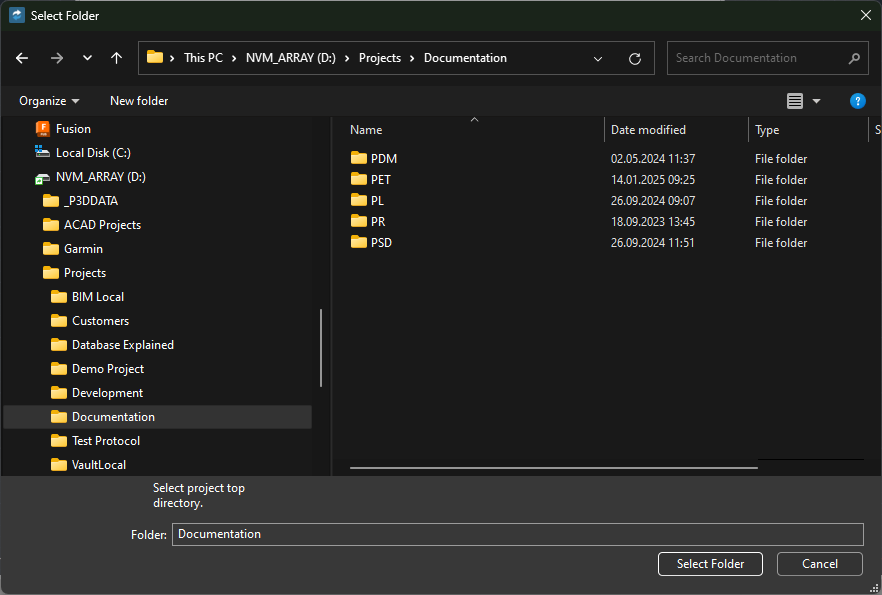
The Windows File Explorer opens where you select your folder and click on Select Folder.
This too will then load all the project into the list.
|
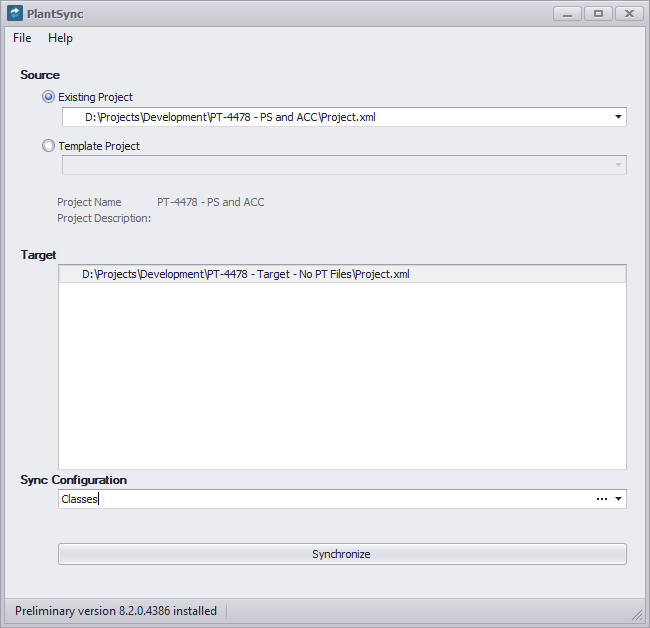
Next you select one of your Sync Configurations. The details of creating a Sync Configuration are explained under Sync Configuration.
The selected Sync Configuration is then shown in the dialog.
|
The final step is to start the synchronization process with the Synchronize button.
This will run through the configurations defined in the Sync Configuration. The process will be executed for each target project. If needed, you can terminate the pre-synchronization process by clicking on the Cancel button.
If you selected Collaboration projects...
... then a downloading panel will appear for each of the target Collaboration projects showing the name of the project an a counter, before checking for differences between the source and the target projects.
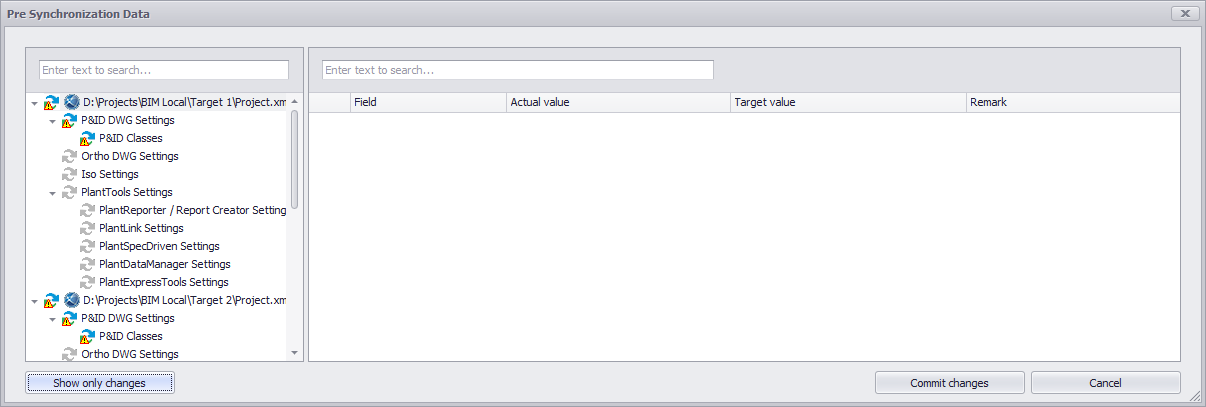
At the end you will be shown the the differences between the source and target project. If you selected multiple project you will see each target project separately with its individual differences compared to the source project.
If you click on the Show all button, you can see also the categories defined in the Sync Configuration where there are no differences.
The Cancel button allows you to terminate the synchronization. |
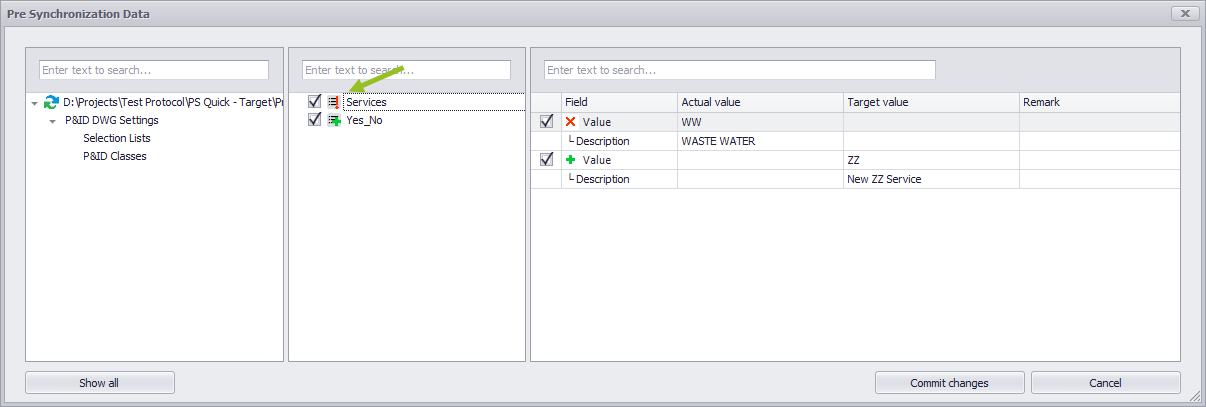
As mentioned above, the dialog shows you the differences between the source and the target projects. Here is an example of a modified Selection List. The ! indicated a change. On the right side we can then see, that the value WW will be removed, indicated by the X. And the value ZZ will be added with the Description New ZZ Service indicated with the +.
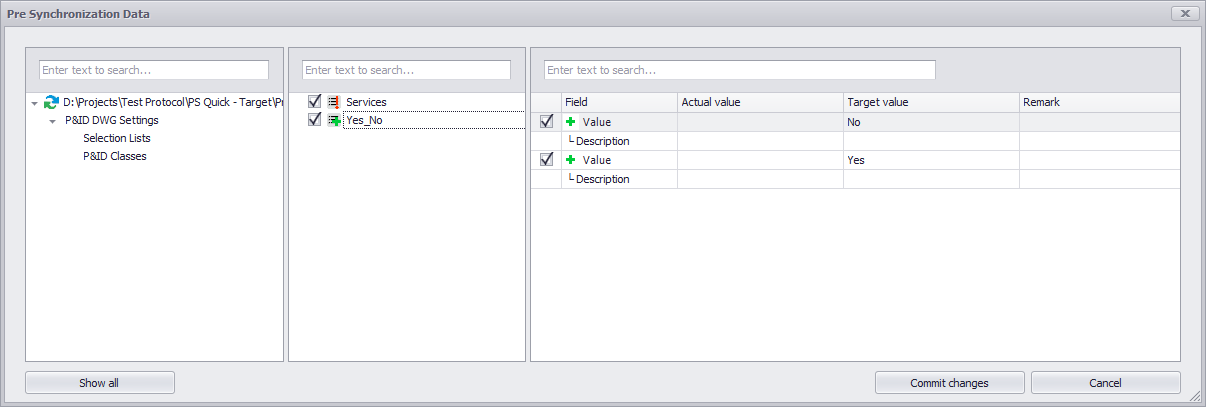
In this example we see, that the Selection List Yes_No has a + because it is a new Selection List. And on the right side we see the added values for the new Selection List.
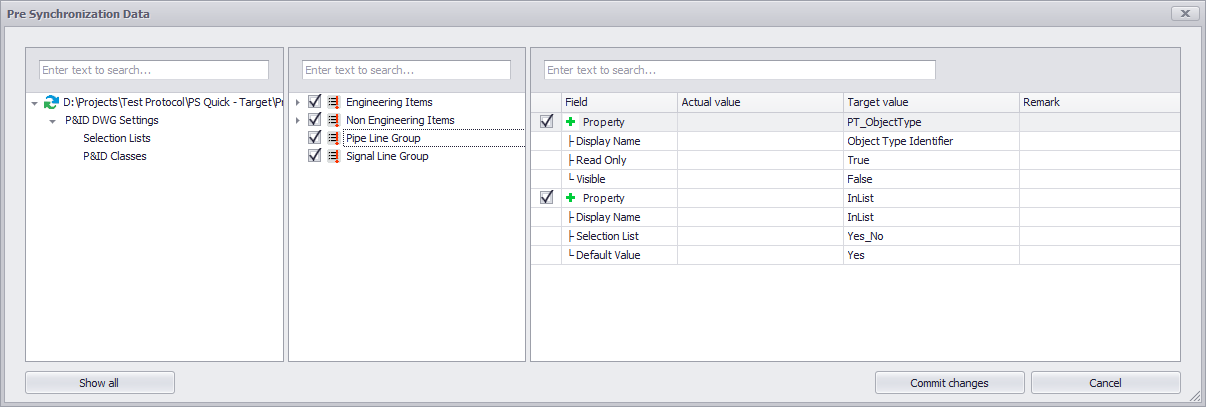
If you select a class you see the changes made to the class. In this example two new properties will be added. You can also see their attributes like Display name, Read Only, Visible, Selection List name, Default Value. Only the attribute which differ from the Plant 3D's default setting are shown. For example, a new property is always read-writable, but of it is set to Read-Only = True, this is shown in the dialog.
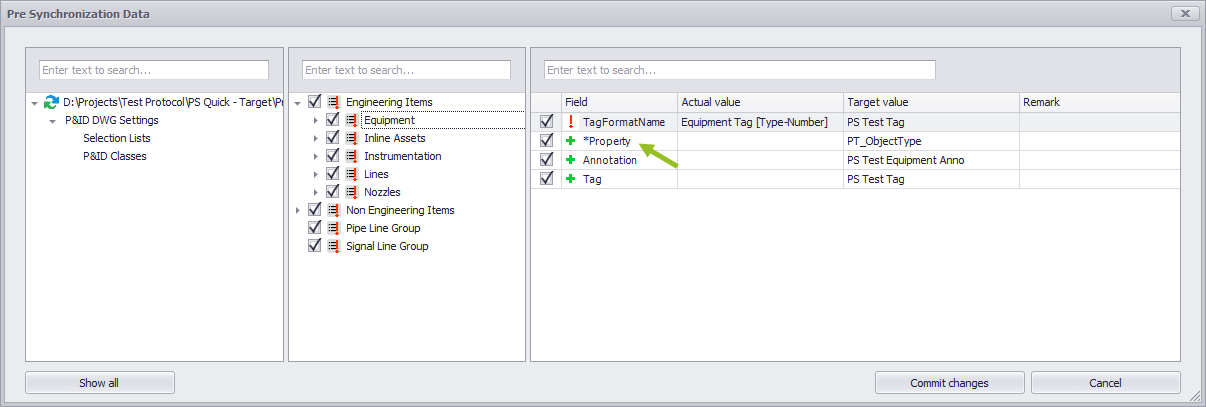
If you see an * before a value in the column Field it means, that this setting comes from a parent class above. It is actually the same as in Plant 3D's Project Setup.
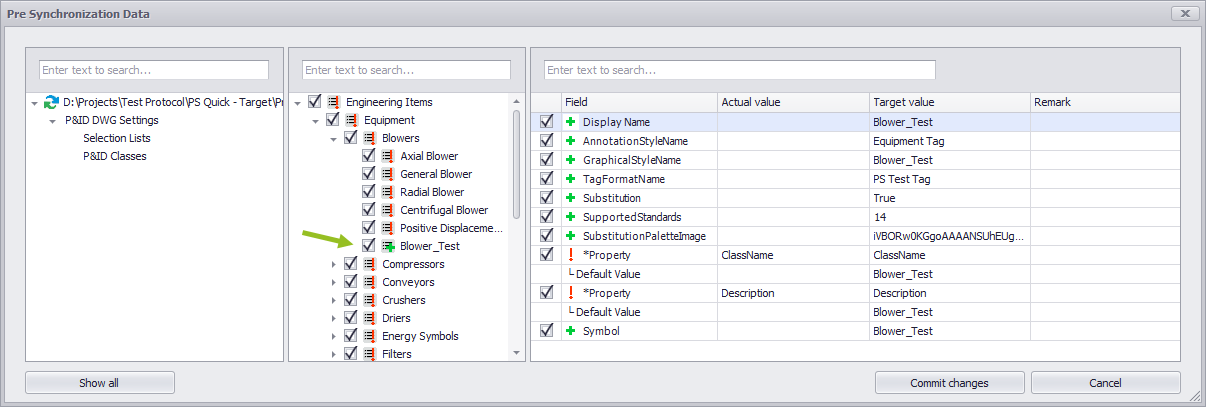
If a new class ill be created you will see at the class attributes on the right side. Remark: When only choosing Add Classes in the Synchronization Configuration, then PlantSync will also any missing Tag Format, Annotation and Symbol defined for this class.
You can also filter in any of the three sections of the dialog. Here an example of filtering within the classes.
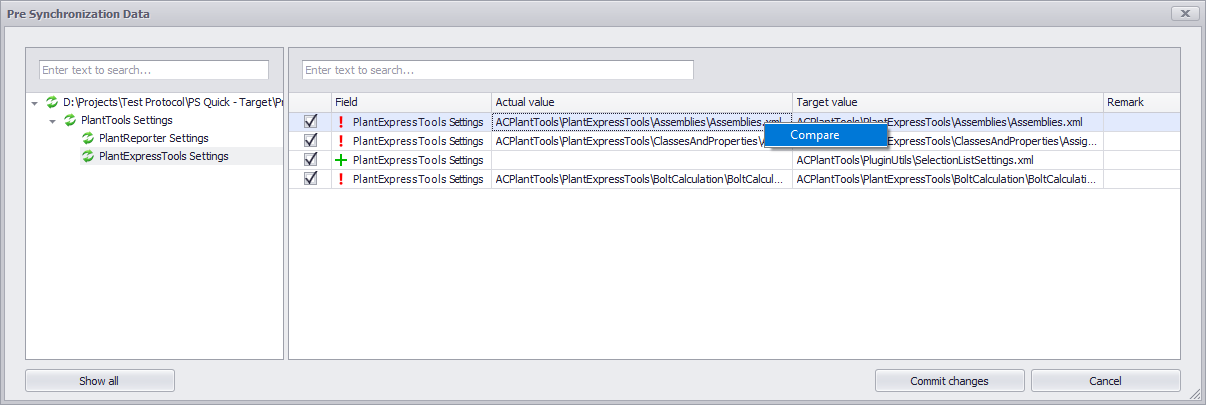
If you have text files like an xml file you can make a right-click on the row and select Compare to start the compare app (if installed). See Settings.
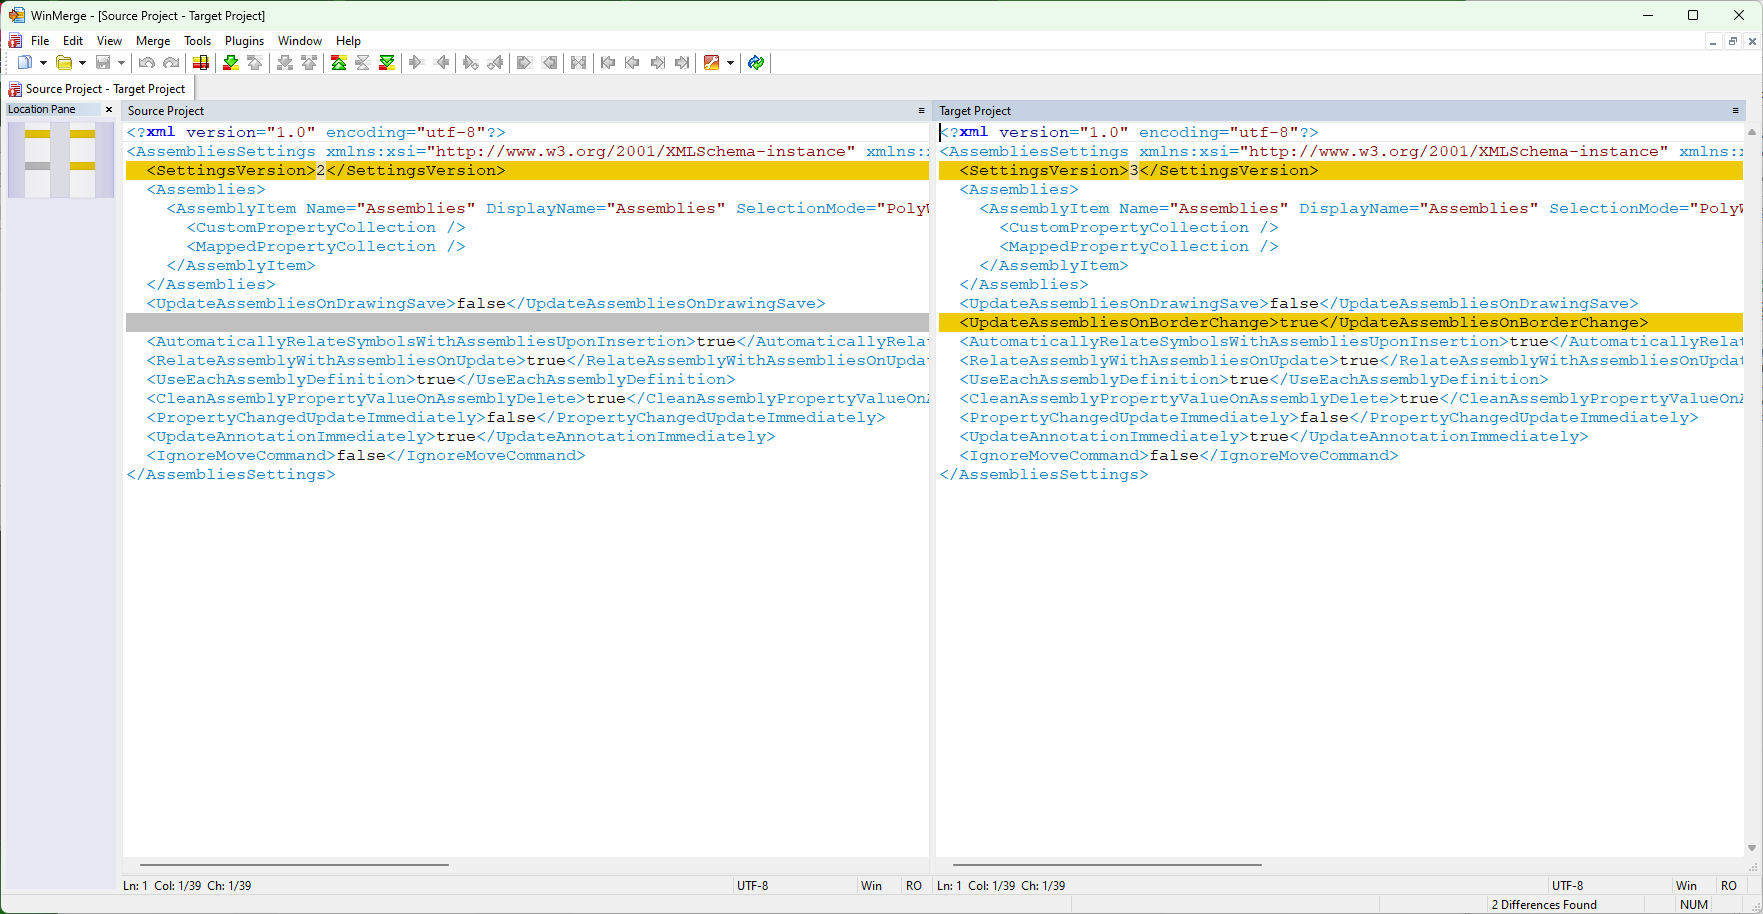
This is how WinMerge shows the differences.
Remark: You cannot use the compare app to copy the changes between the source and target project files. It is just to see the differences. PlantSync will overwrite the file later. More Details about the Pre Synchronization Data can be found under Sync Configuration. |
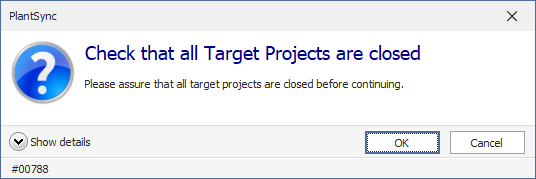
If you click on Commit changes you will first be shown a dialog asking if you are sure if all projects have been closed. This is especially important for regular projects. With Collaboration Projects the changes can be commited only if PlantSync will be able to check out the project.
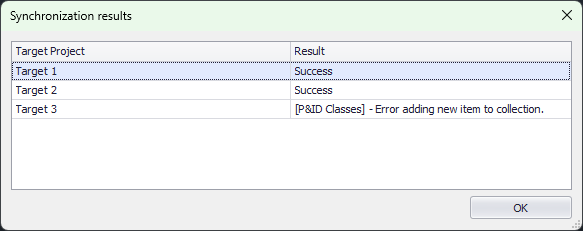
After clicking OK the changes you selected you will be committed and Result dialog will be shown informing you about the success state.
Remark: If the Result column doesn't show the word Success, it will inform you about the issue which was encountered. In such a case we recommend starting the synchronization process again and commit only parts of the setup. For example, if there is an issue with the P&ID Classes try committing only the PipeLineGroup and SignalLineGroup and if successful, try again with the Non Engineering Items class and then start committing the sub nodes under Engineering Items like, Equipment, Inline Assets and so on. |