|
<< Click to Display Table of Contents >> Batch Configuration Dialog |
  
|
|
<< Click to Display Table of Contents >> Batch Configuration Dialog |
|
The chapter describes the Batch Configuration dialog and how to setup a Batch Configuration.
![]() Create new Batch Configuration
Create new Batch Configuration
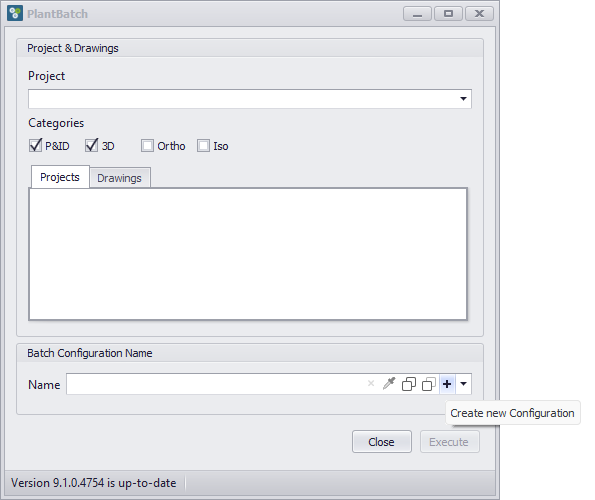
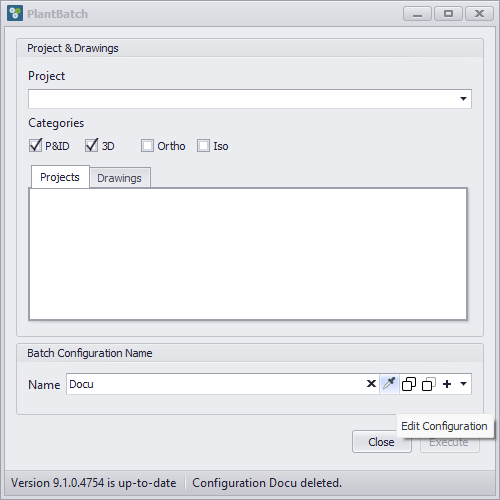
To create a new Batch Configuration, click the plus button in the Batch Configuration Name control on the Main Dialog.
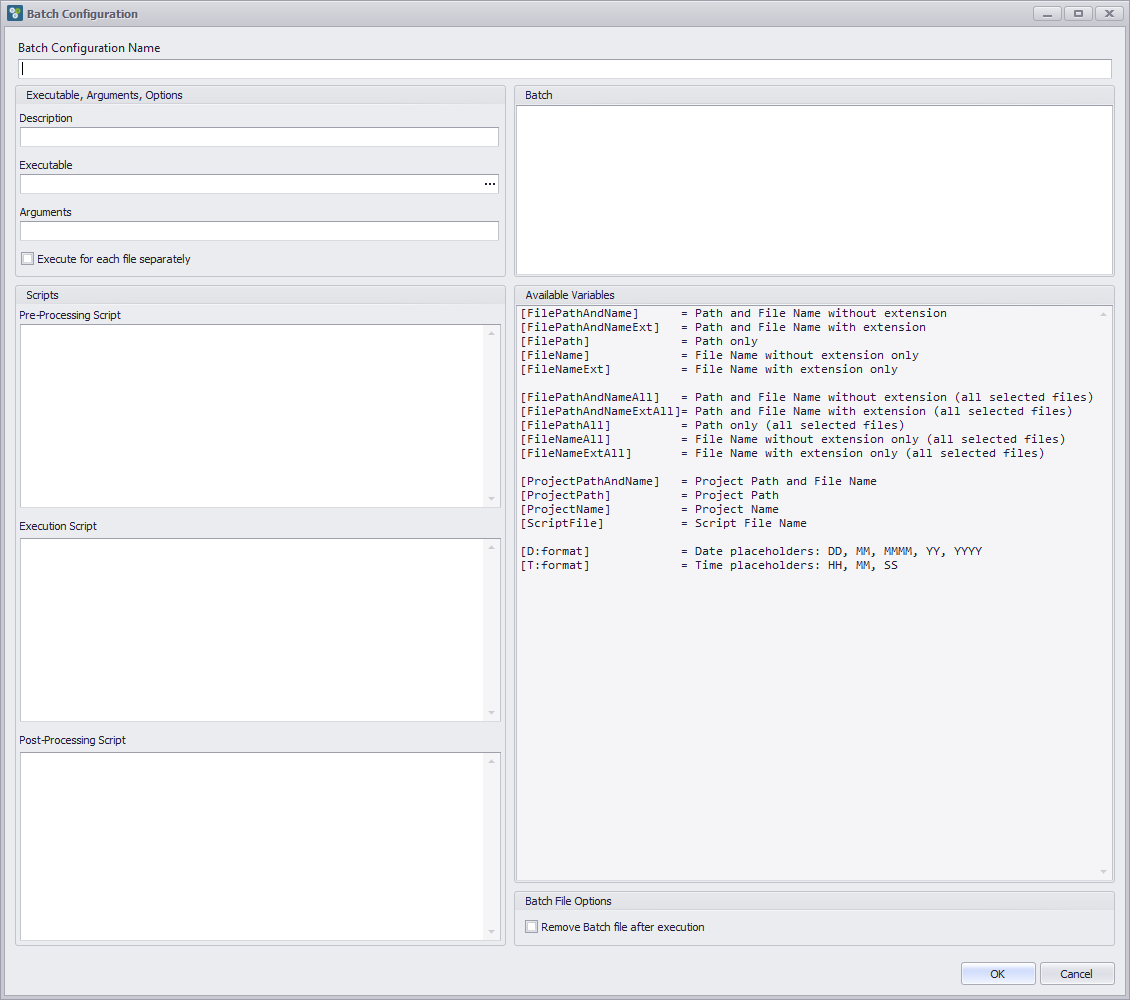
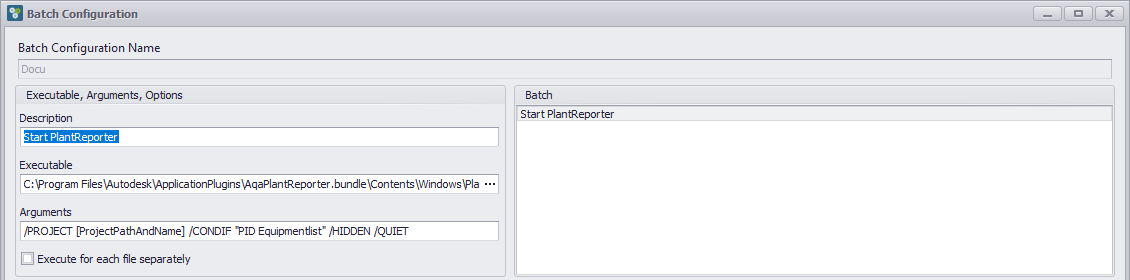
The Batch Configuration Dialog opens. Start by entering a unique name for the configuration.
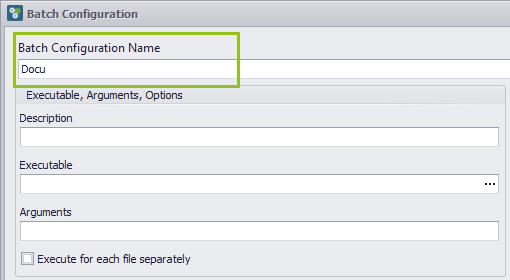
Type in a unique name for your Batch Configuration.
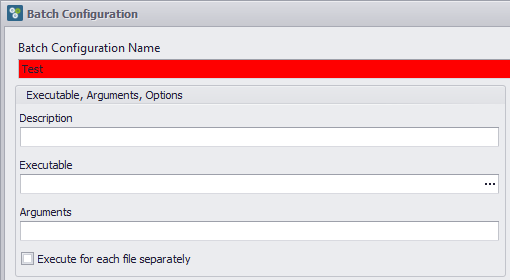
If the configuration name already exists, the name field is highlighted and the OK button is disabled.
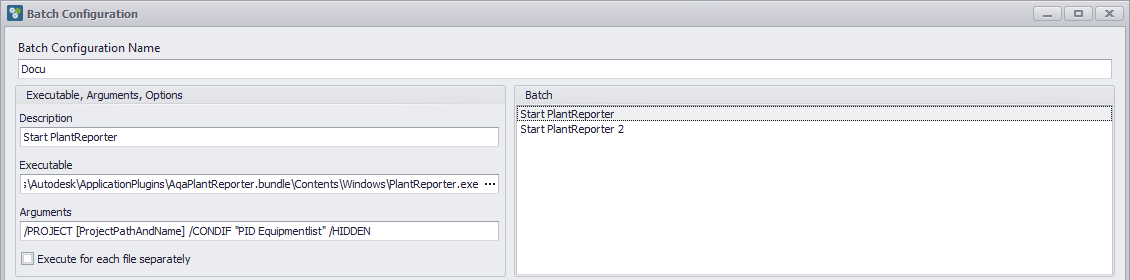
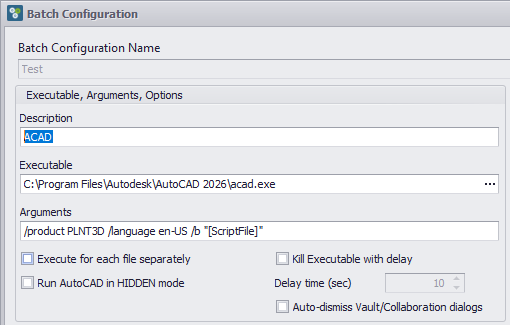
For each Batch Step, define a description for the step.
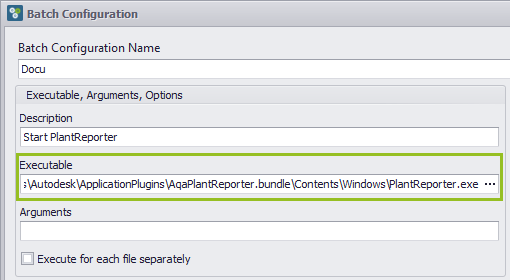
Next select the executable file which should be executed in this step.
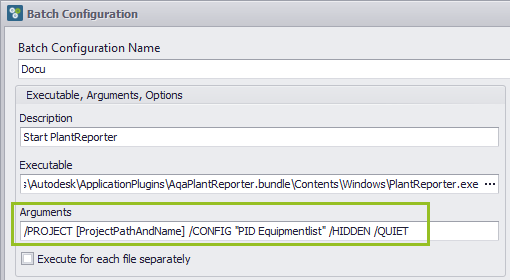
Optionally define additional command line arguments for the executable.
|
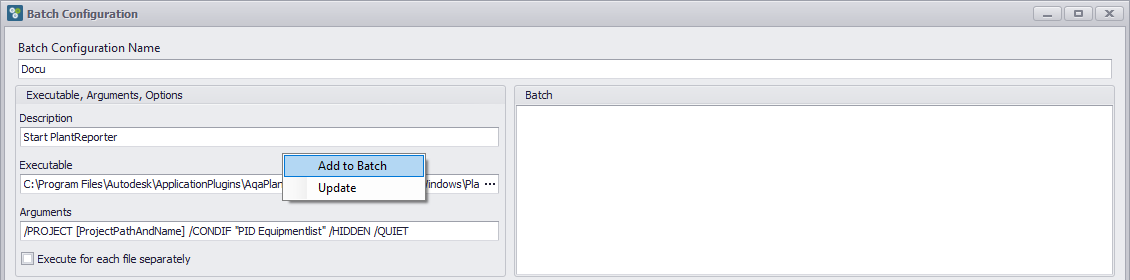
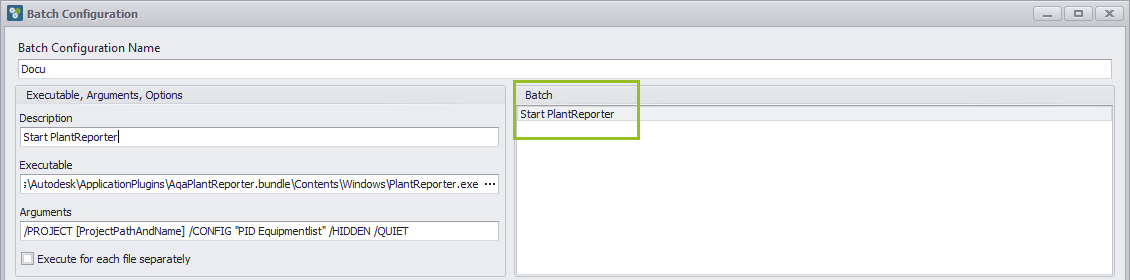
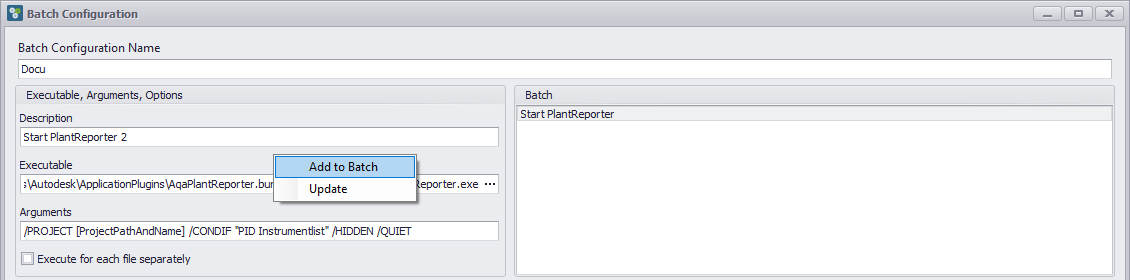
To add a Batch Step, click the add button and enter a description for the new step.
The step is added to the list on the right.
|
Select an existing Batch Step to update its settings. Changes are applied to the selected step when you switch to another step or close the dialog.
|
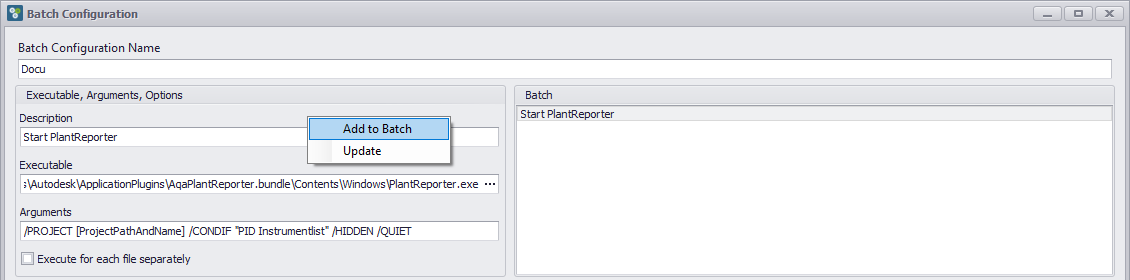
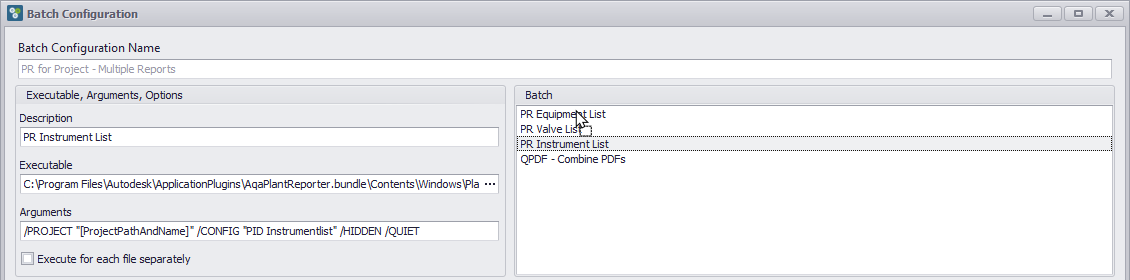
Repeat the same process to add additional Batch Steps. The order in the list defines the execution order in the generated batch file.
Use the step list to switch between steps and review or modify their settings.
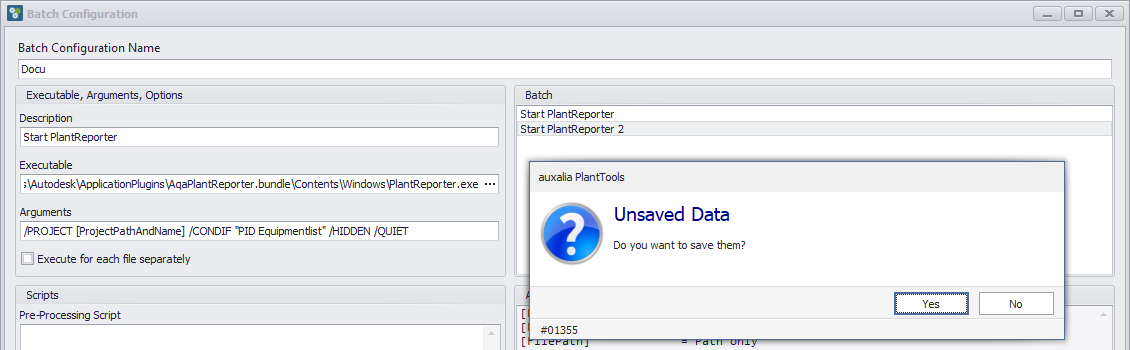
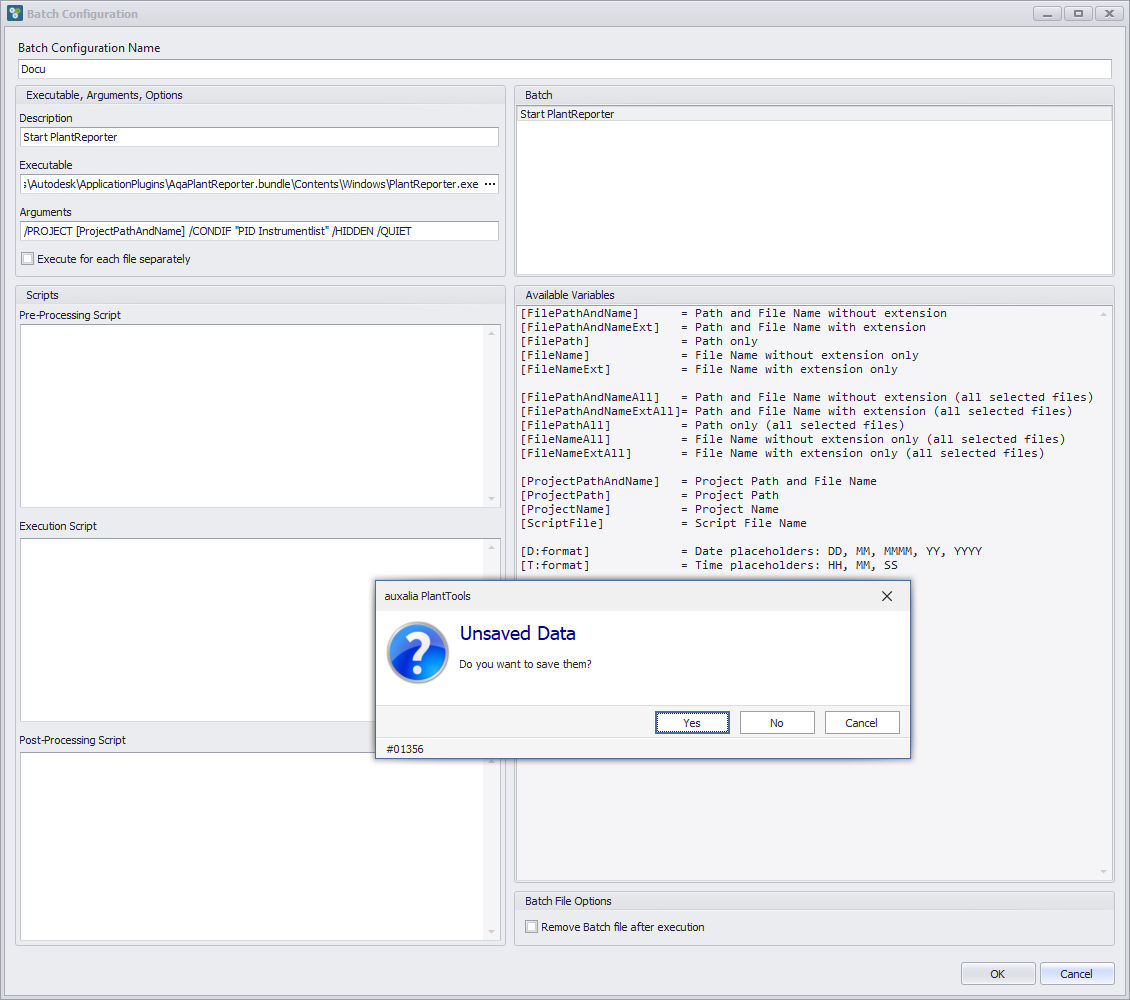
If you switch to another step while there are unsaved changes, PlantBatch will prompt you to save or discard the changes.
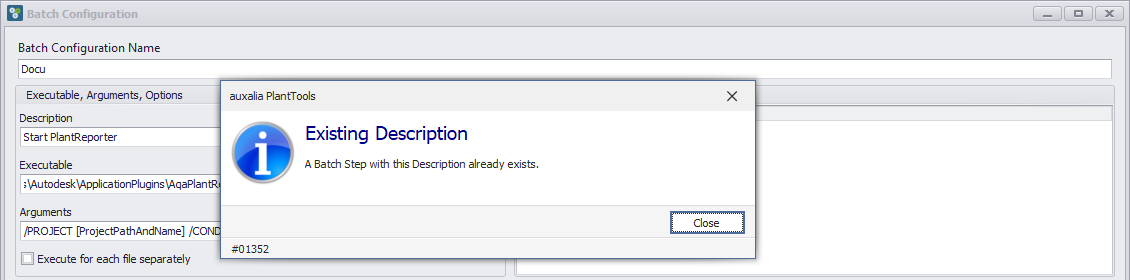
Each Batch Step description must be unique. If the description already exists, you need to enter a different description.
After a description is not unique, the Batch Step will not be created.
After entering a unique description, the Batch Step can be created successfully. |
To edit a Batch Step, select it in the list and modify its settings.
|
To change the order of the Batch Steps you simply Drag & Drop a line.
It will end at the new location now.
|
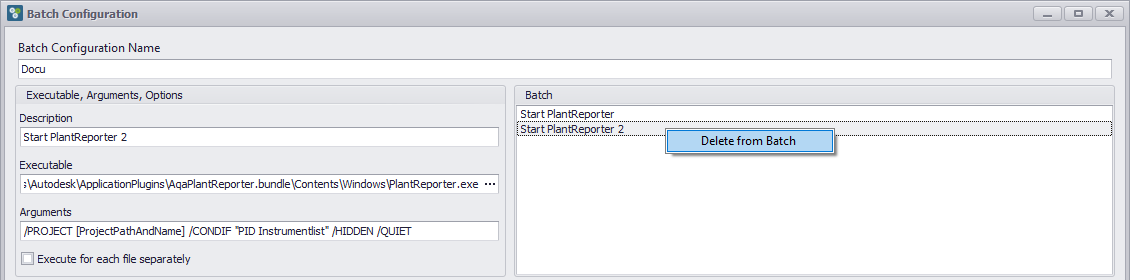
To delete a Batch Step, select it and use the delete function. The step is removed from the configuration.
|
If you close the dialog with Cancel or change the selection while there are unsaved changes, PlantBatch will prompt you to save or discard the changes.
|
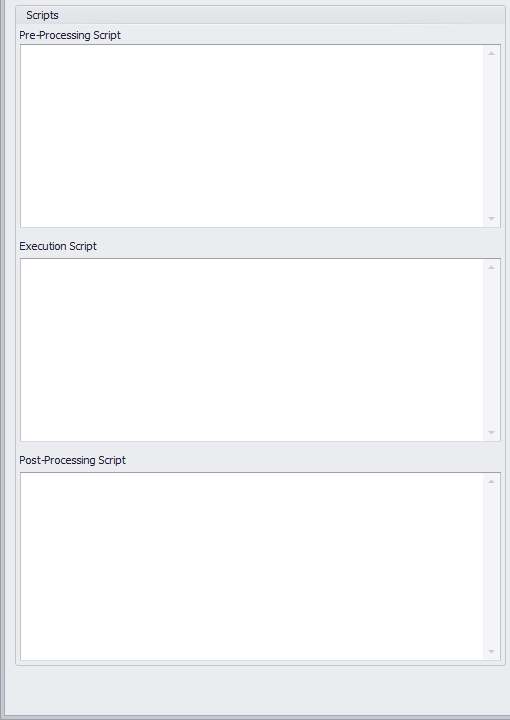
Scripts can be used to run additional actions before the main batch execution or after the batch has finished. The scripts can not only be used for AutoCAD scripts, but for other executable as well. You can see this in the PlantReporter Example.
|
There are several options you can use especially when using AutoCAD.
|
The batch file will be created in the %temp% folder with the date and time in the format %temp%\[BatchConfigName] - [YYYYMMDD] - [HHMMSS].bat. You can have the batch file removed after it will have been executed.
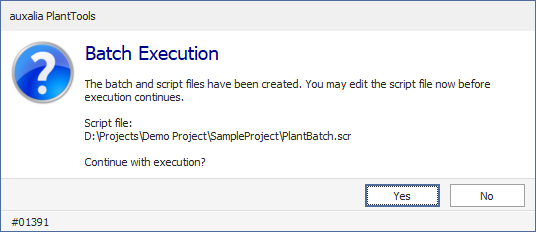
Show dialog before executing AutoCAD-Script will show the following dialog before starting the acad.exe with the script. This gives you the chance to edit the script file before it will be executed. This is very helpful when you try to test different content in the script file. The script file will be created in the project folder and has the name PlantBatch.scr
|
To edit an existing Batch Configuration, open it from the Main Dialog and modify its steps and settings in the Batch Configuration Dialog by clicking on the
You can now modify your batch steps. However, the name of the Batch Configuration cannot be edited. This has to be done thought the rename button in the Main Form.
After saving, the updated configuration is used when executing the batch from the Main Dialog. |
Next Chapter: Use Cases