|
<< Click to Display Table of Contents >> Stacked Assemblies with Acquisitions |
  
|
|
<< Click to Display Table of Contents >> Stacked Assemblies with Acquisitions |
|
This chapter explains in detail how you setup stacked Assemblies (Assemblies within Assemblies) with the use of acquisition rules.
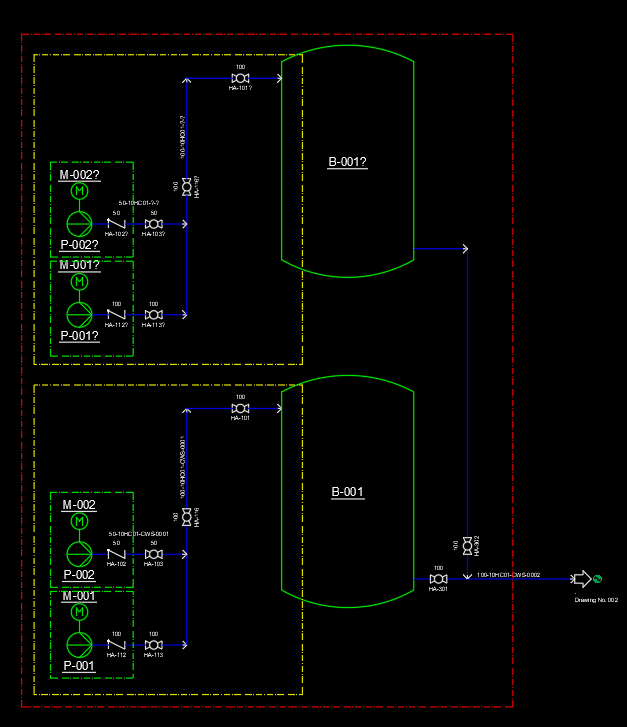
Stacked Assemblies are Assemblies which have a relationship. The following picture illustrates three level of Assemblies where L1 is the most outer Assembly and L3 is the most inner Assembly. Also, Assemblies must not overlap but be located within each other.

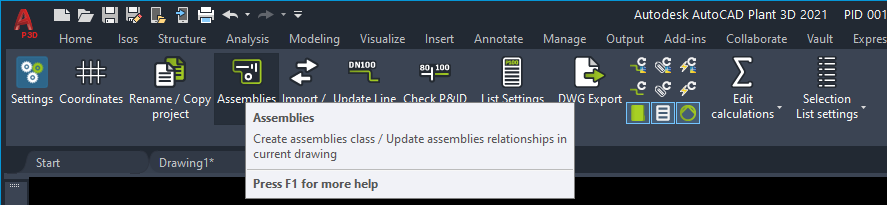
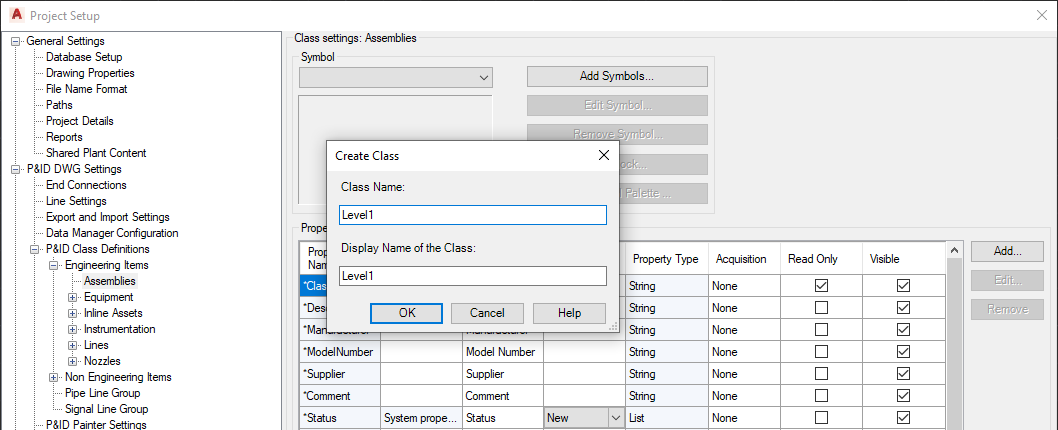
We start fresh by clicking on the Assembly button.
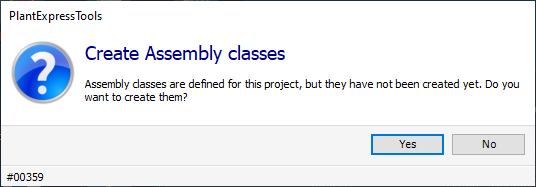
Click OK to create the classes.
Again, we have the default symbol.
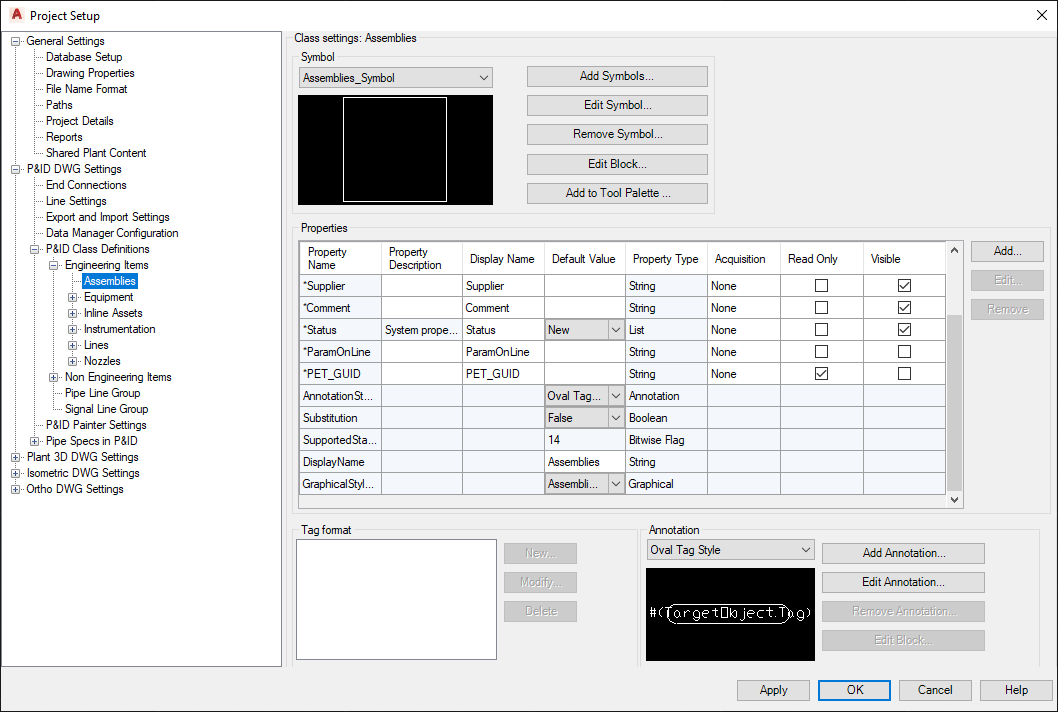
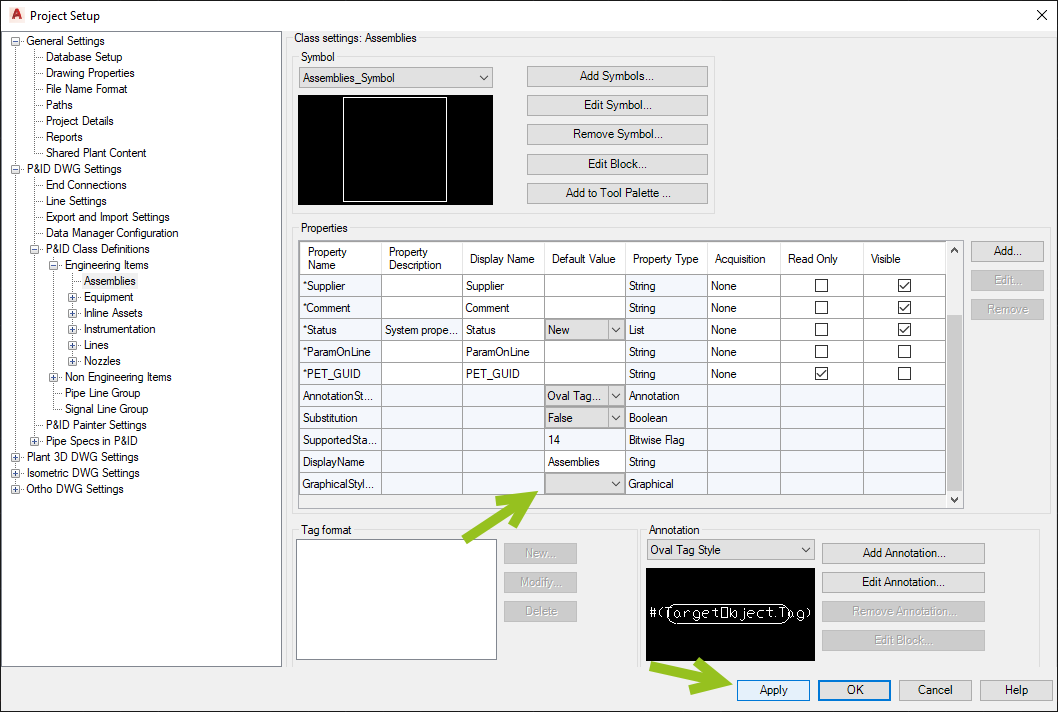
But this time we don't need the default symbol for the Assemblies class. In order to delete the symbol we first must set the GraphicalStyleName to blank and click on Apply.
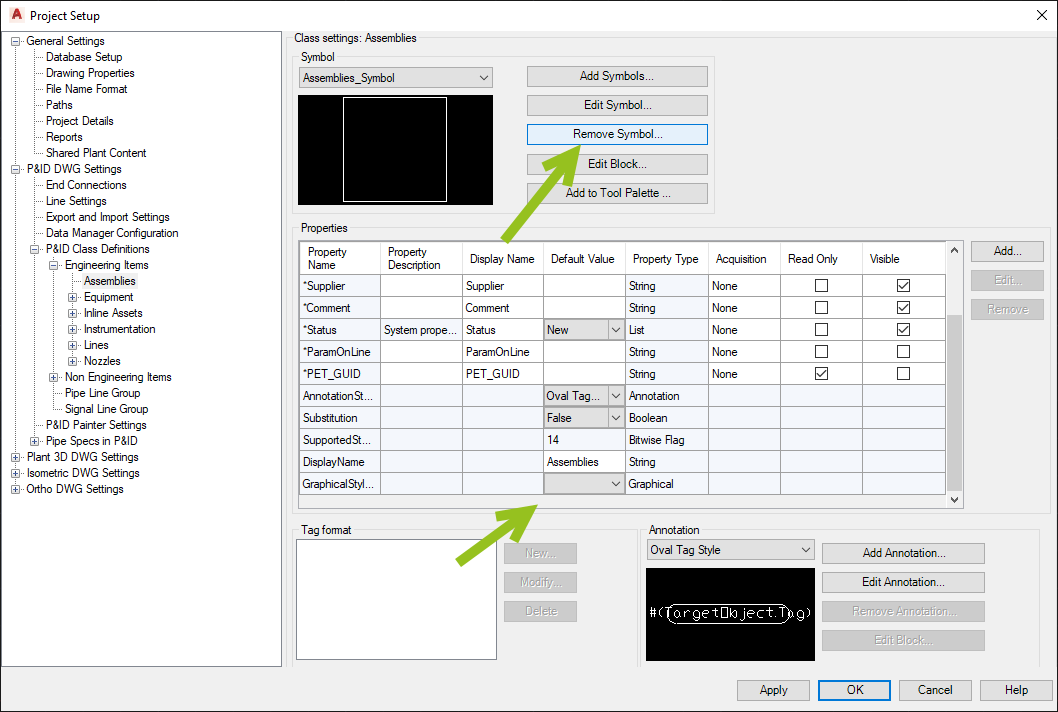
After that, you again must set GraphicalStyleName to blank before you can click on "Remove Symbol...".
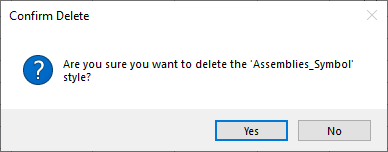
You will be ask if you really want to delete the symbol.
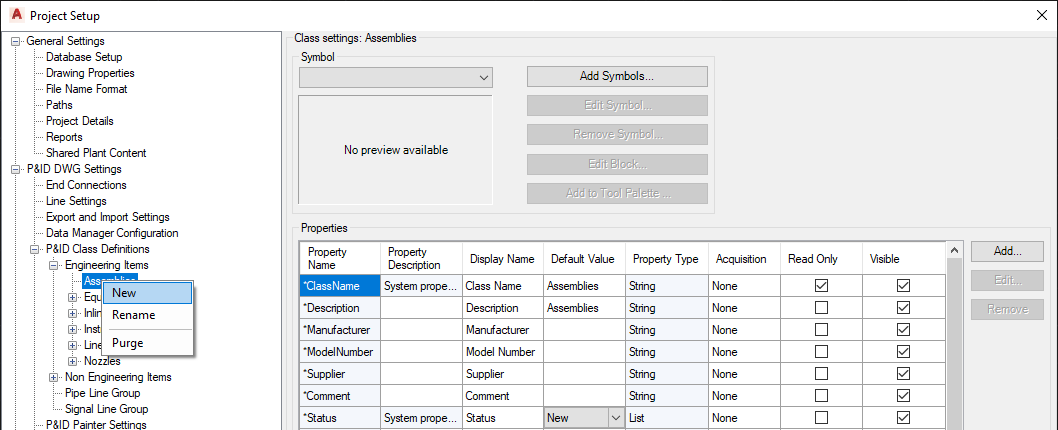
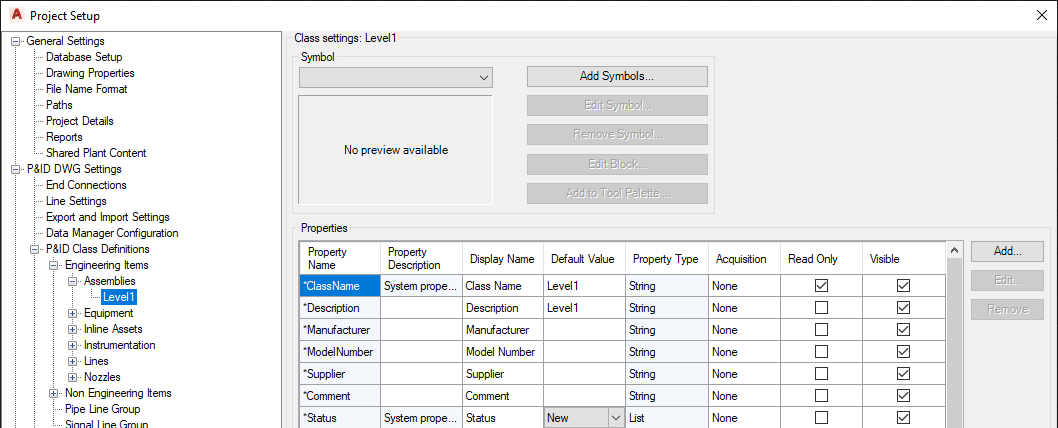
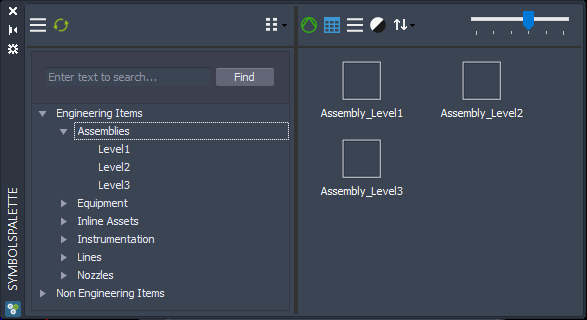
Now we need to create three classes under the Assemblies class.
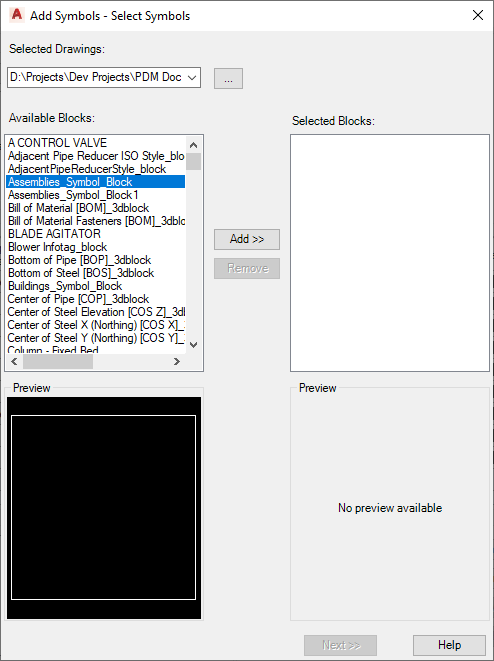
Now we add the default symbol to each of the three classes.

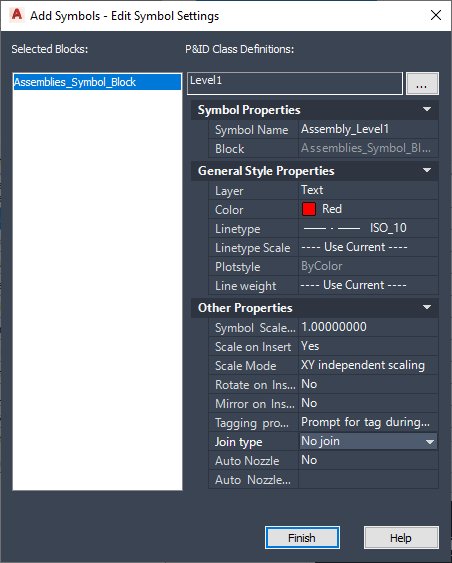
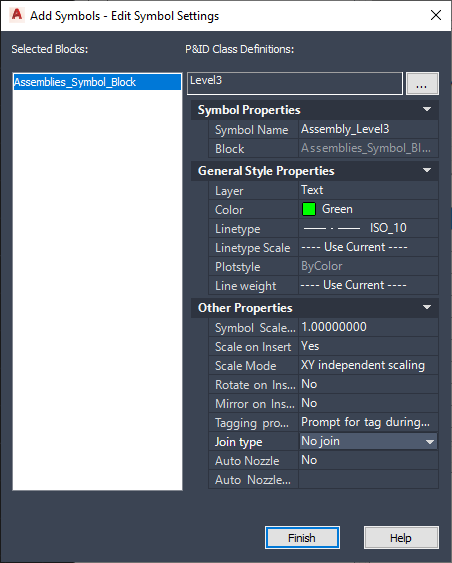
We select the Assembly_Symbol_Block which is the block we previously had for the Assemblies class.

We set the Symbol properties. In this example we use red for Level 1, yellow for Level 2 and green for Level 3.


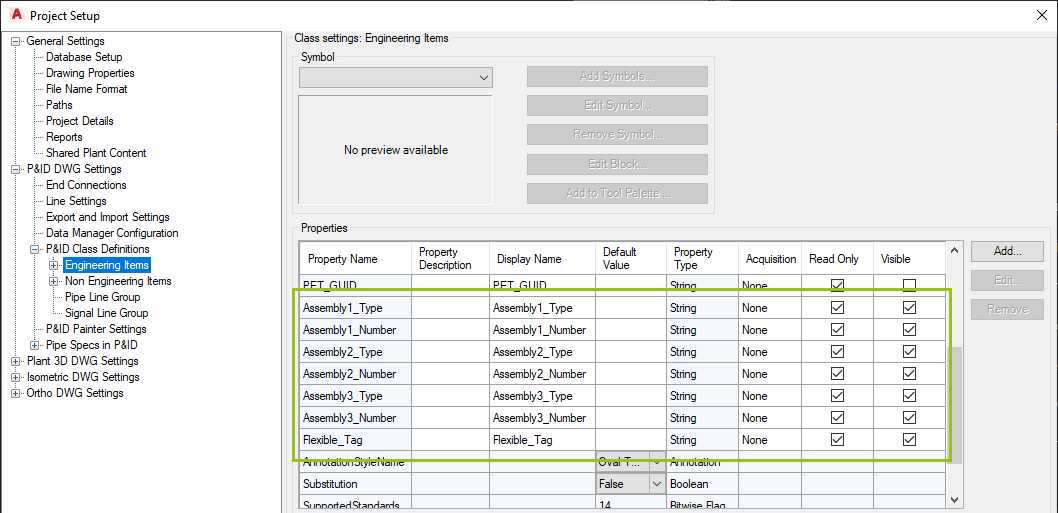
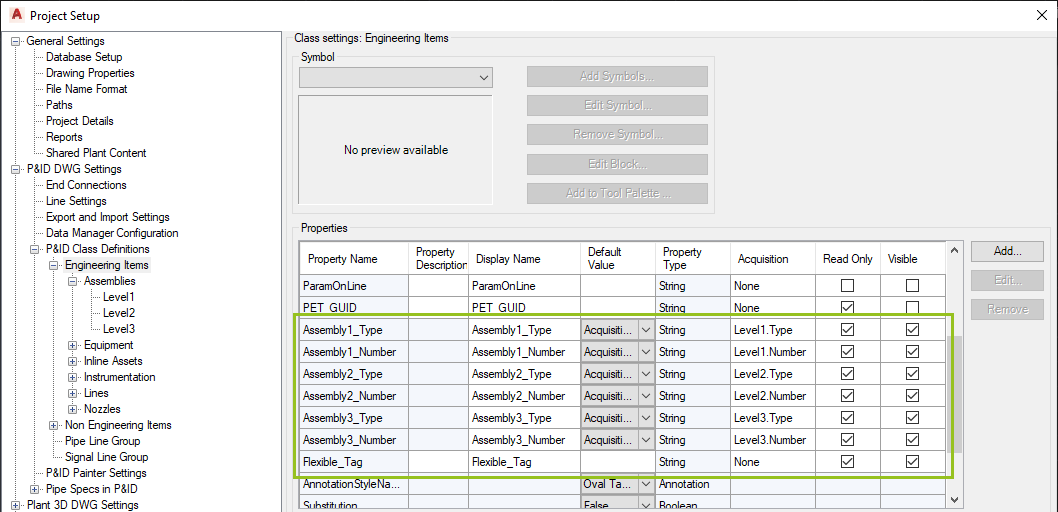
For the EngineeringItems class we add 7 properties. Assembly1/2/3 Type/Number will later contain the Type and Number information of the Assemblies a line or symbol is in.
Flexible_Tag will later be calculated and holds the combined Assembly Tags a line or symbol is in.
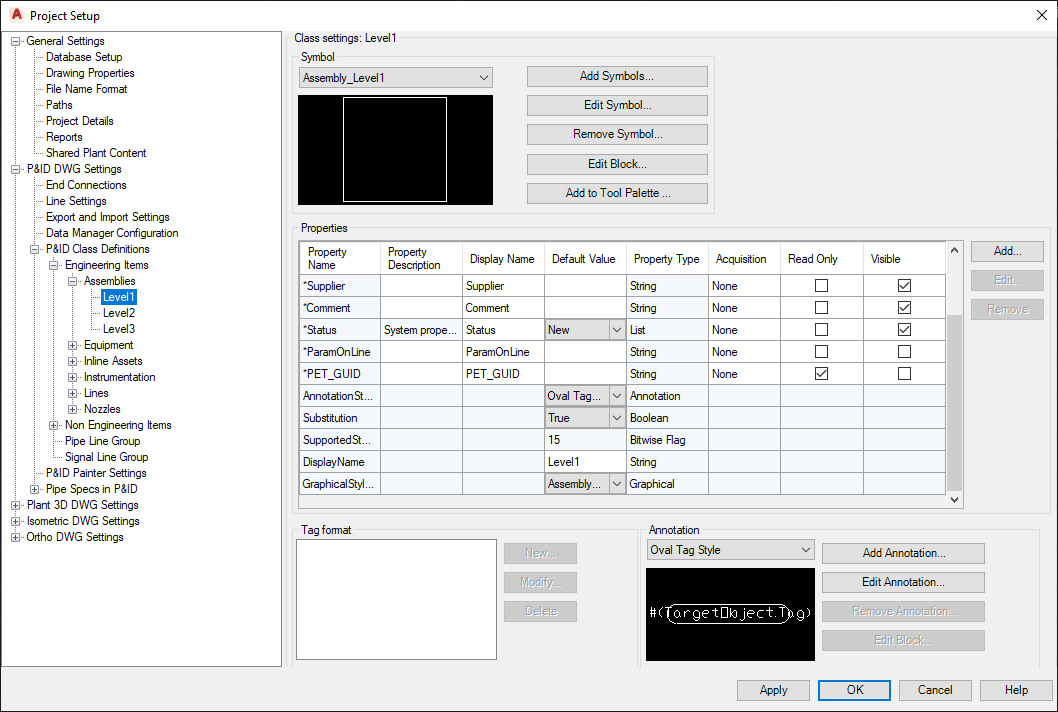
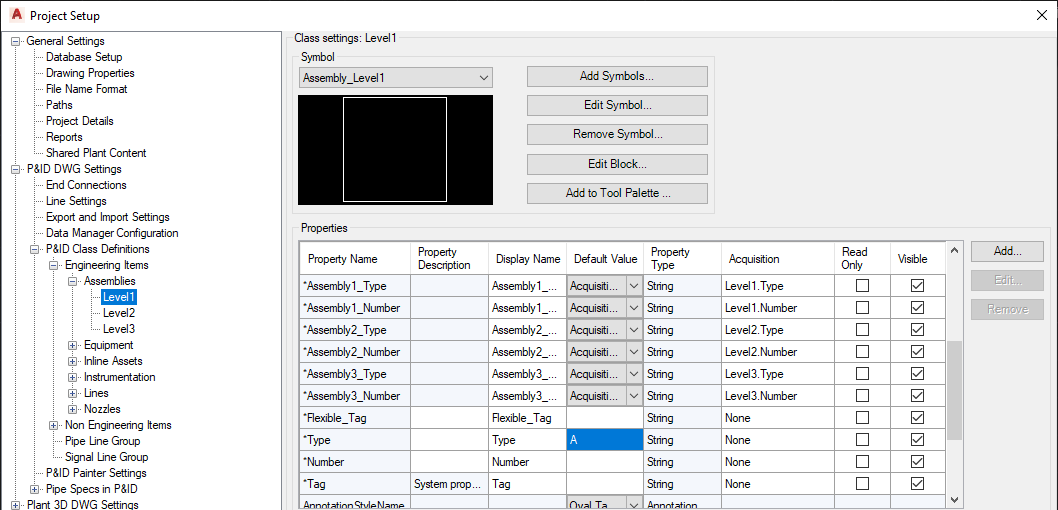
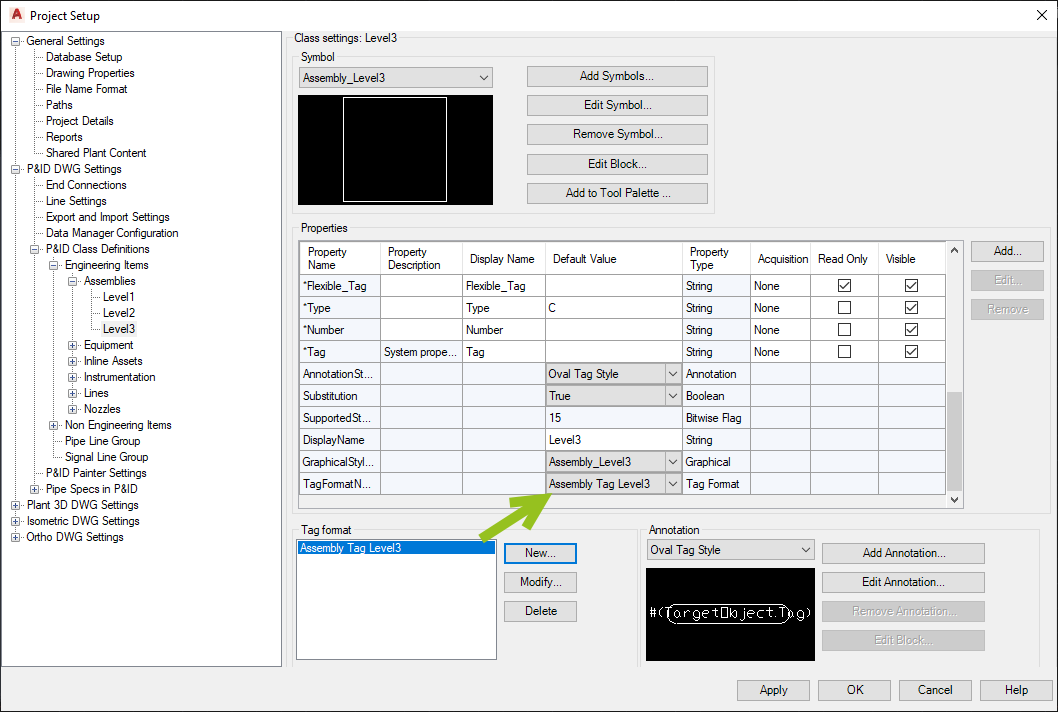
For the Assemblies class we create the properties we need to create the Tag and also the Tag property itself.
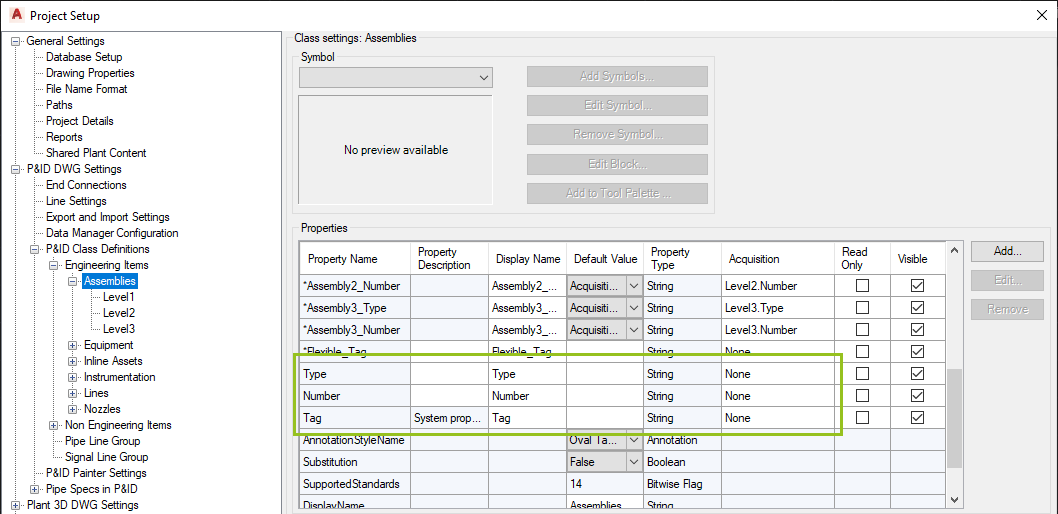
You may want to set a Default Value for Type if this makes sense to you. This way it is already filled out when you insert an Assembly or convert a Polyline into one.
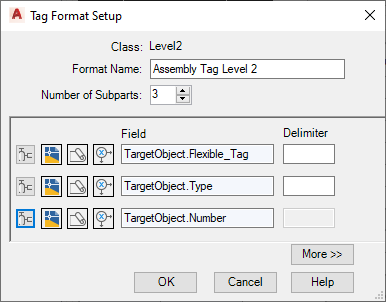
For the Tag Format for Level 1 Assembly we use Type and Number.
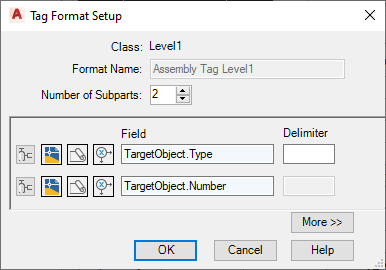
Make sure the new Tag is set in TagFormatName.

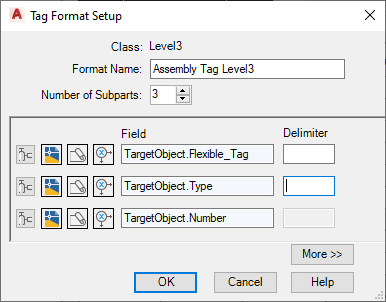
Level 2
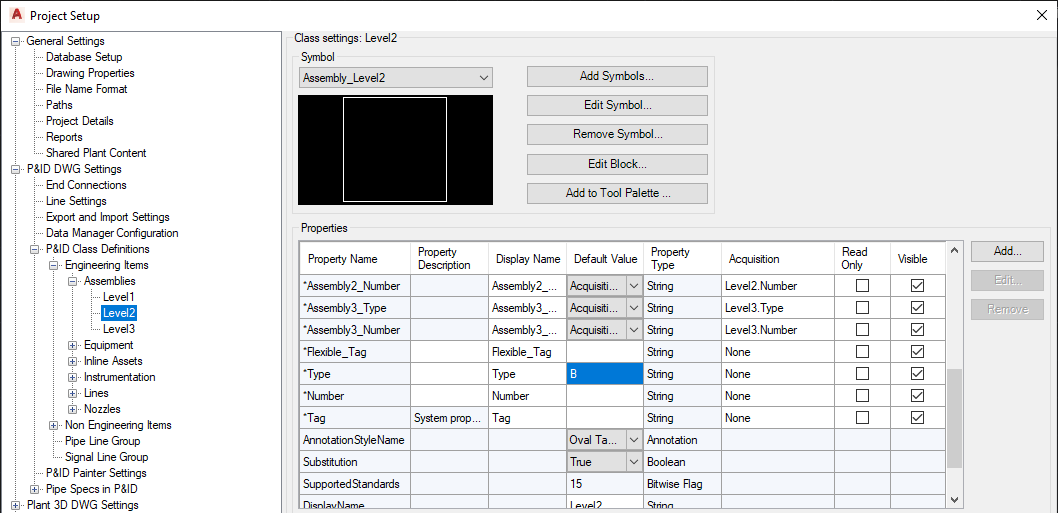
Here the Tag Format consists of three properties leading with the Flexible_Tag.
Again make sure the new Tag is set.

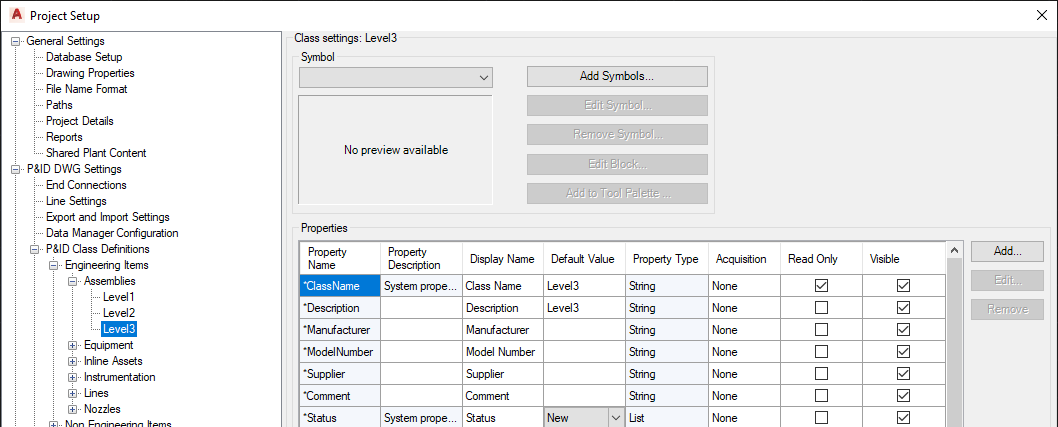
Level 3 is like Level 2

Now that we have defined all Properties we can create the Acquisition Rules for the EngineeringItems class. It is recommend to make the properties read-only so the user doesn't edit the acquired values later on. However, if you keep them read-writable you are more flexible in case there is an except to the (Acquisition) Rule and you want to override it.
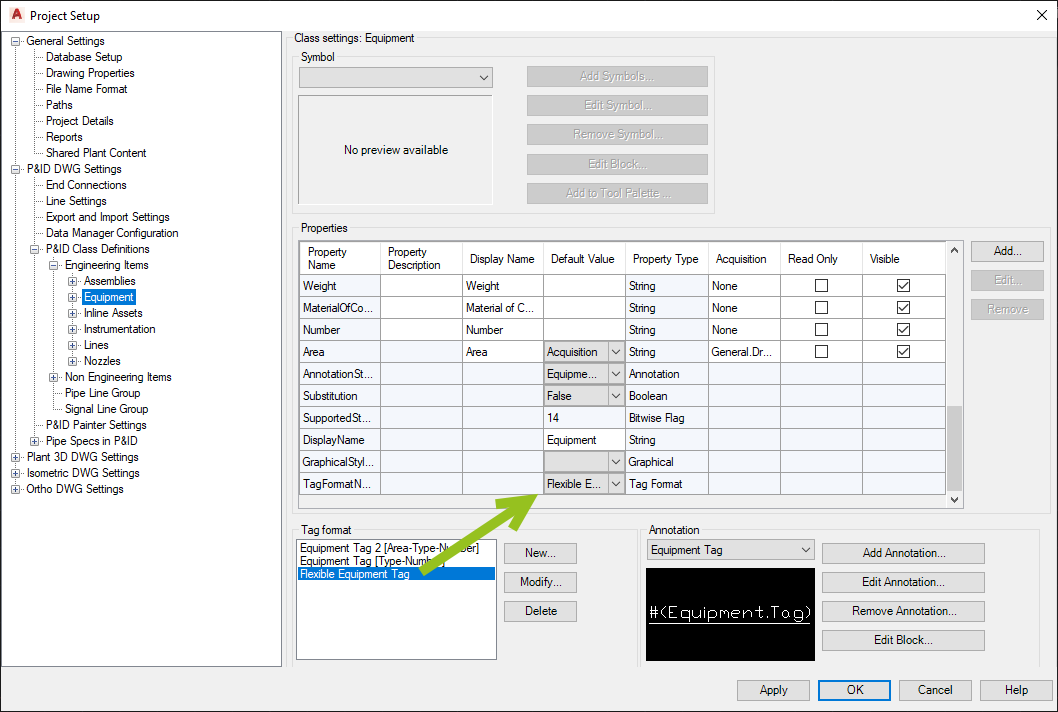
For the Equipment we also create a new Tag Format with the Flexible_Tag as the "Prefix".
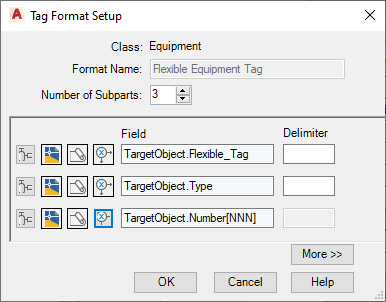
Make sure it is set.
The same for the HandValves class.
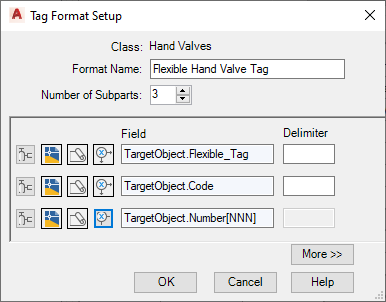
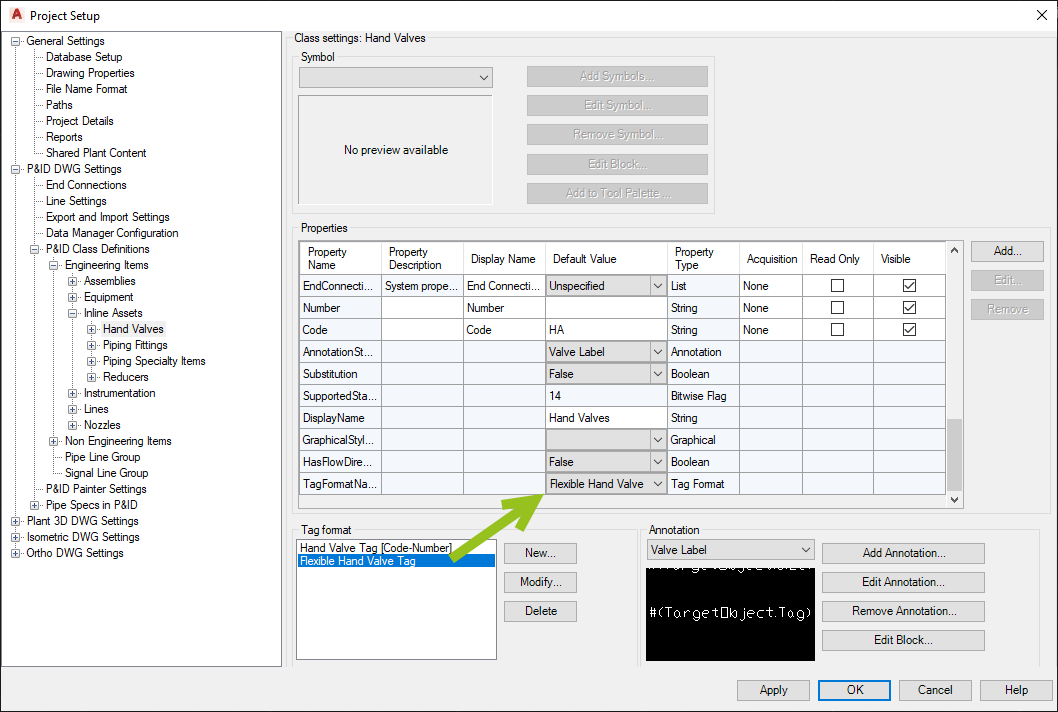
You would need to do this for all classes which have a Tag, but for this example Equipment and HandValves should suffice.
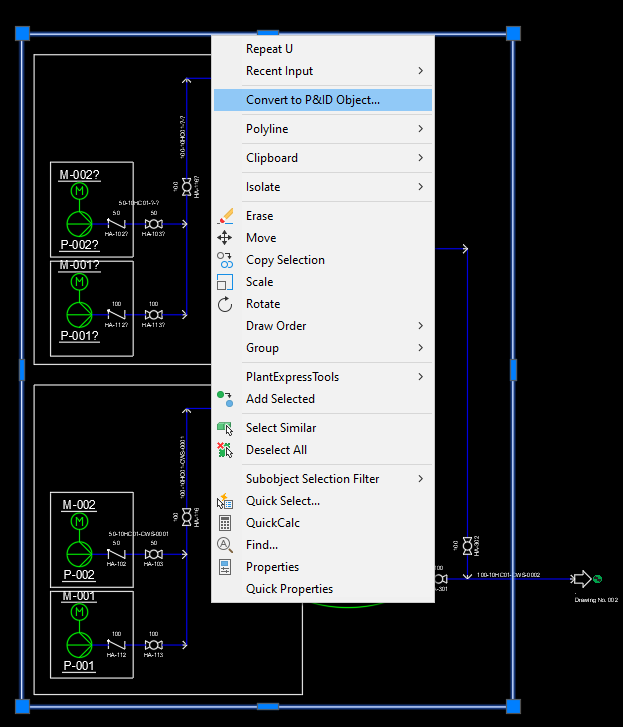
Now we convert the outer Polyline to a Level 1 Assembly. Of course you can also use the tool palette or the PlantExpressTools' SymbolsPalette.
Use Convert.
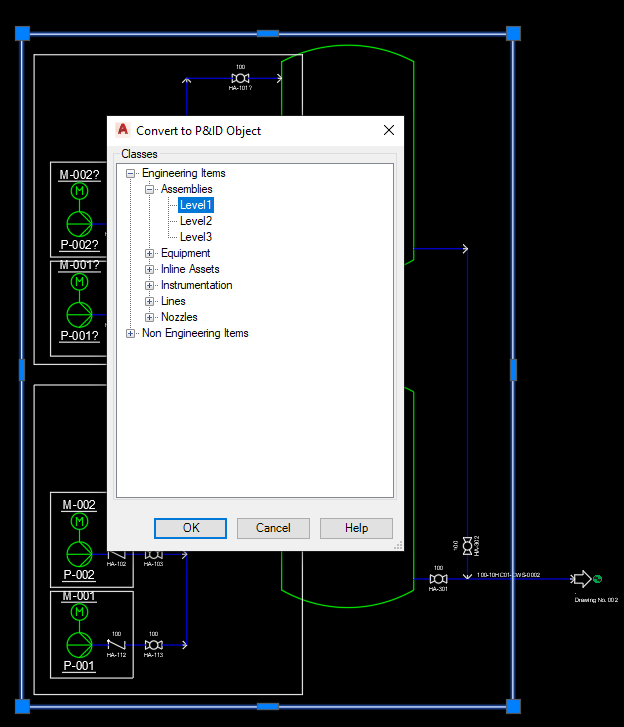
Select Level 1.
Repeat this for all Polylines. The end result looks like this:
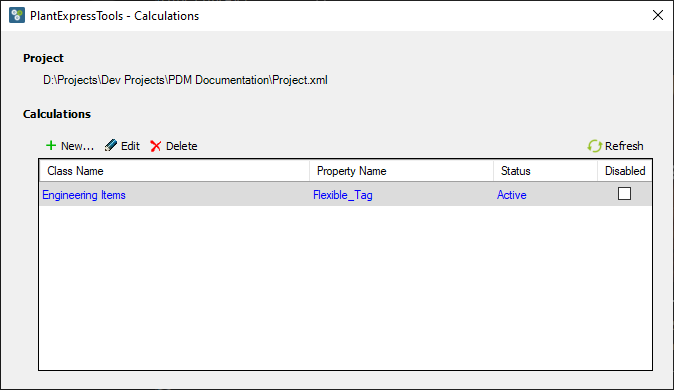
Now we need to create a calculation to calculate the Flexible_Tag property. For this, you click on the "Edit Calculation" button.

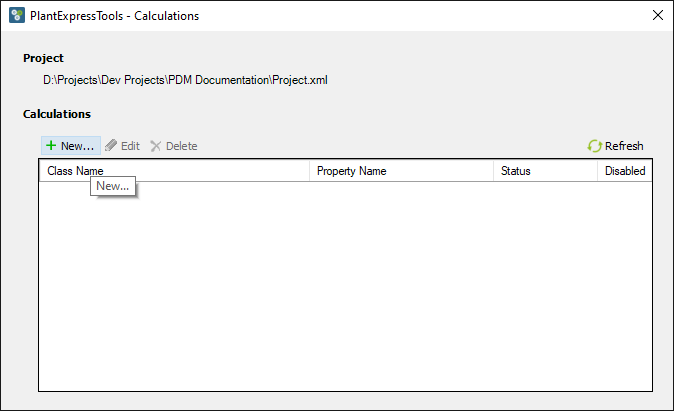
Click on "New..." to create a new calculation.
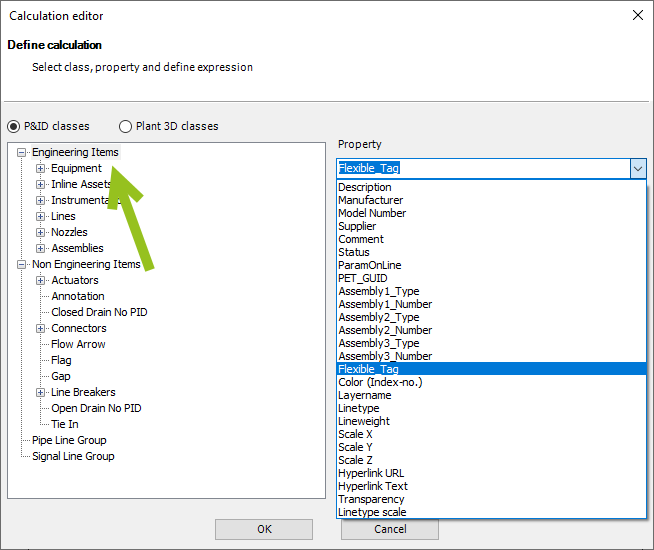
Select Engineering Items class the the Flexible_Tag Property.
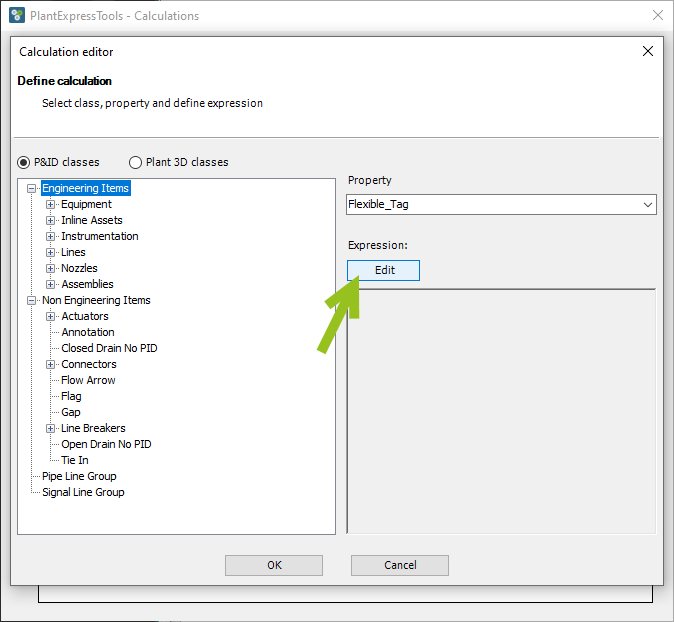
Next you click on Edit.
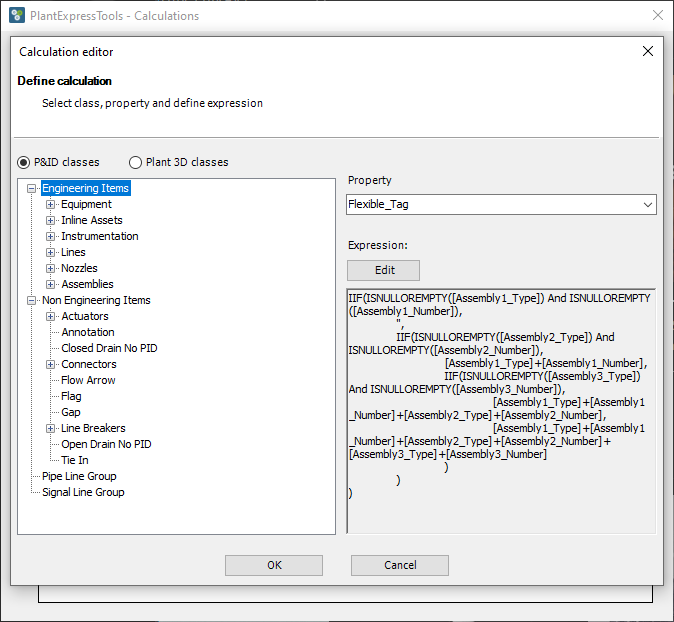
We need the following expression. You can also copy it from the description below the next image.
For details on the Calculation function and the Expression Editor have a look here.

IIF(ISNULLOREMPTY([Assembly1_Type]) And ISNULLOREMPTY([Assembly1_Number]),
'',
IIF(ISNULLOREMPTY([Assembly2_Type]) And ISNULLOREMPTY([Assembly2_Number]),
[Assembly1_Type]+[Assembly1_Number],
IIF(ISNULLOREMPTY([Assembly3_Type]) And ISNULLOREMPTY([Assembly3_Number]),
[Assembly1_Type]+[Assembly1_Number]+[Assembly2_Type]+[Assembly2_Number],
[Assembly1_Type]+[Assembly1_Number]+[Assembly2_Type]+[Assembly2_Number]+[Assembly3_Type]+[Assembly3_Number]
)
)
)
After you click on OK you see the expression in the dialog where you click on OK again.
If everything is OK the text color is blue and the Status is active.
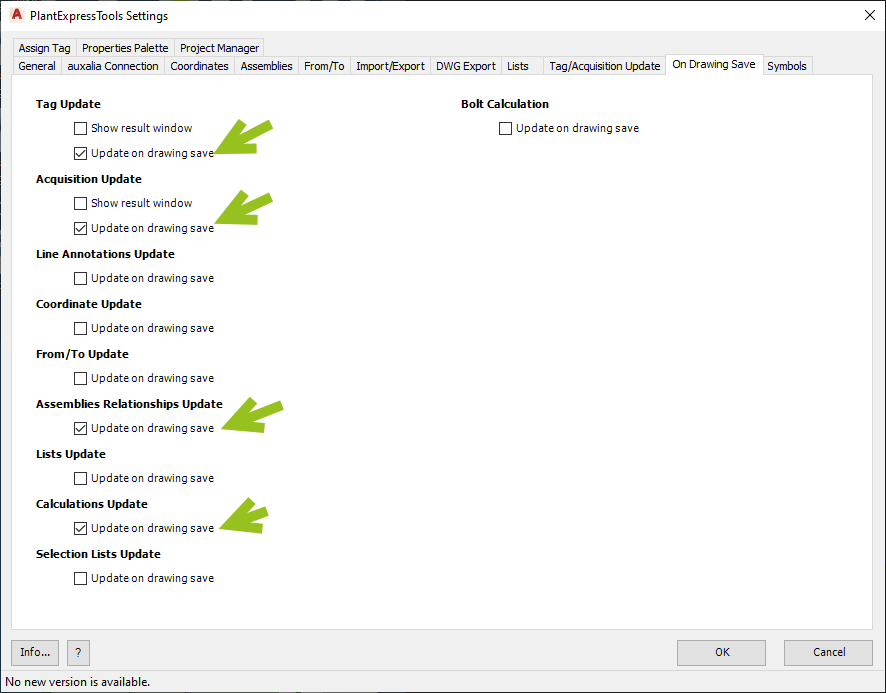
We recommend to enable the following check boxes so all relevant functions will be updated when the drawing will be saved. Otherwise you may need to click on various update buttons in the ribbon.
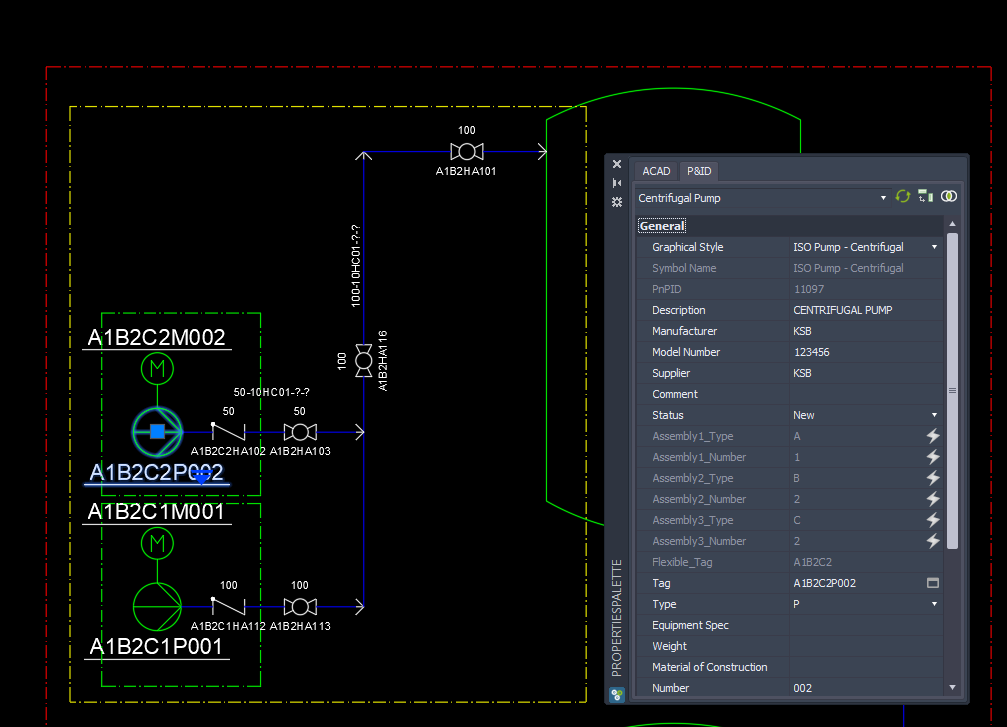
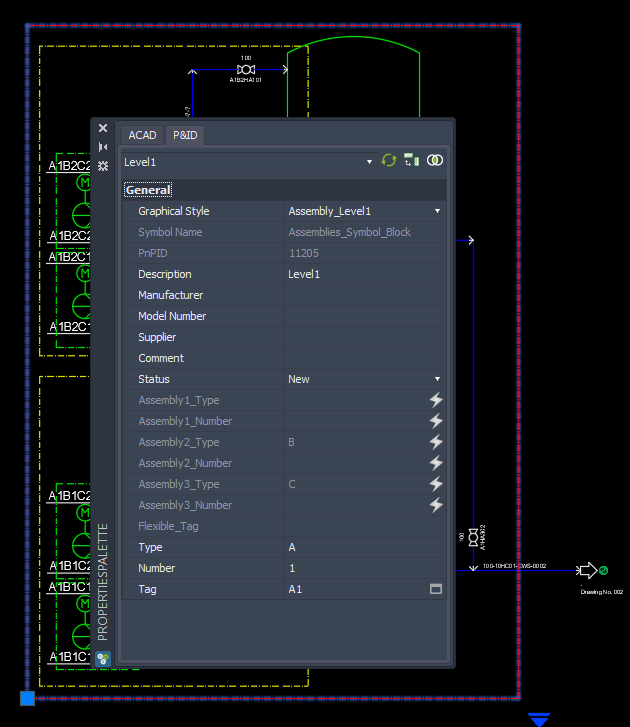
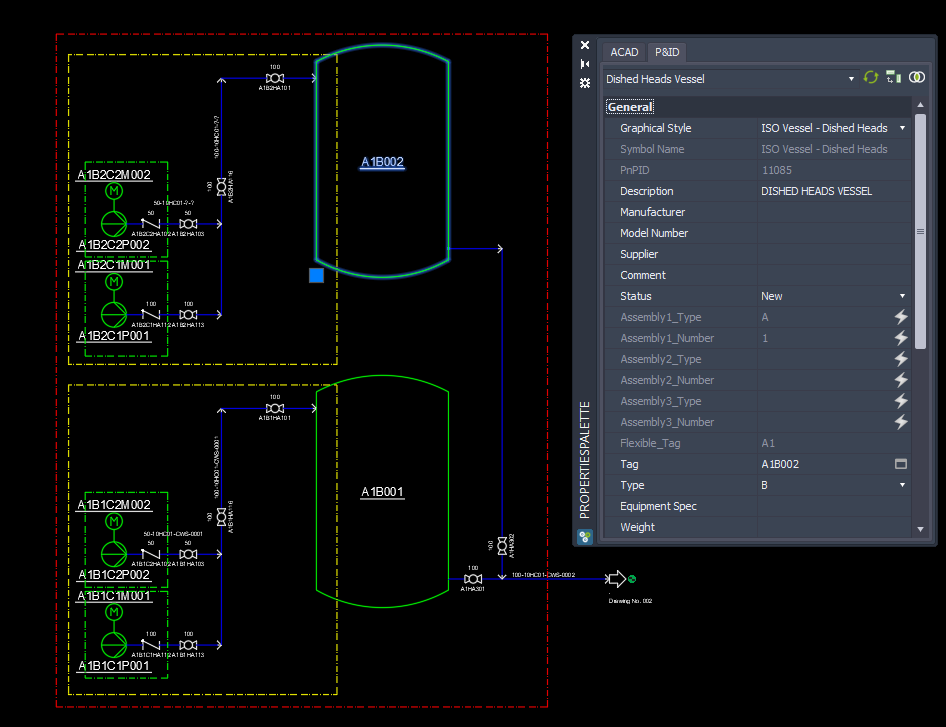
After saving the drawing we click on the Level 1 Assembly and see that the Tag is A1 made out of A and 1. Flexible_Tag is empty, because the Level 1 Assembly is the most outer object. Everything else is in this Assembly.
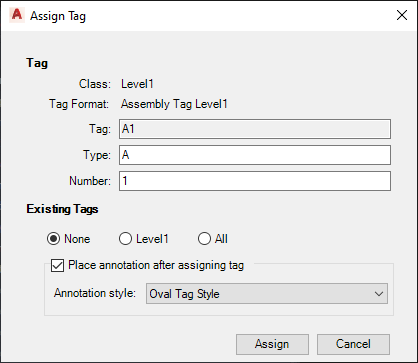
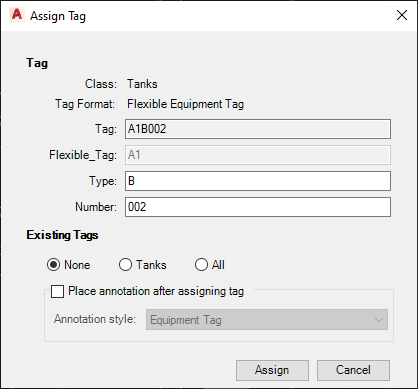
If you use Assign Tag the dialog looks like this:
If we click on the lower Level 2 Assembly, we see that Assembly1_Type and _Number are acquired from the Level 1 Assemblies' Type and Number. The Flexible_Tag is calculated from Assembly1_Type and _Number
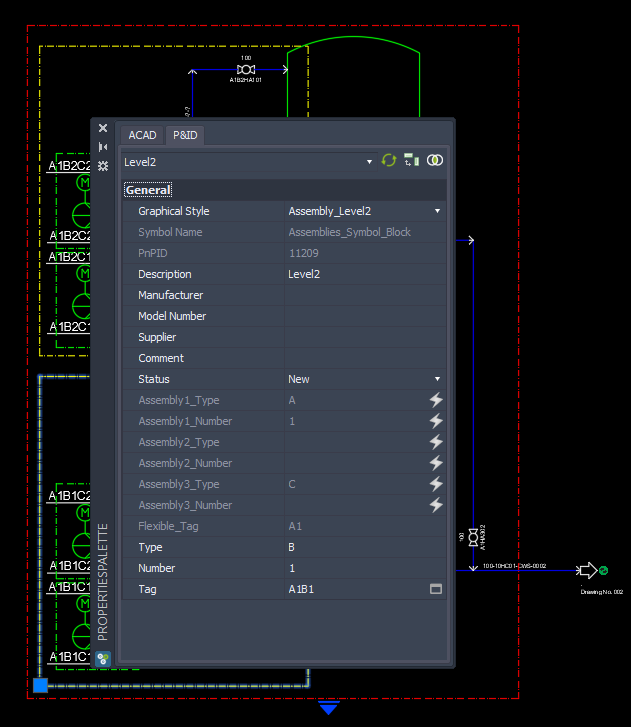
Editing the Tag shows the Flexible_Tag as a sort of prefix.

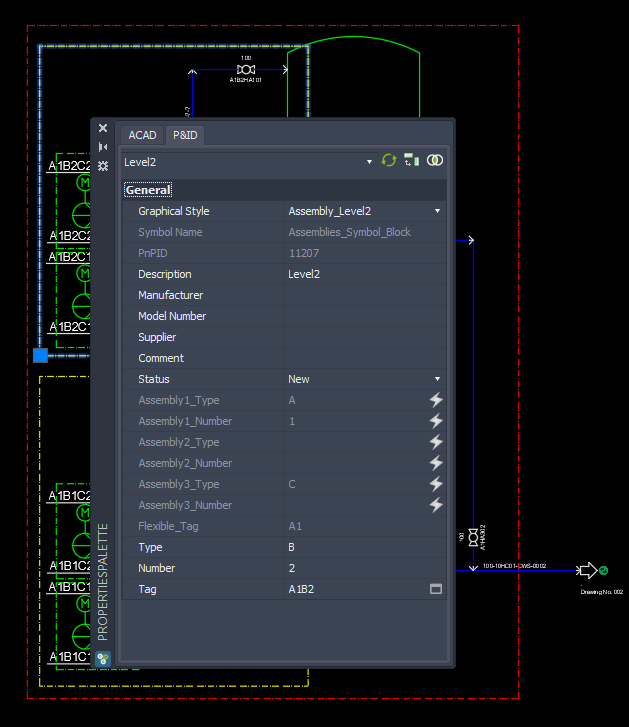
The upper Level 2 Assembly uses 2 instead of 1, because both Level 2 Assemblies belong to the Level 1 Assembly and therefor the tag must still be unique.
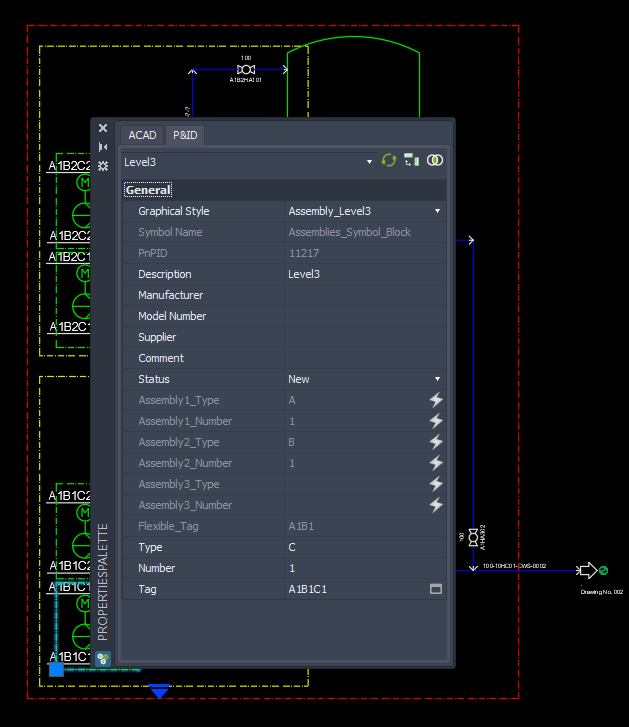
Selecting one of the Level 3 Assemblies shows this. Here the Flexible_Tag is made out of Level 1 and level 2.
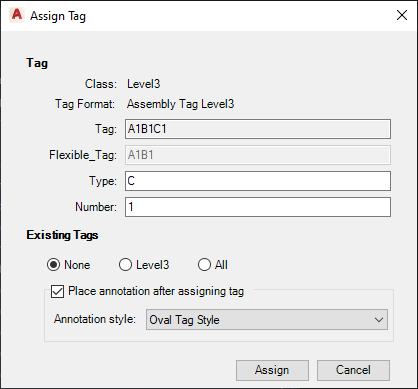
The Assign Tag is showing this.
If we select one of the Tanks we see that the Flexible_Tag is A1, because the Tank is not within the confines of Level 2.
Assigning the Tag shows the Flexible_Tag again.
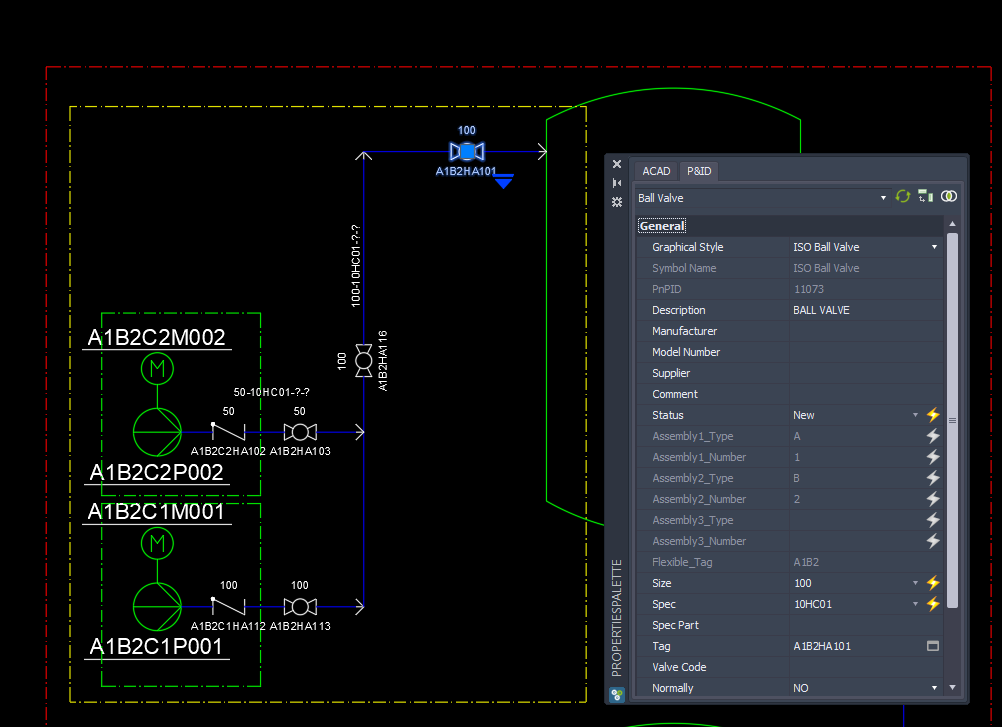
The valve is within Level 2.
 +
+
The check valve is in Level 3.

The Pump as well.