|
<< Click to Display Table of Contents >> Simple Example |
  
|
|
<< Click to Display Table of Contents >> Simple Example |
  
|
Before we look into setting the Properties Palette up for our first example, I made some changes to the Project Setup.
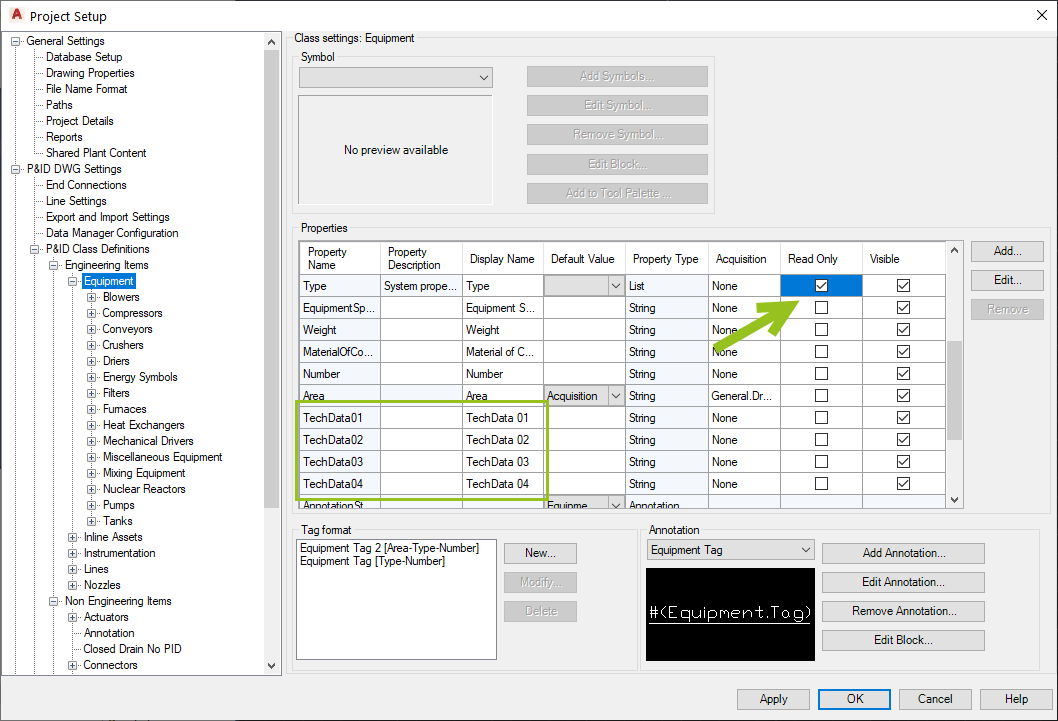
Under the Equipment class I set Type as read-only. I also created 4 additional properties.
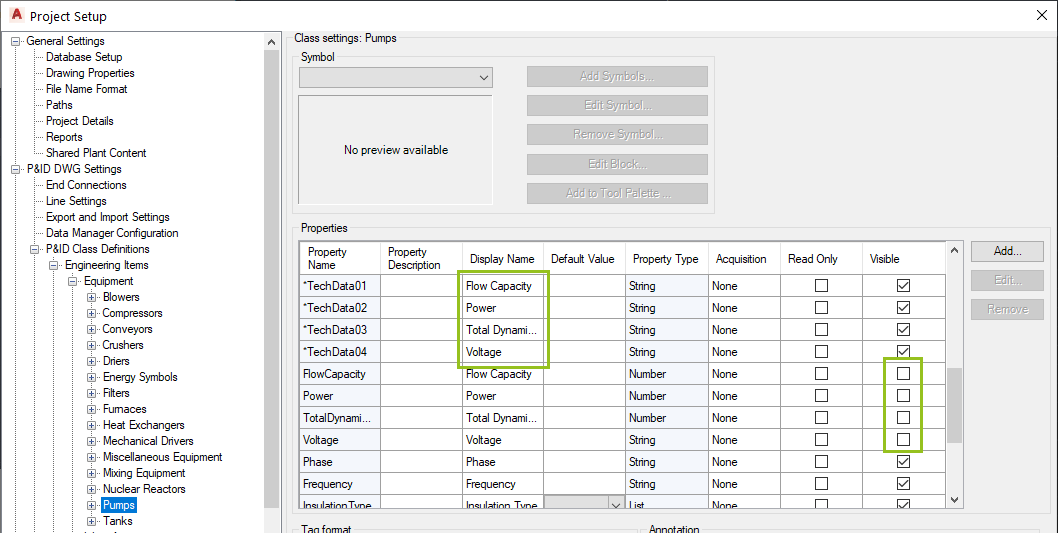
Under the Pumps class I set the Display Name for the 4 new properties and made the first 4 Pump specific properties invisible.
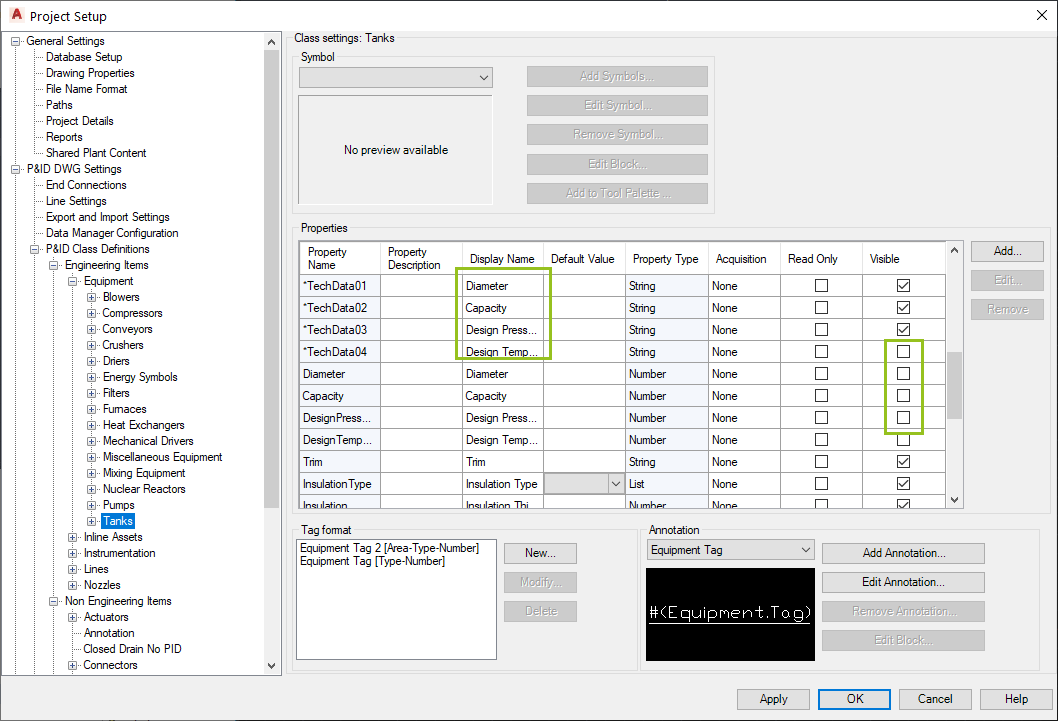
The same for the Tanks class.
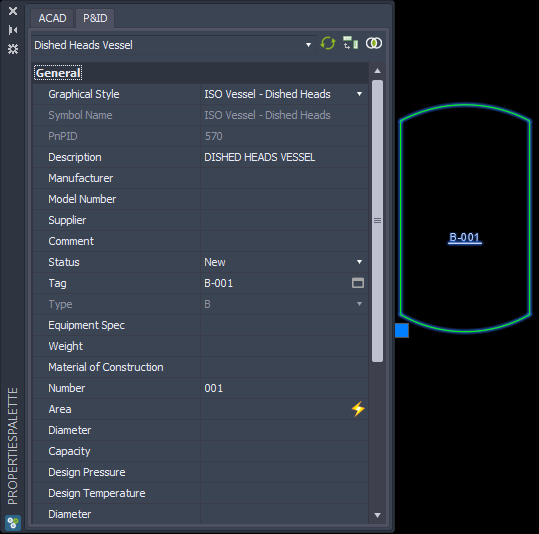
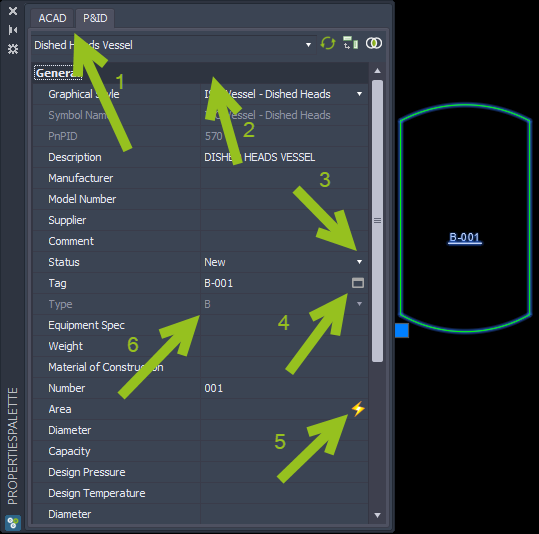
When we select a tank we see two tabs by default. Under P&ID we see all P&ID properties which exist in for the object's class as you are used to with the AutoCAD properties Palette.
First let's understand the various layout features.
1.Tab
Those can be created by you.
2.Group
Those can be created by you within a Tab
3.Selection List Icon
For selecting from a selection list.
4.Tag Edit Icon
Opens the Assign Tag dialog.
5.Acquisition State
Show the current state and allows you to change it.
6.Read-Only Property
Cannot be edited because the Property is Read-Only.
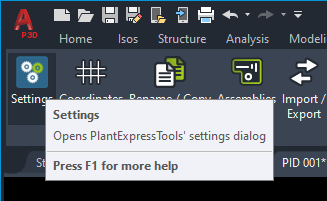
To start setting up the Properties Palette you enter the Settings of PlantExpressTools.
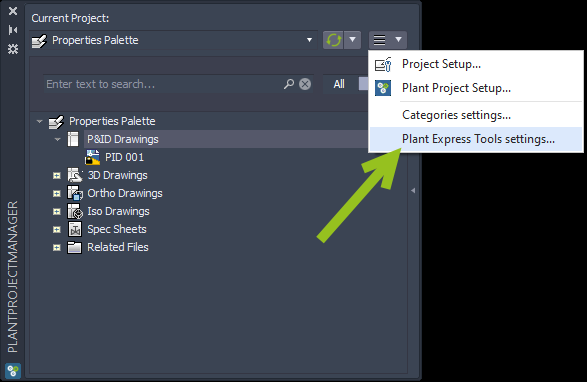
You can get there also through PlantProjectManager.
We will concentrate the the middle part of the "Properties Palette" tab. The other settings are explained under Properties Palette.
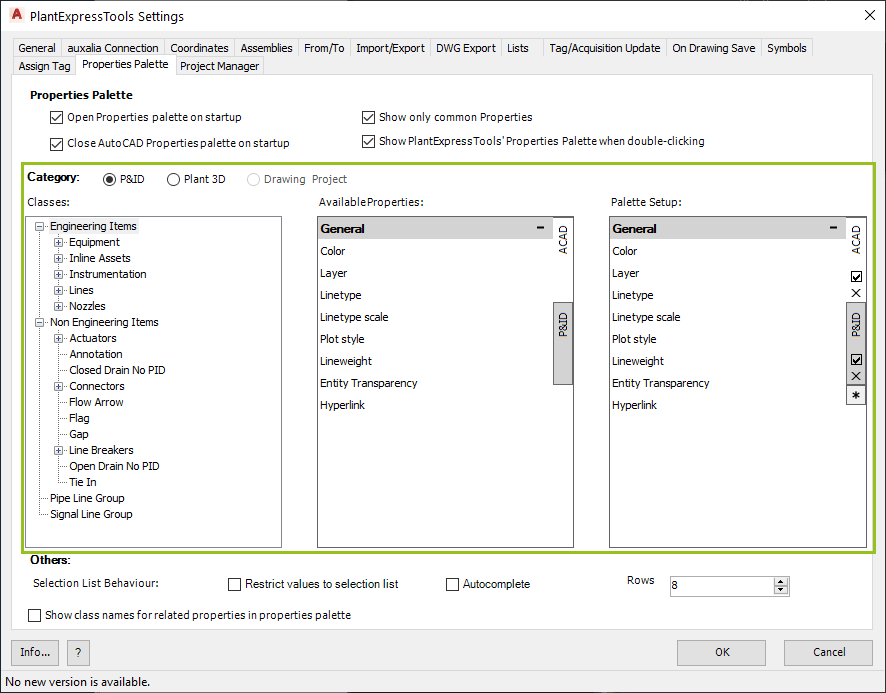
Let's start by selecting the Equipment class.
In the middle we see three vertical tabs (ACAD, P&ID, Nozzles). On the right we see the current setup with the ACAD and P&ID tabs.
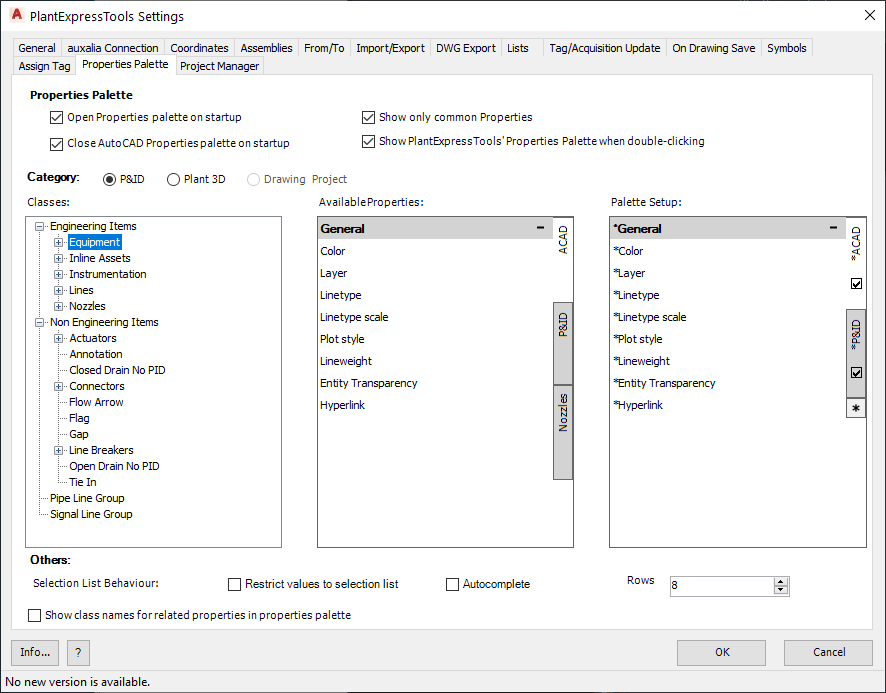
If we select the P&ID tabs in the middle and on the right, we see the additional properties. When you create new properties, these new properties will automatically be added to the Palette Setup for the P&ID tab. This ensures that you always have all new properties available right away.
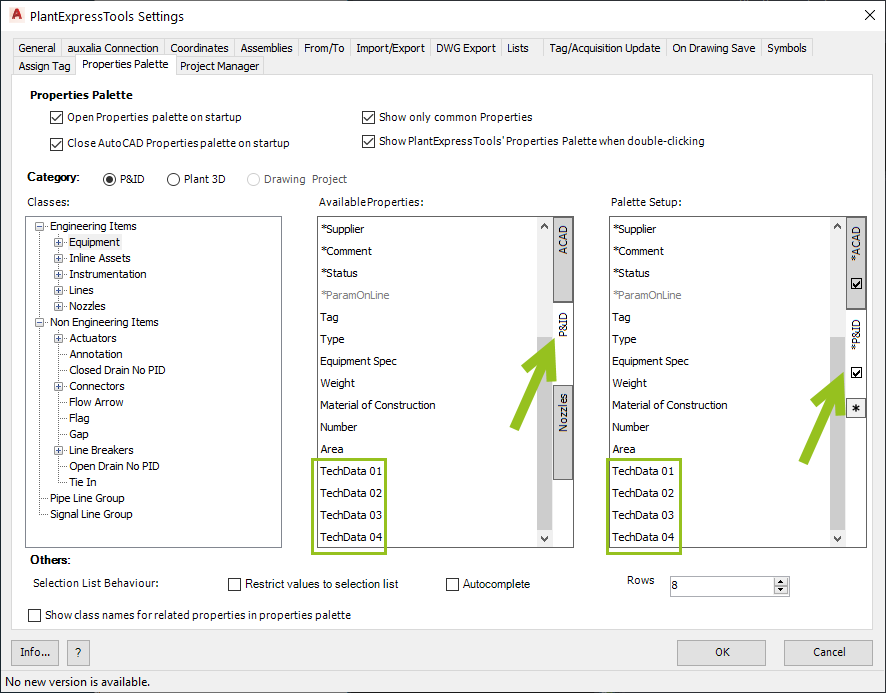
In the middle you can select the Nozzle tab which shows all P&ID properties of the Nozzle class in case the Equipment has Nozzles. How this is used will be explained later.
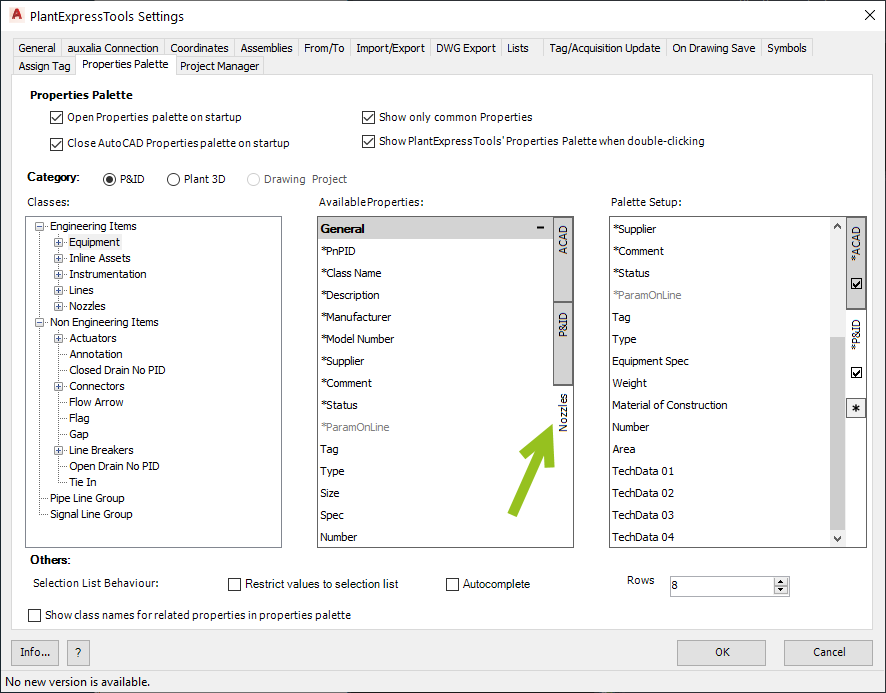
Creating a Tab
The first thing we will do is creating a new Tab. Make sure you have the Equipment class selected. You click on the * icon.
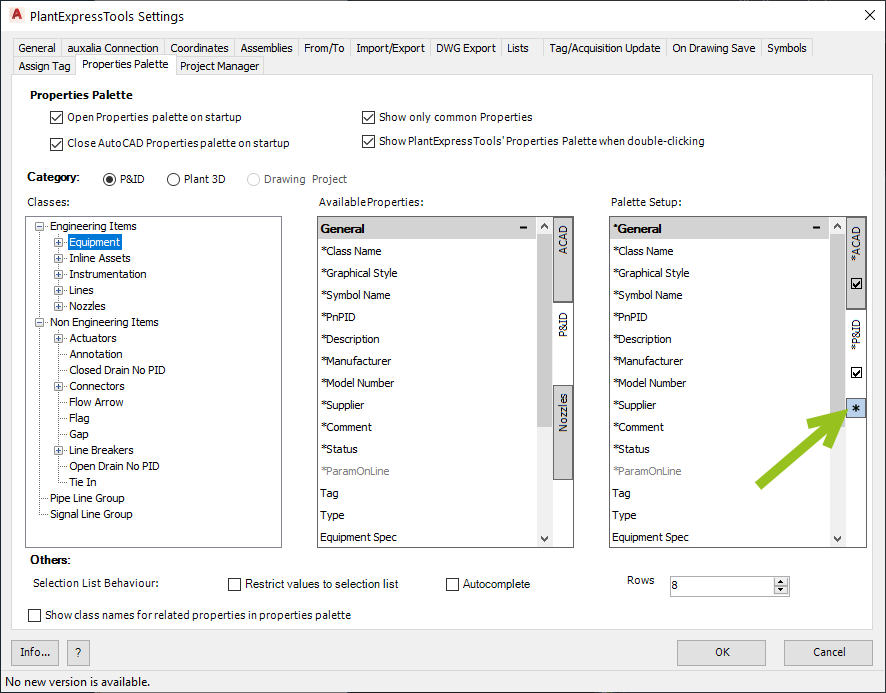
This opens a small dialog where you type in the name of the Tab. You also must enter a name for the first group. The group name can later be changes if needed.
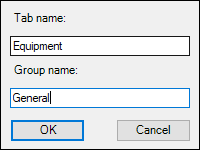
Now we have a new Tab with the first Group.
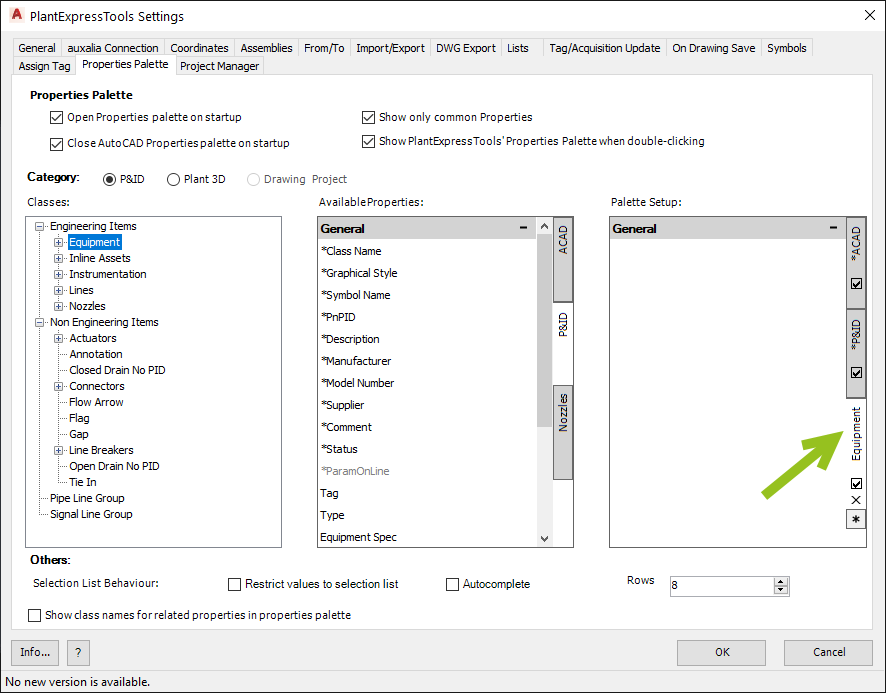
Click on the P&ID tab in the middle. Properties shown in grey are set as invisible. You can select them for the tab, but of course you won't see them.
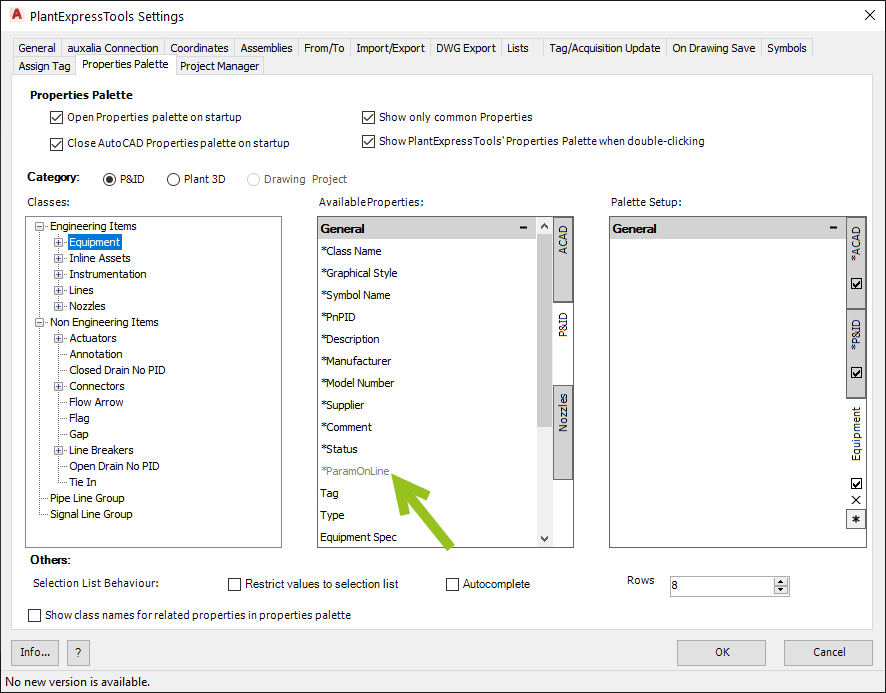
Let's drag and drop the first property from the middle to the right. For example Class Name.
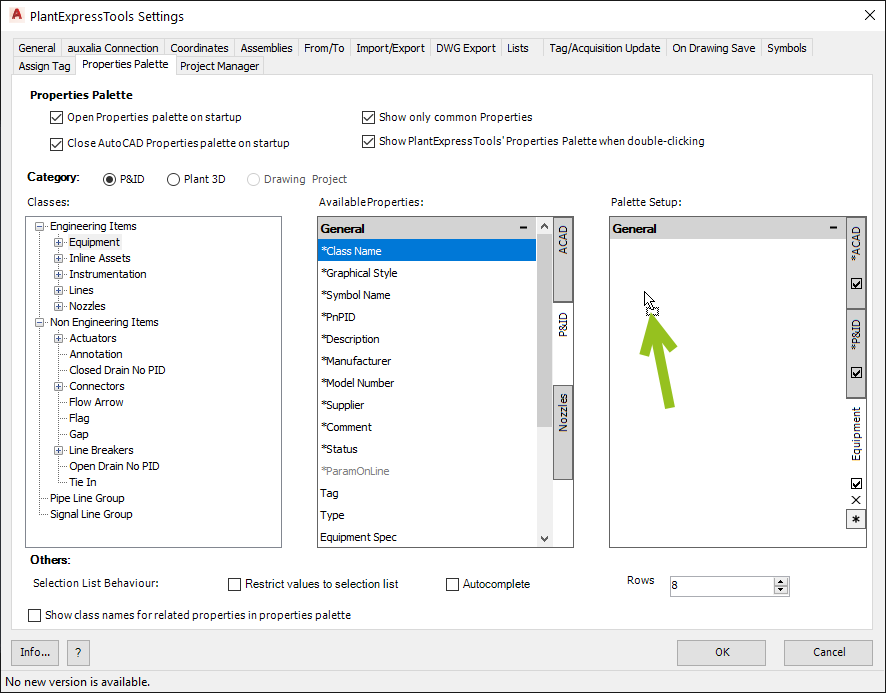
Now you added your first Property to the new Equipment Tab in the new General Group.
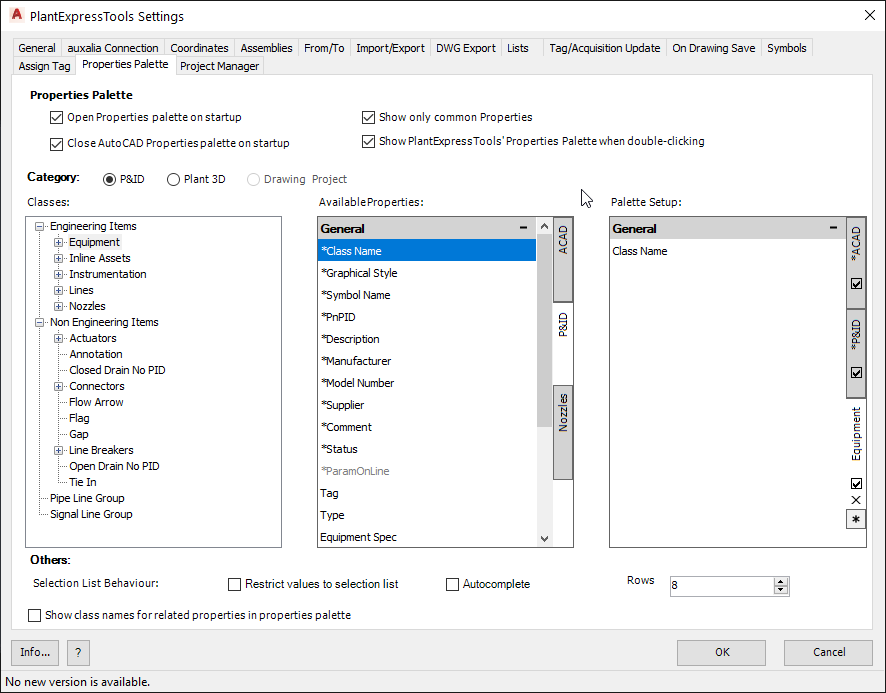
You can also select multiple Properties. You can use the CTRL and SHIFT Keys so select a range of properties or multiple single properties.
Then you drag and drop them over.
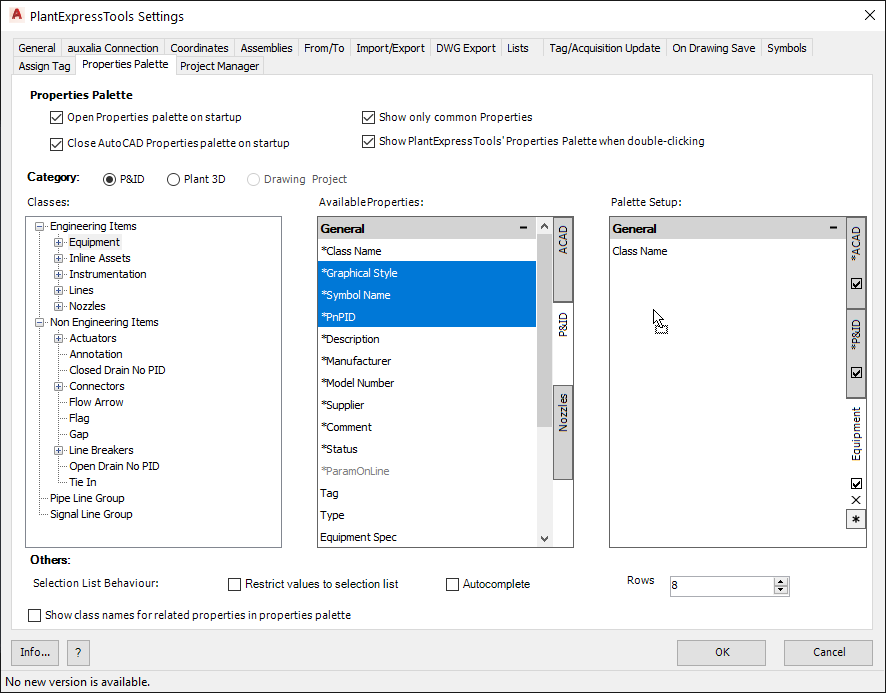
And now you have them also on your Tab. The order of the properties has to do where you drop the properties. But you will later learn how you can change the order.
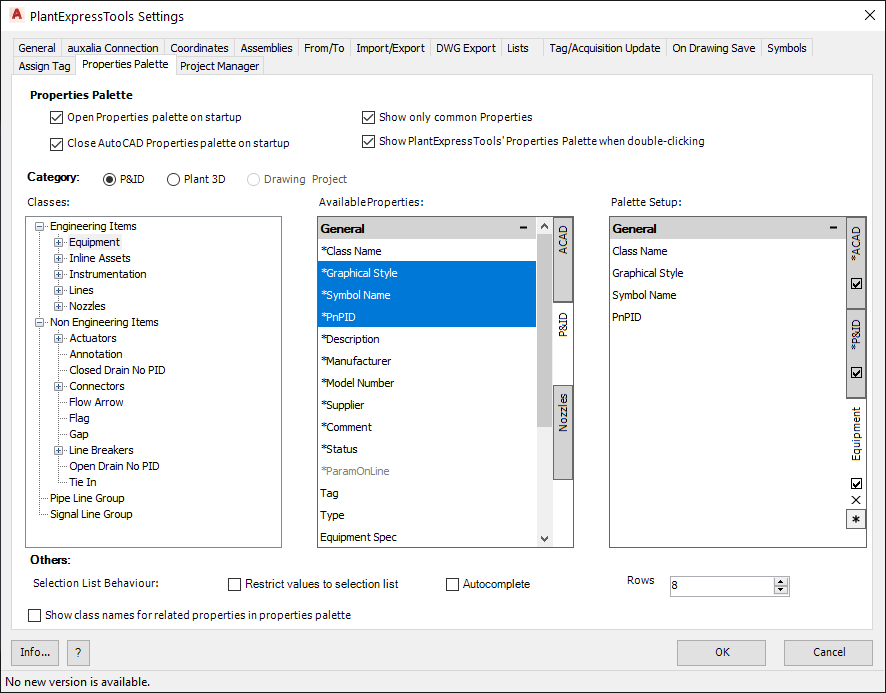
Adding a Group
Now we want to add another Group. Select "Add Group" from the context menu of the right side.
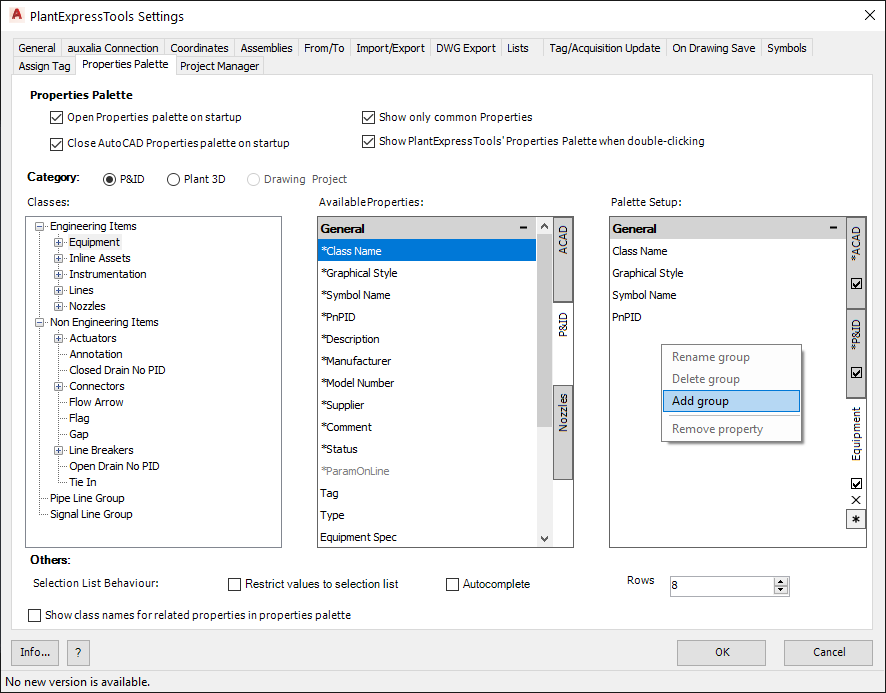
A small dialog opens where you type in the Group Name.
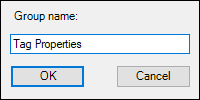
The Group will be added at the end of the Properties. You will later learn how to move Groups.
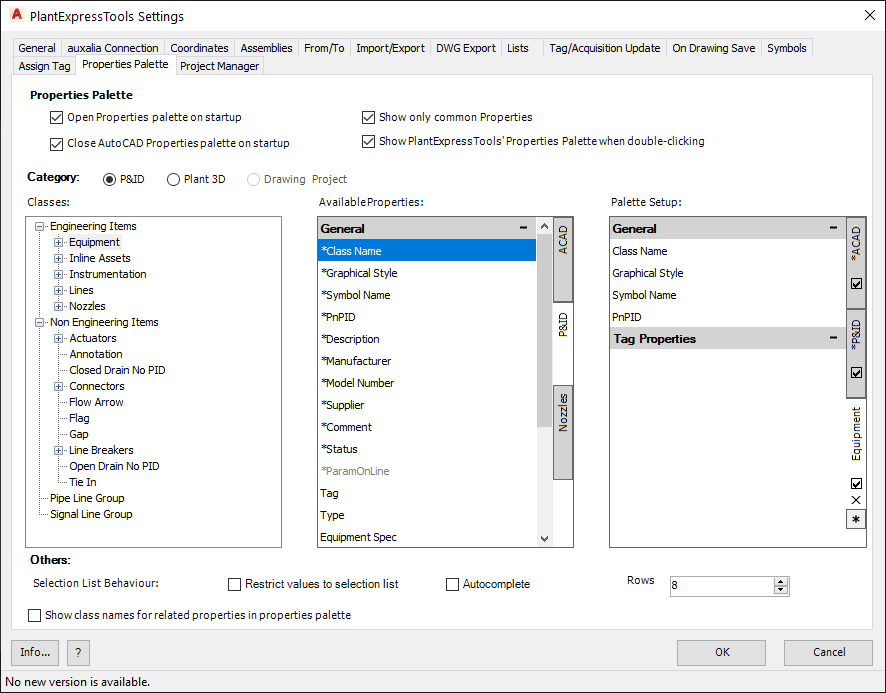
Now we select some more Properties and drag them over to the new Group.
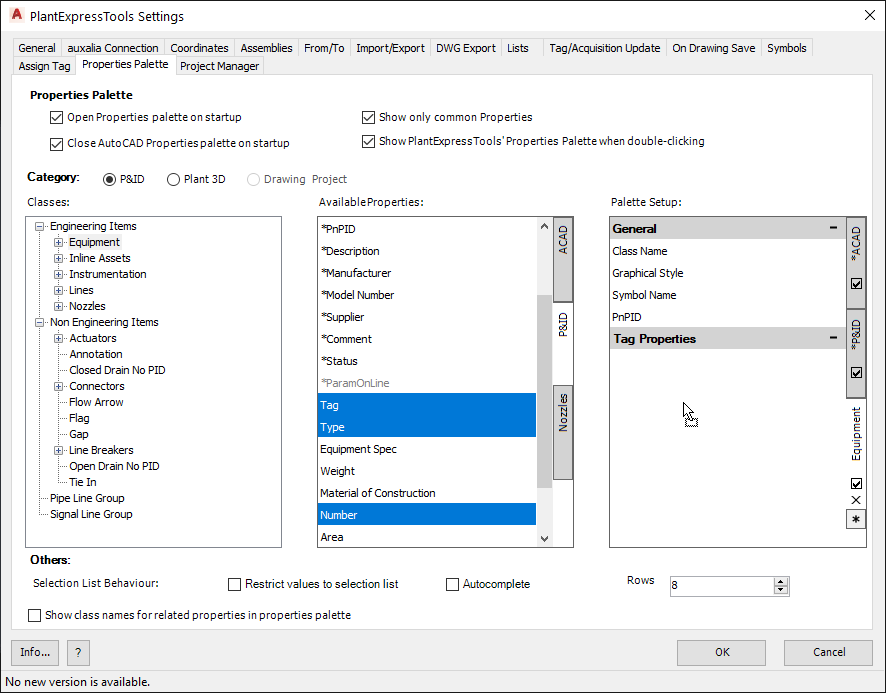
This is how it looks.
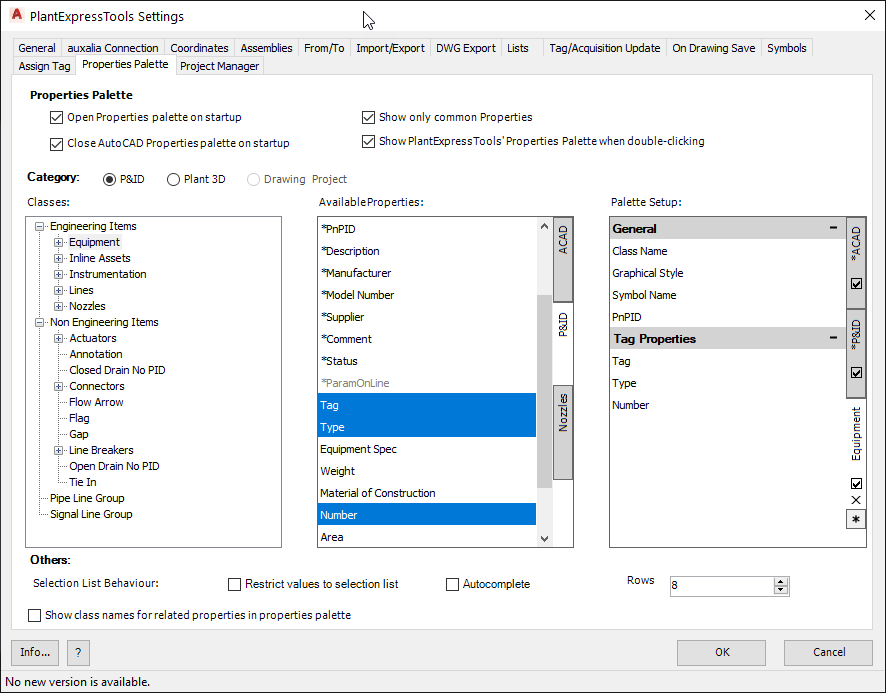
And another Group.
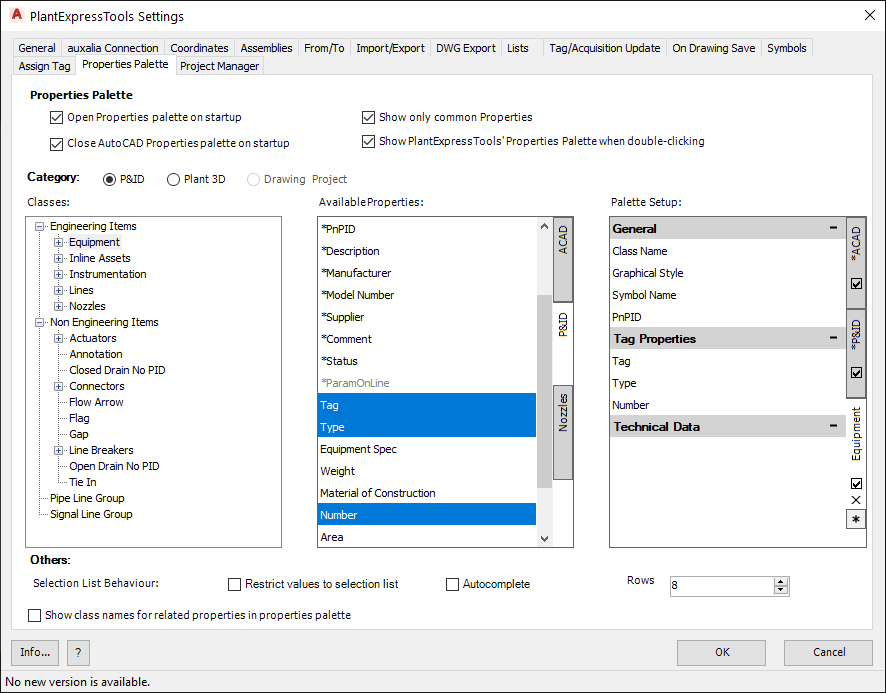
Here we add the 4 new Properties.
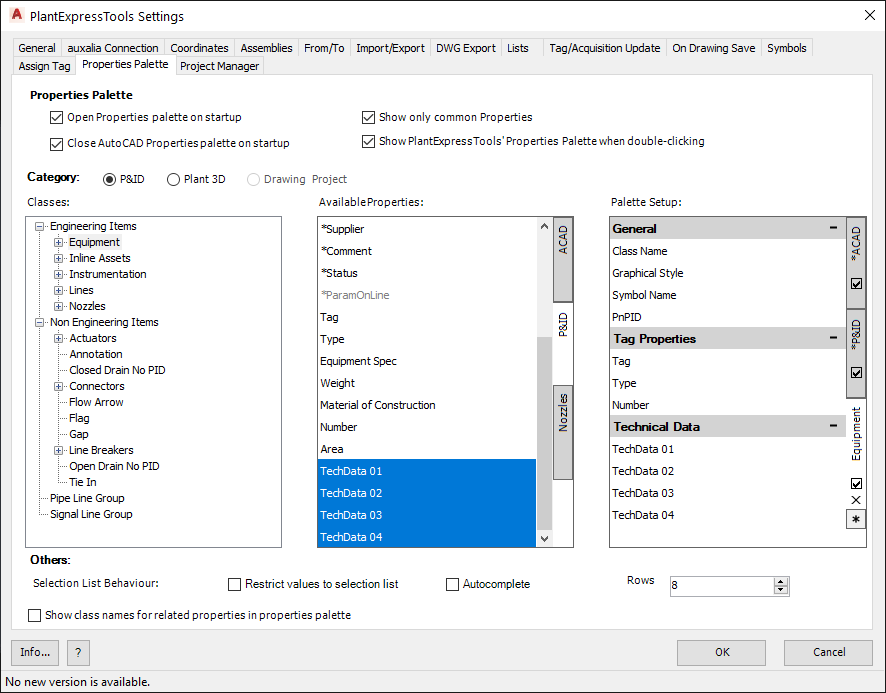
If we new select the Pumps class we see the Display Names of those properties for the Pumps class. Remember: so far we worked in the Equipment class.
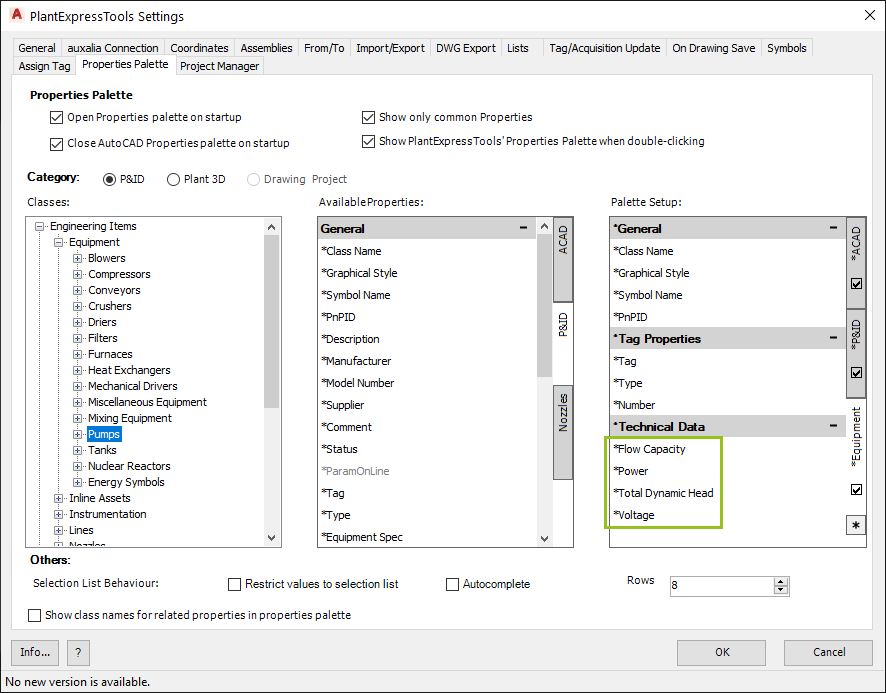
Under the Tanks class it looks different again.
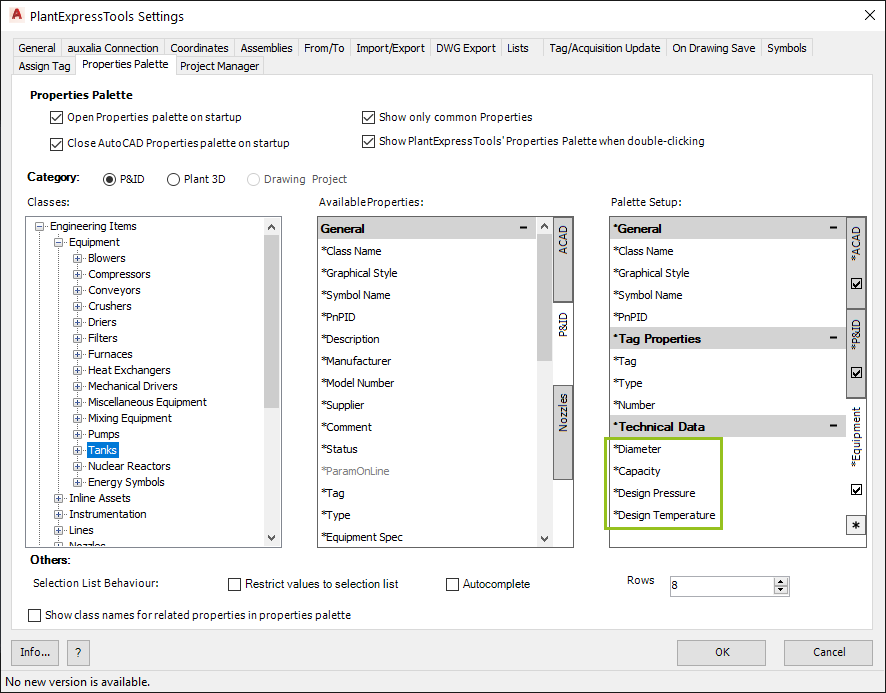
Now we test our setup by selecting a Tank. We are still on the P&ID Tab.
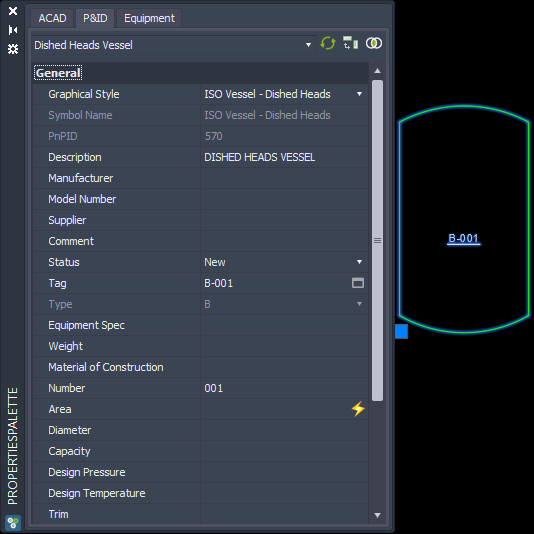
Let's switch over to the new Equipment Tab and we see our Groups and Properties in the order we defined.
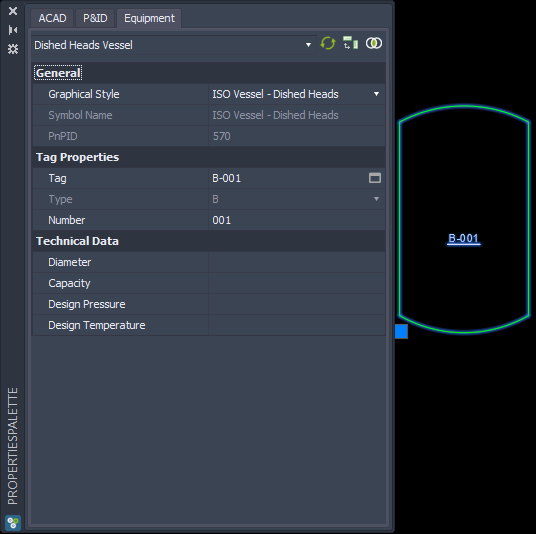
If we select a Pump we see the same setup, just with the different Display Names for the technical data.
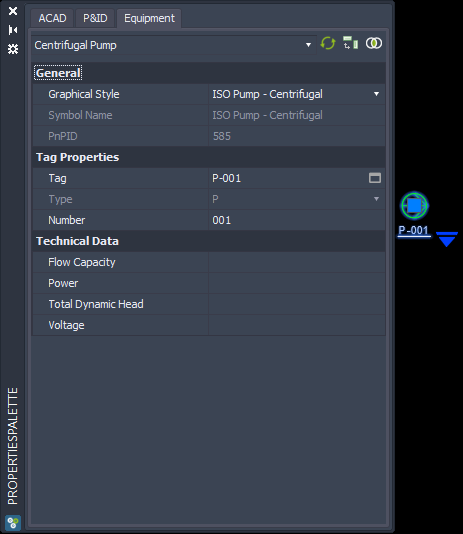
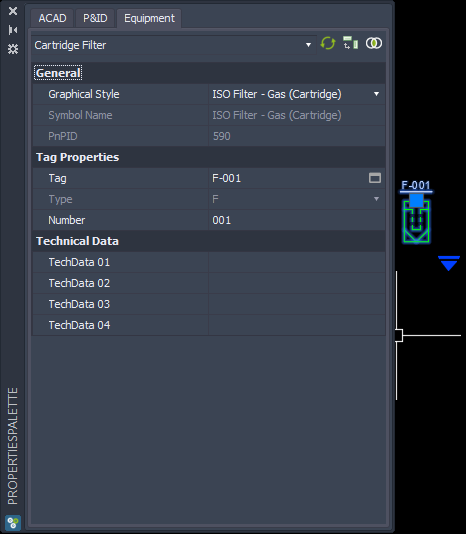
However, if we select some other equipment which isn't under Tanks or Pumps, we see the Display Names of the Equipment class.
Next Chapter: Equipment and Nozzles