|
<< Click to Display Table of Contents >> Import Selection Lists |
  
|
|
<< Click to Display Table of Contents >> Import Selection Lists |
  
|
In case you exported an existing Selection List you can of course modify the content and import it again.
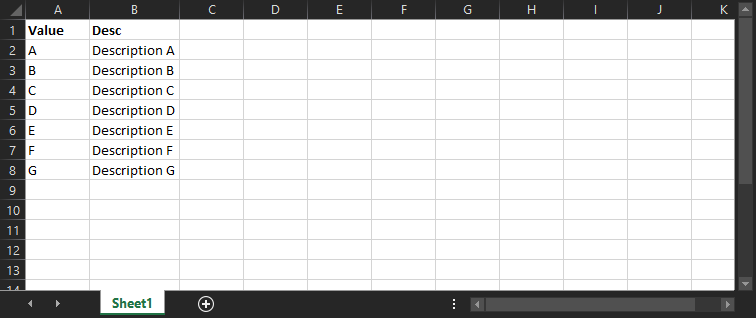
However, in this example we created a new csv file. There is also a header, but a header row is optional.
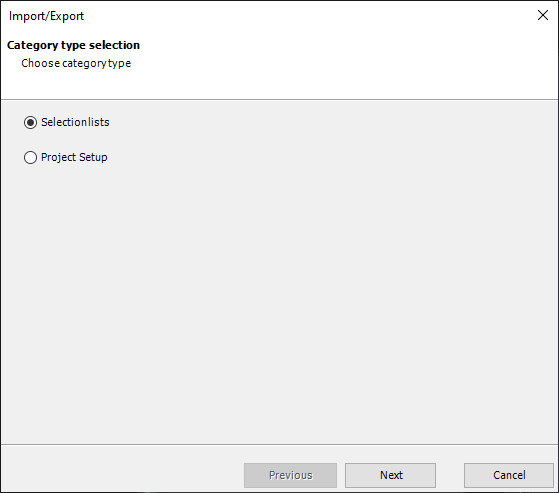
You click on the Import/Export button.

Selection Selection Lists.
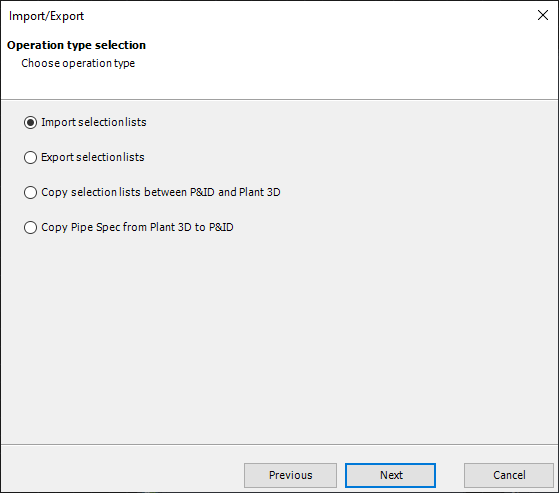
This time you choose "Import Selection Lists".
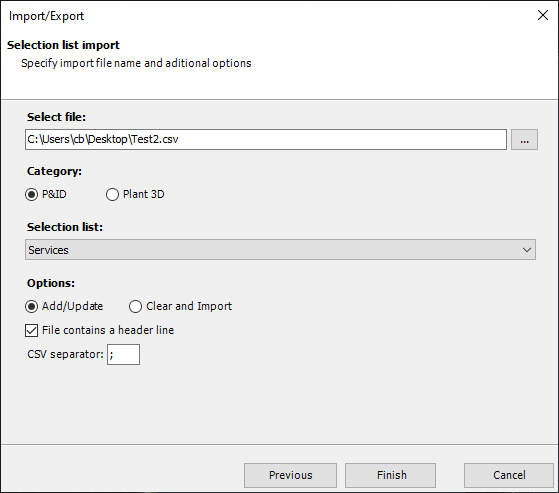
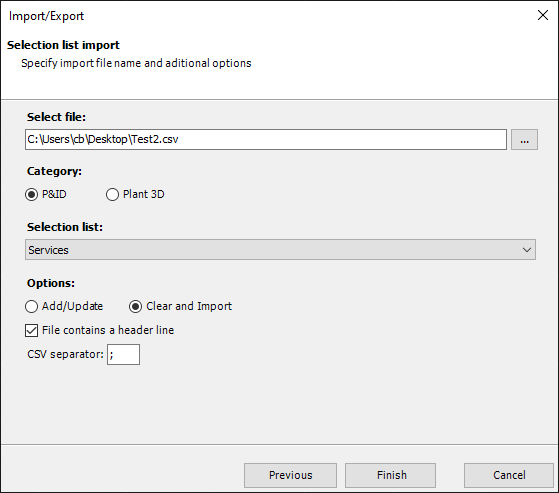
First, you select the csv file you want to import.
Again, you either import into P&ID or 3D.
Next you select an existing Selection List. A bit further down we will also show how you can create a new Selection List while importing.
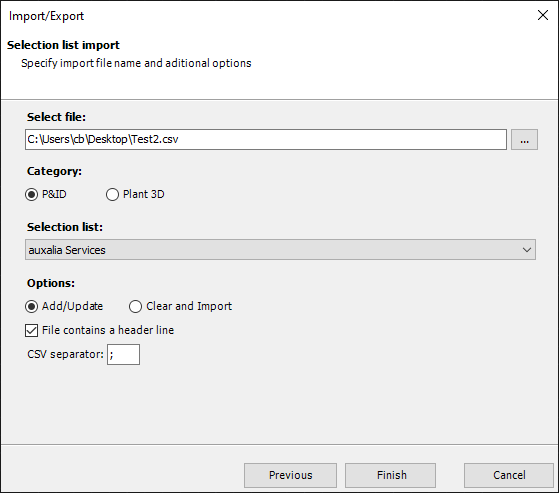
Now you have to decide if you want to update the existing Selection List by adding and updating the Selection List with the content from the CSV file, or if you want to clear the current Selection List from any content and import the content from the CSV file. We will review both cases.
The check box must be enabled in case you use a header row in the CSV file.
Last, again the separator character used in the CSV file.
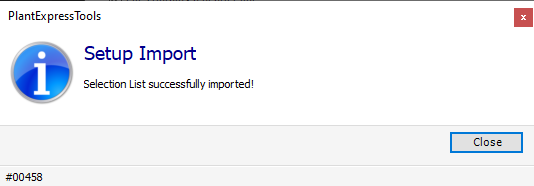
After clicking on Finish you get this dialog.
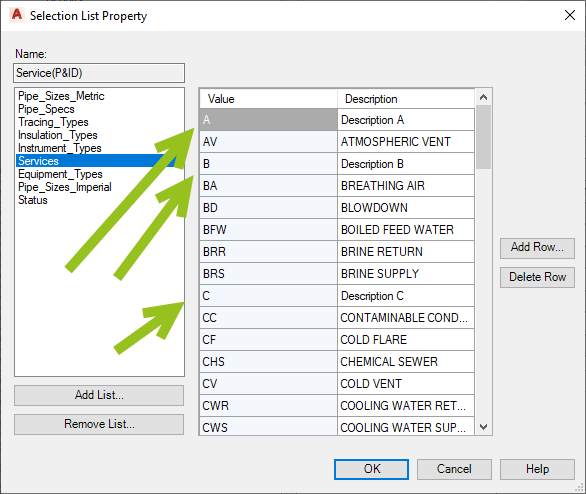
If we look at the updated Services Selection List we see the lines from our CSV file in-between the existing rows.
If we repeat this, but this time use "Clear and Import"...
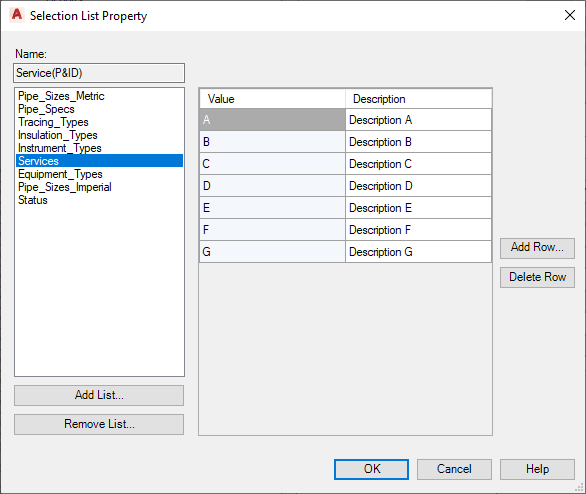
...we see only our rows from the CSV file.
You can also import a CSV file as a new Selection List. This avoids the necessity to manually create a new Selection List in Project Setup yourself.
You select "New..." from the list.
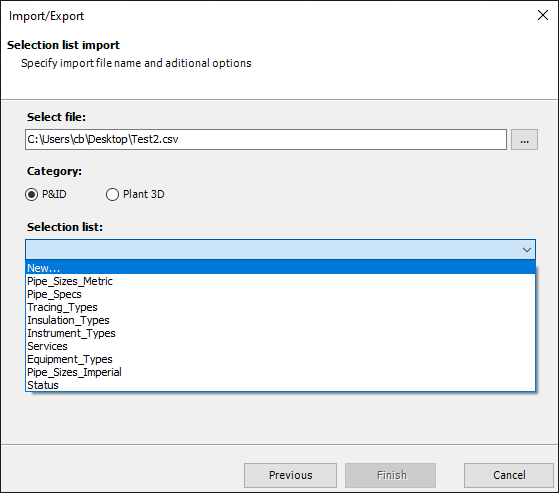
Then type in a new Selection List name.
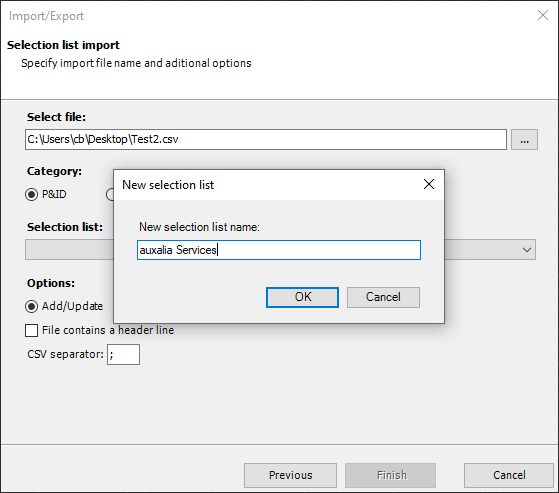
This type it doesn't matter whether you choose "Add/Update" or "Clear and Import", because it is a brand new Selection List without any previous content.
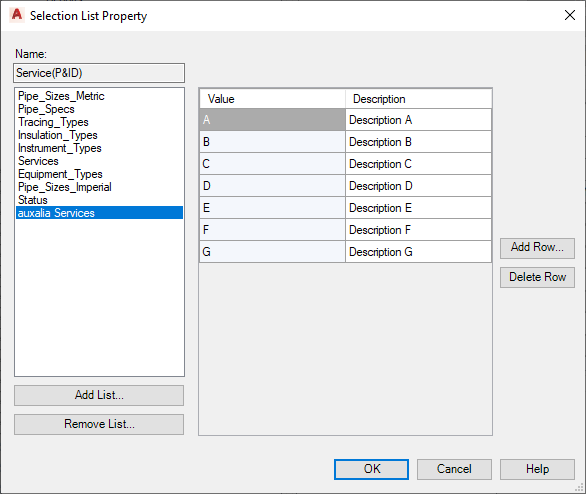
You then see the new Selection List with the content from the CSV file.
Next Chapter: Copy Selection Lists between P&ID and 3D