|
<< Click to Display Table of Contents >> New List using CSV |
  
|
|
<< Click to Display Table of Contents >> New List using CSV |
|
Make sure you read through the previous two chapters, because we will leave some details out.
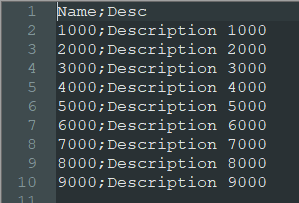
In this example we use a CSV file. Depending on the country you are and your windows settings the separator in a CSV file may be different than in this image.
We see a header line and then rows from 1000 to 9000 with their description in the second column. You can edit CSV files in Excel too. Just make sure that you export them as CSV.
If you use a CSV file, make sure that you have only two columns. All other data sources can have more columns, because for other data sources you can select which columns to use.
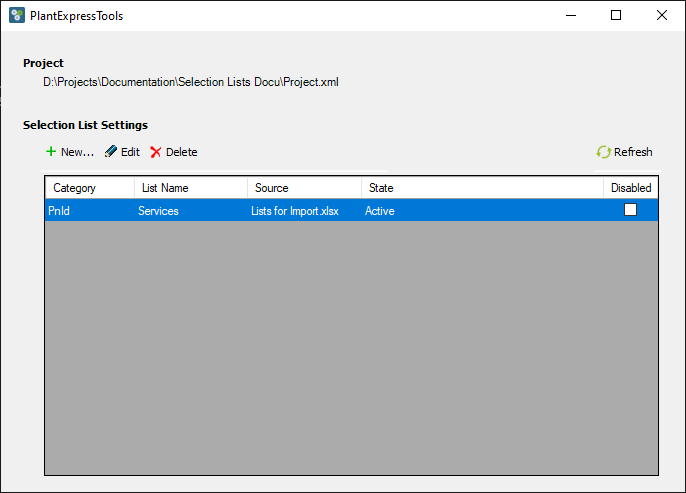
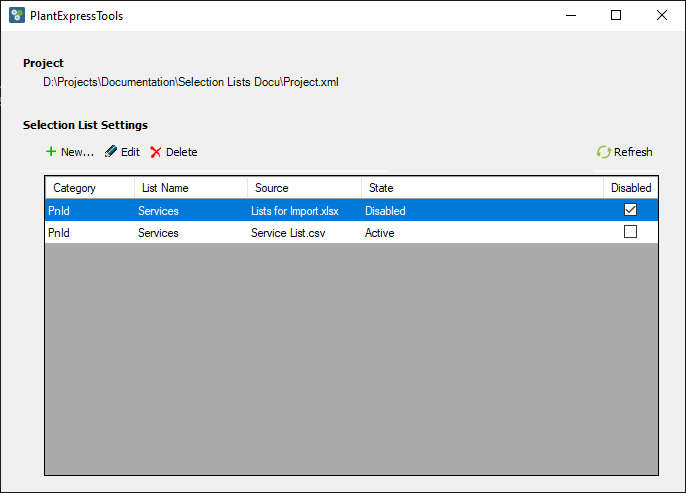
We open the main dialog again.

We see the configuration of the previous chapters.
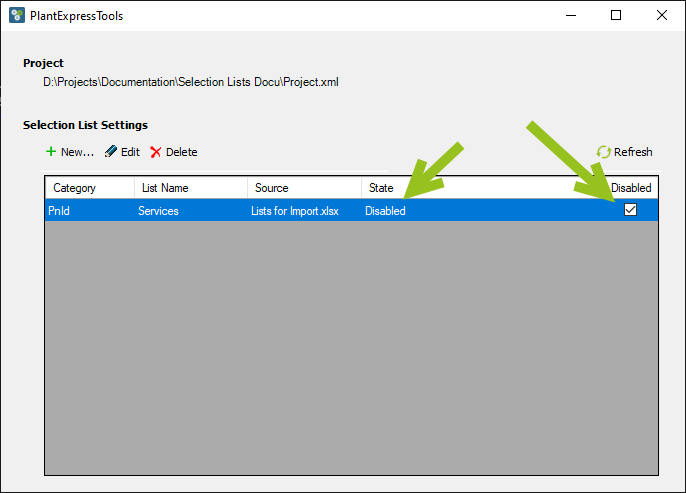
We disable it, because we will create a new configuration. After we disabled it, we will see that "State" now shows "Disabled". The line also becomes grey, but in this case we only have that one line and it is selected and therefore shows with a blue background color.
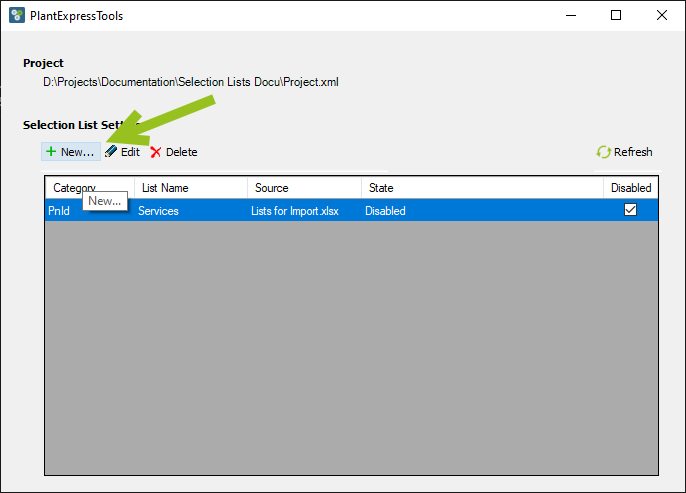
We create a new configuration.
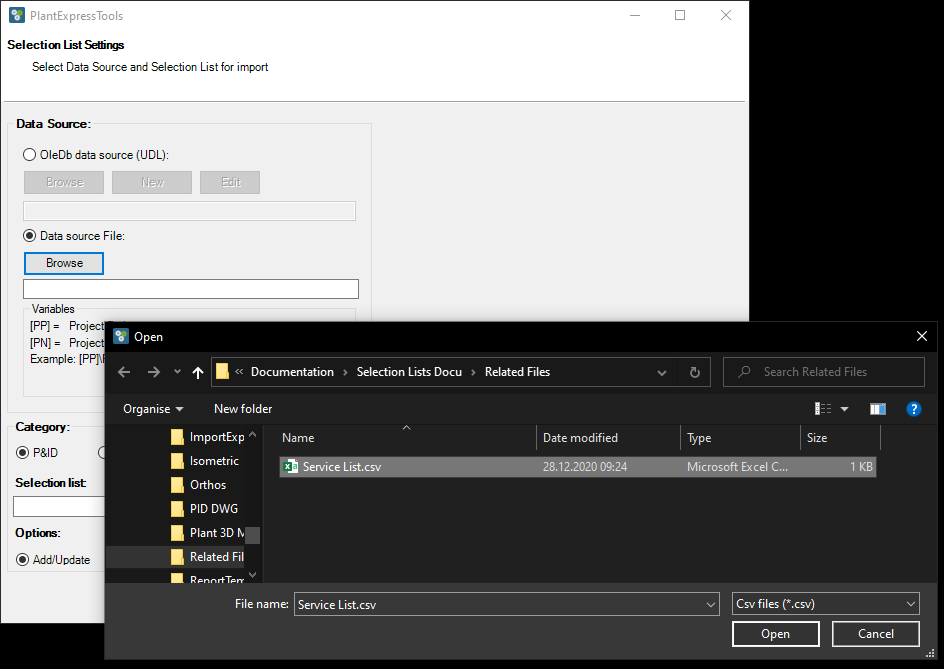
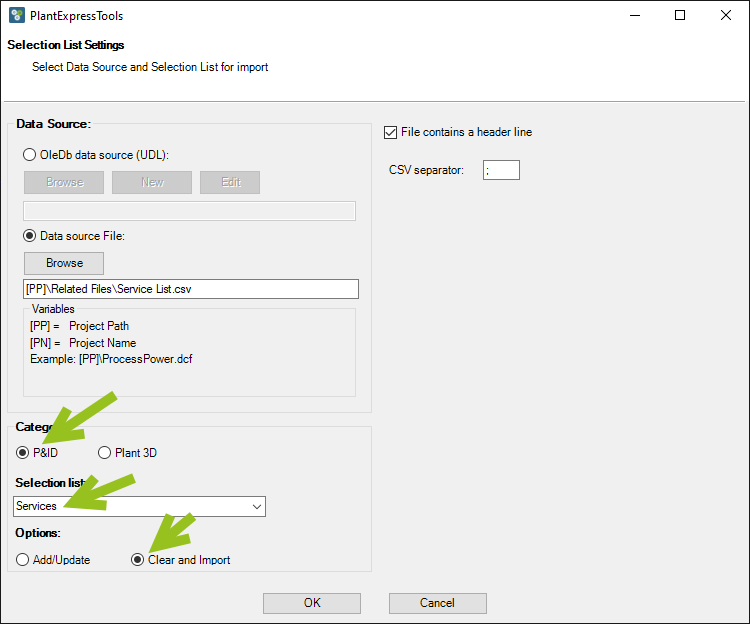
This type we use "Csv files (*.csv)" and select our sample file.
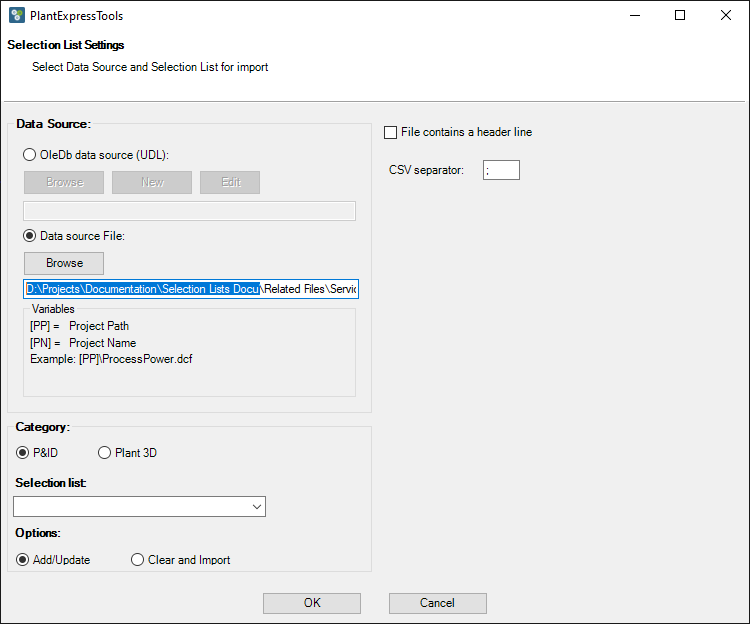
We adapt the path.
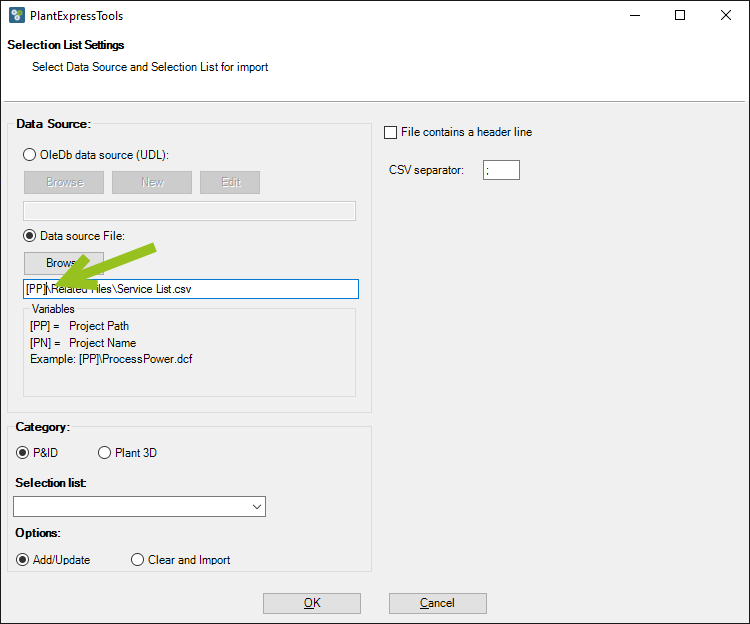
And make it a relative path.
On the right you recognize, that it now looks different than when we used an Excel file as a data source.
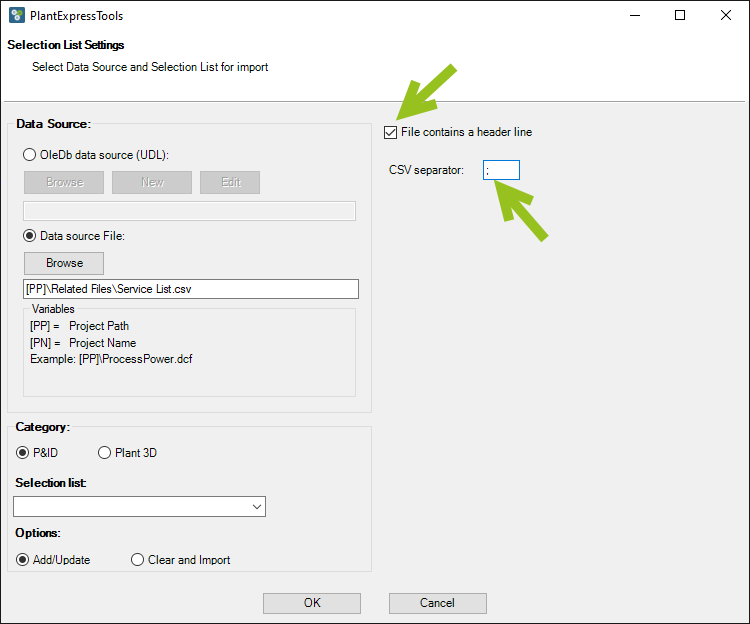
Our CSV file uses a header line, so we check this box. We define/change the delimiter if needed.
We use the following settings and options as before.
We see the new line.
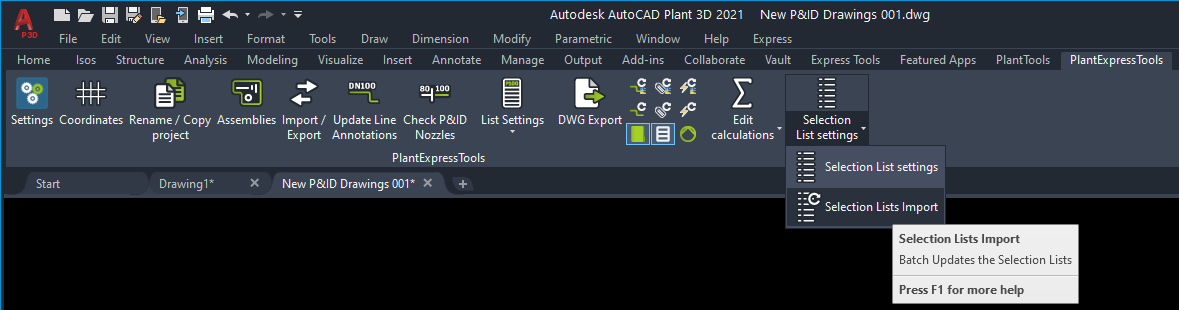
We update the Selection List.
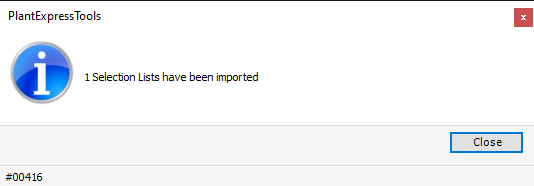
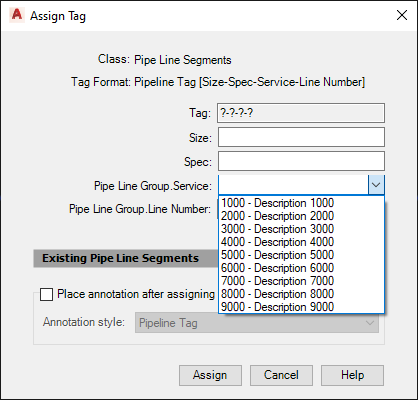
We get the result.
When we check we see the content from our CSV file.
Next Chapter: New List using SQLite