|
<< Click to Display Table of Contents >> Define Layout |
  
|
|
<< Click to Display Table of Contents >> Define Layout |
|
The next part is the layout. Which brings the data from the query into the look & feel you want.
PlantReporter is using the reporting tool from DevExpress. You can find more details under this Link.
We will concentrate on the basics in this chapter. There will be more chapters explaining other factors and features of layouting your data.
When you start with a new blank report, a blank layout opens and the "Report Wizard" starts automatically.
Remark: The Report Wizard only helps you to setup the layout faster. However, you can also click on "Cancel" and start from scratch. Even when using the "Report Wizard" you can change the result the wizard creates.
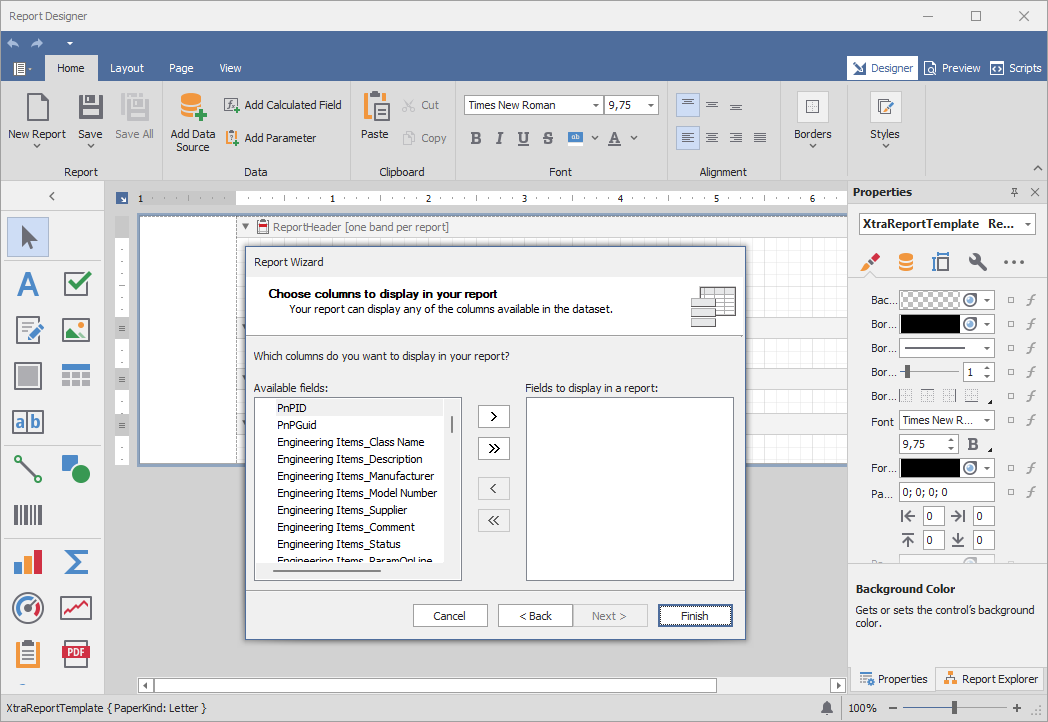
Under Available fields you have all the properties you saw in your query. Again, the properties show with their class name in-front.
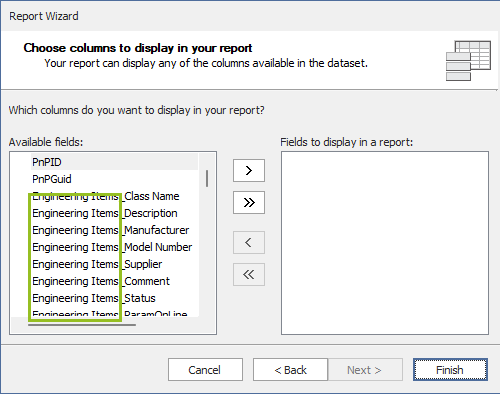
So, Size or Spec are properties defined under the Inline Assets class. Tag is under the Hand Valves class.
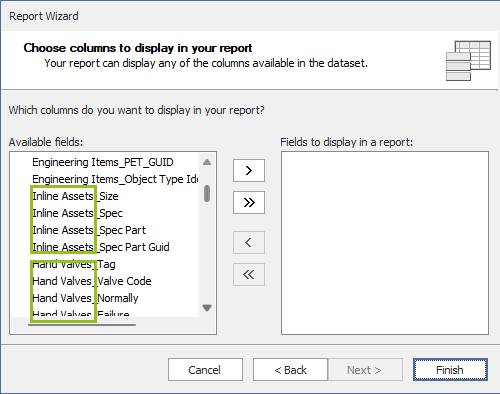
And we see the drawing properties.
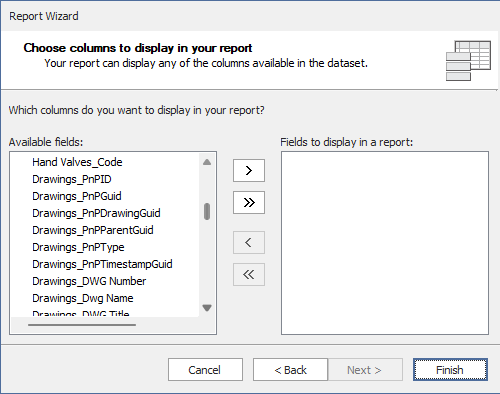
Since we also have Piping Specialty Items and Inline Instruments classes in our query, we have those properties also listed.

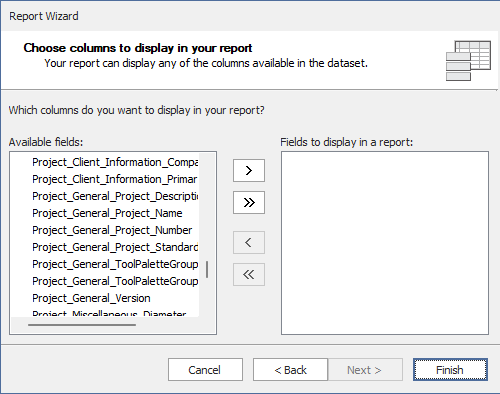
And again the project properties.
You can either double-click on a property or use the right arrow icon to select a property for the report.
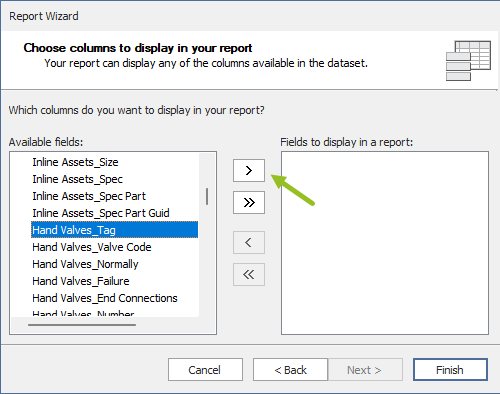
Lets select the following properties.
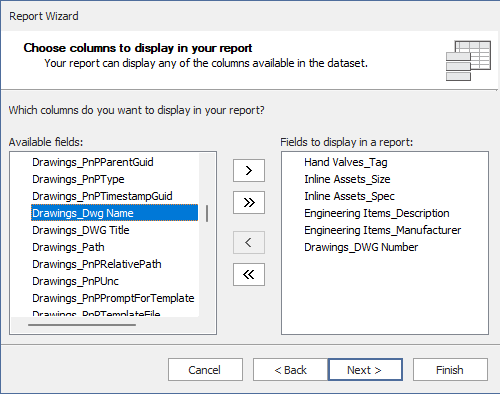
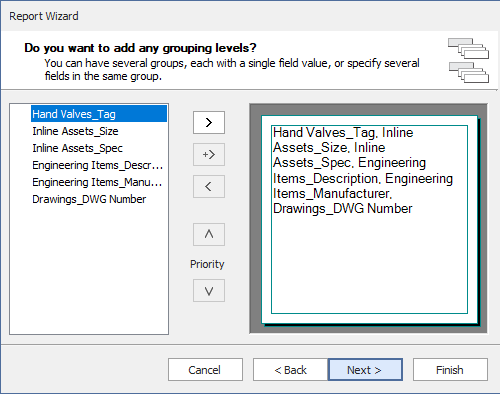
After clicking on Next > we can group the selected properties. This allows you to group records which have something in common. This is often used when a sum is needed. We will see this in other use cases.
We click Next >.
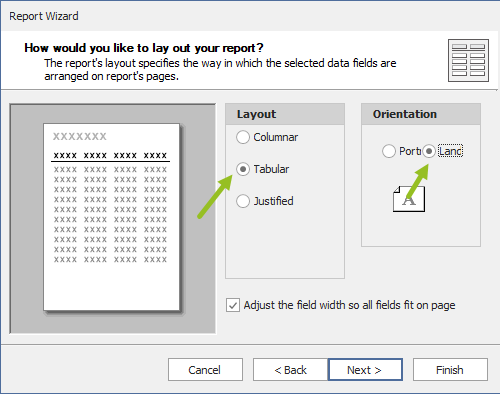
Next you can choose the general layout and orientation.
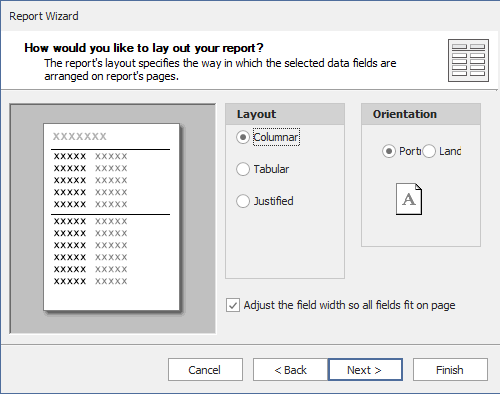
We select Tabular and Landscape.
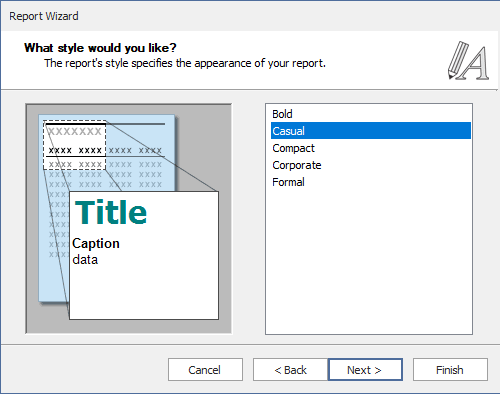
Next you can select a style you want to use.
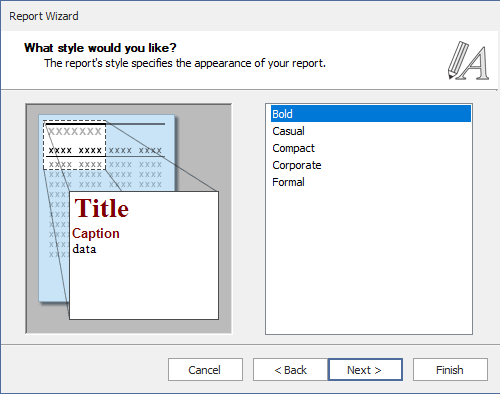
Lets use Casual.
Last in the settings is the title.

Type in the name you want to see on the report.
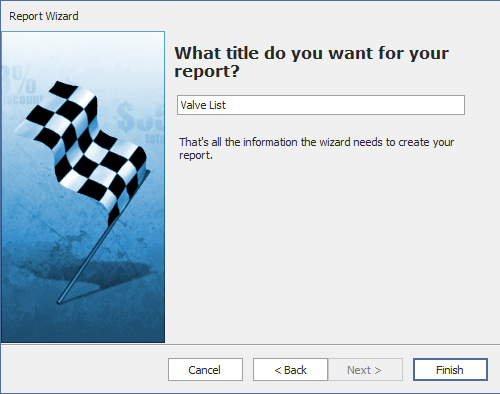
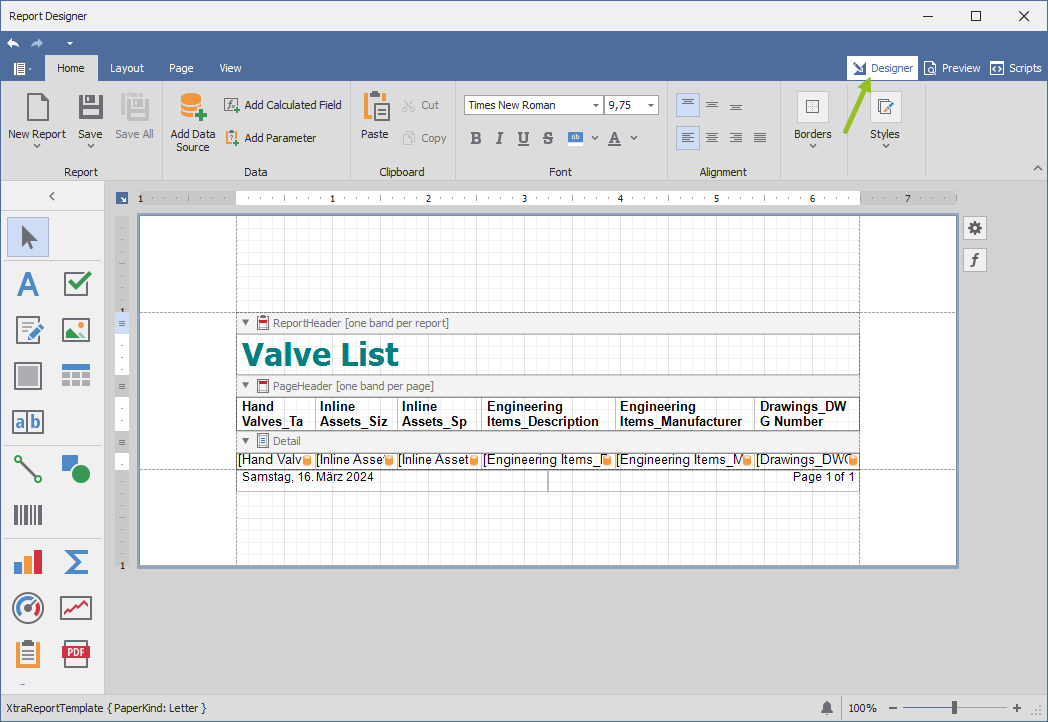
After you clicked on Finish, the layout looks like this:

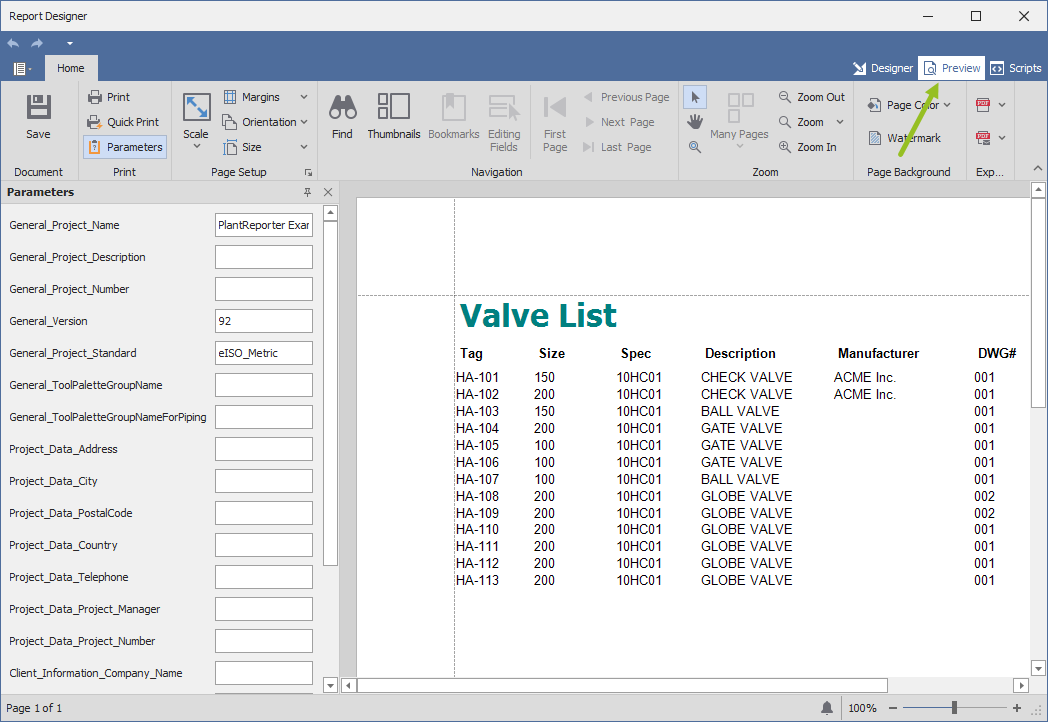
If you want a preview you just click on the Preview tab. Now you see how the layout really looks.
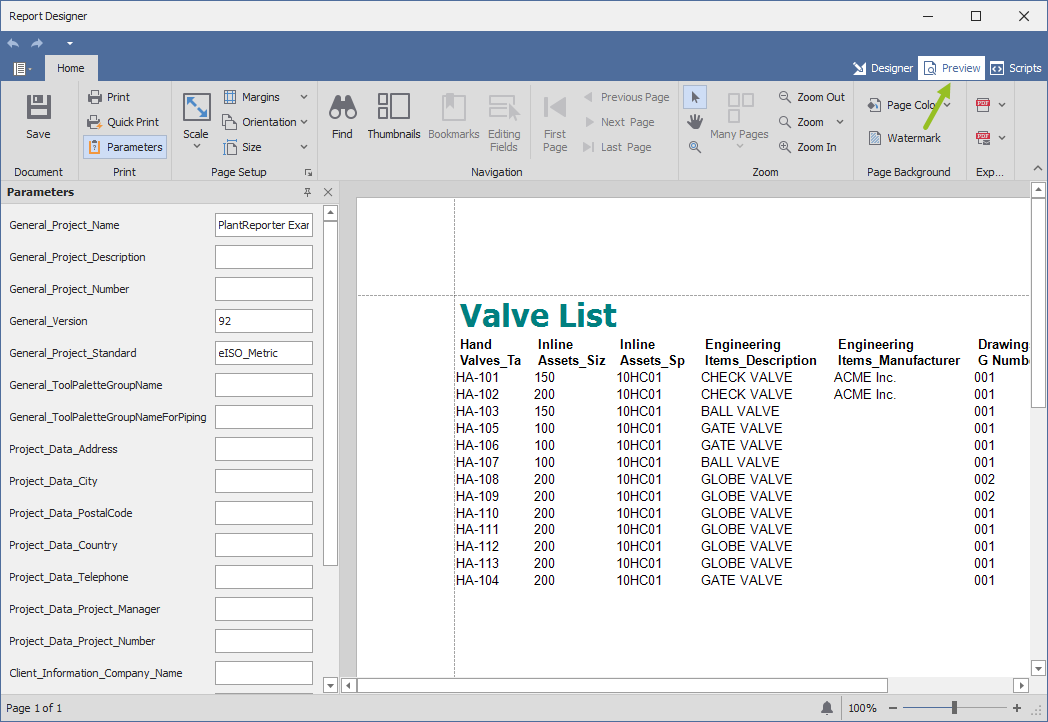
To change the layout you click on Designer again.
The easiest way to edit the text is to make a double-click on the text.
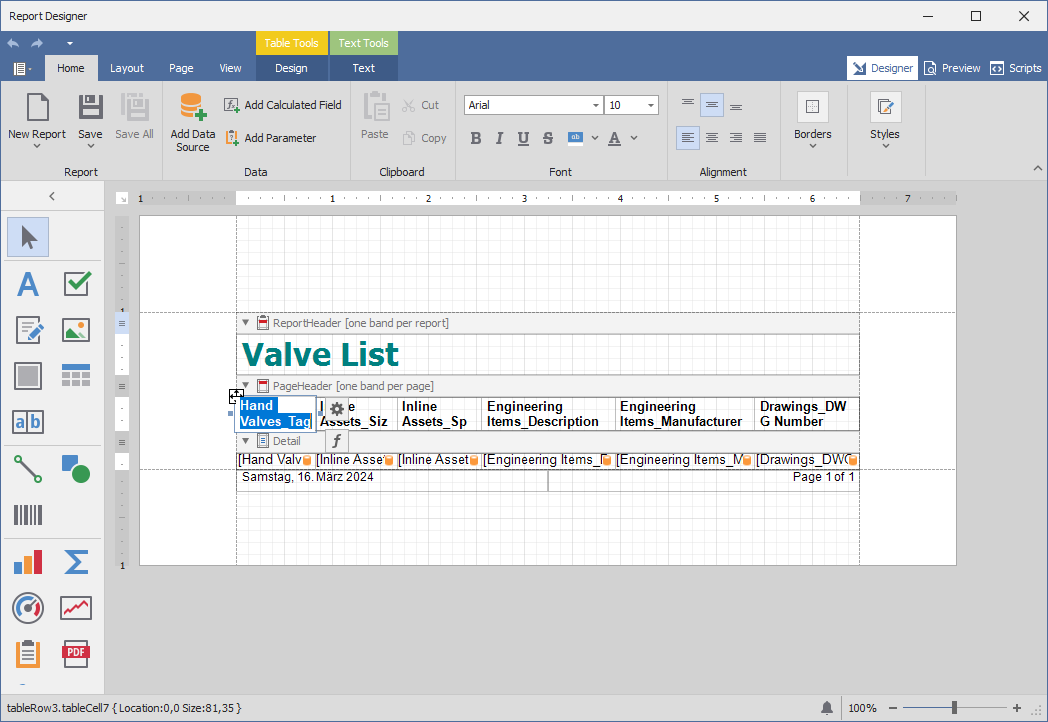
Then you simply overwrite.
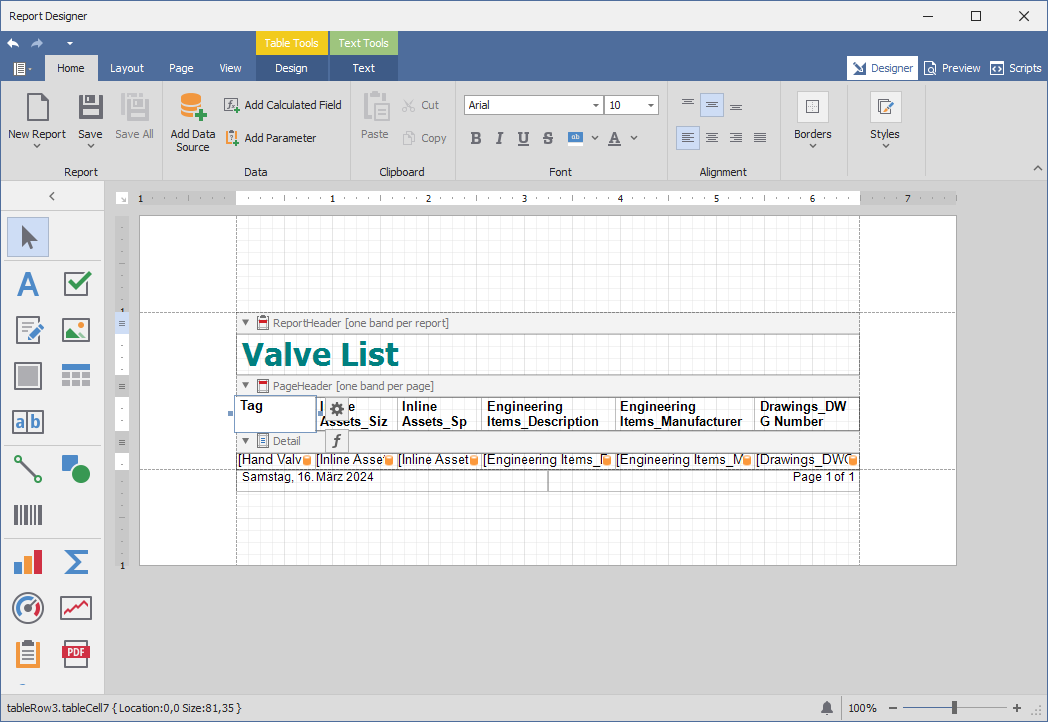
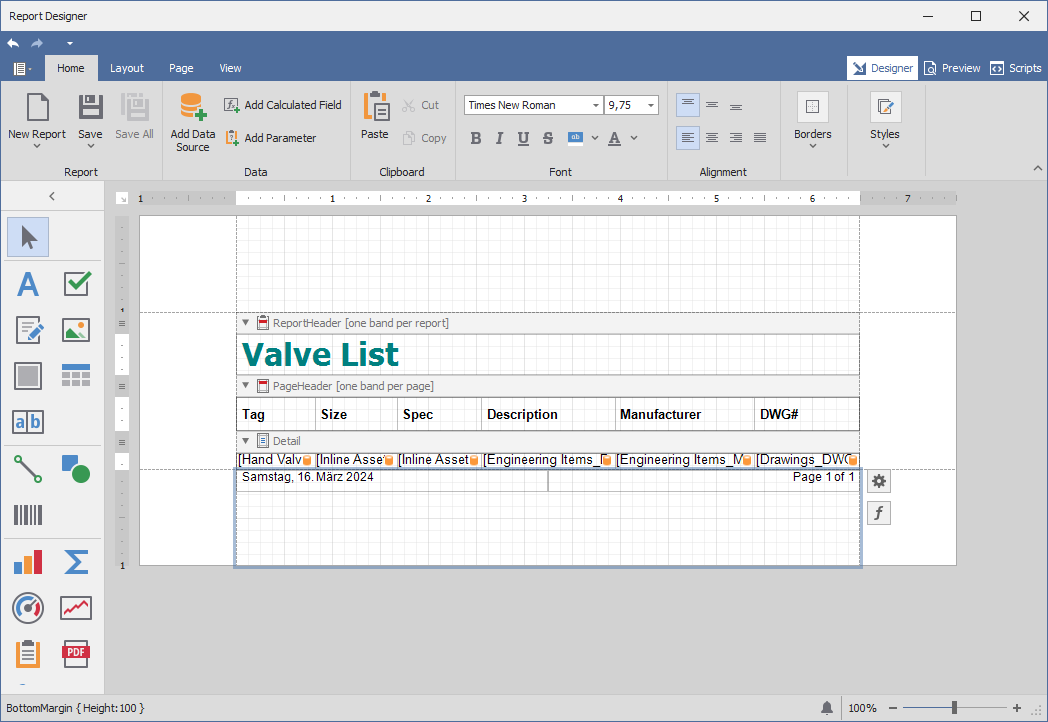
When we do this for all header texts it looks like this:
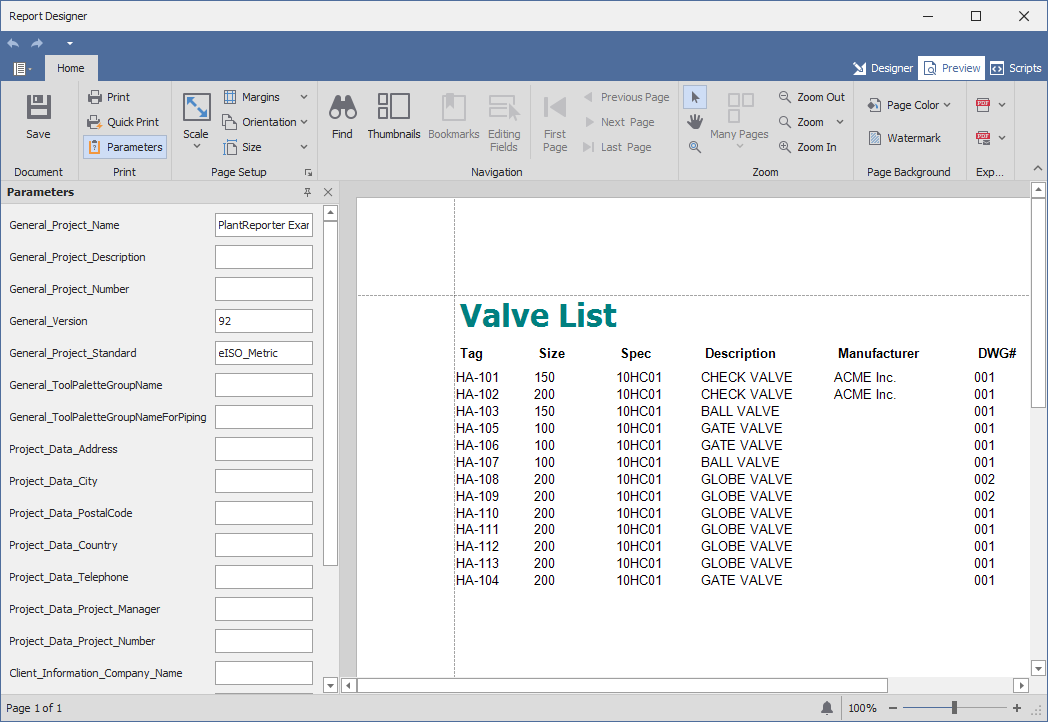
The preview looks like this.
After switching back to the Designer, we select the first cell in the table under Detail. We see a cock wheel icon at the right side of the band.

When we click on this cock wheel a menu flies out. We click on the ... icon at the Sort Fields line.

Another dialog shows up.
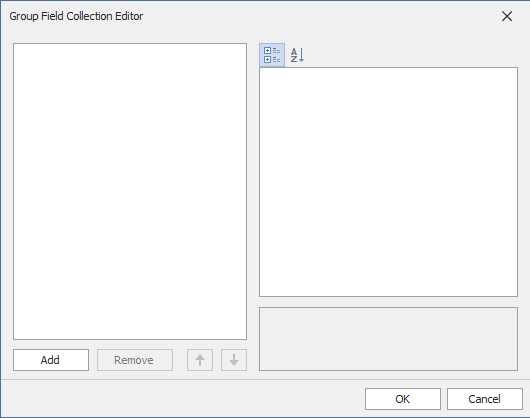
We click on Add.
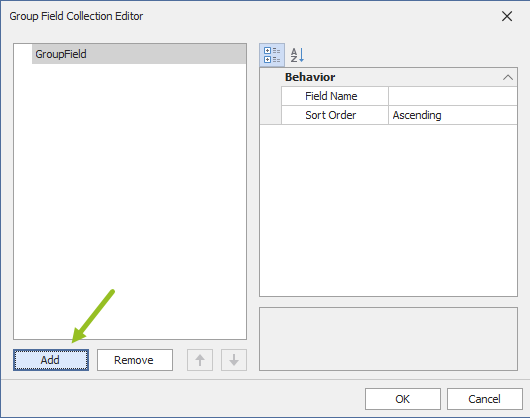
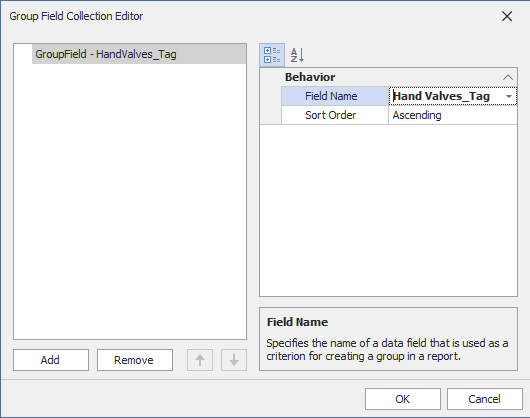
Now we can select the property which we want the report ordered by.
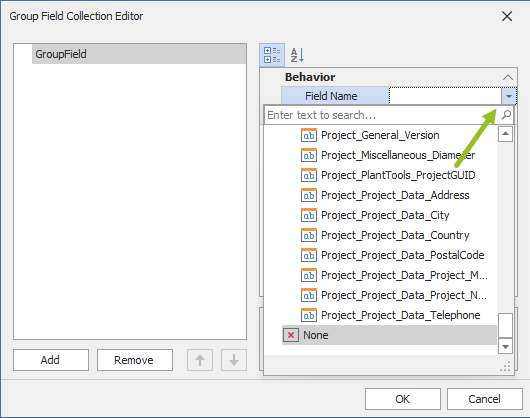
You can also type in a value in the search field which makes it easier to find the correct property you want to select.
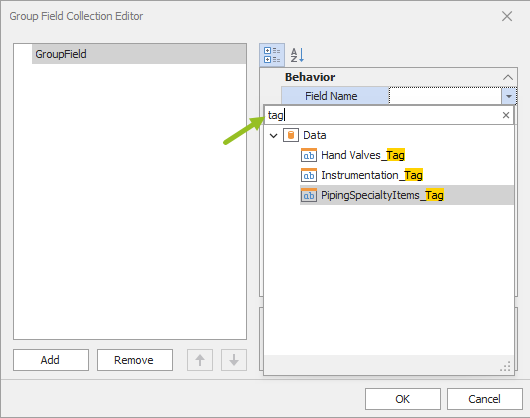
In our case we select the Tag from the Hand Valves class.
You can define multiple properties to sort the report's data if needed.
We actually don't see a difference to the preview. This is because the valves were numbered in increasing number when inserted, and this is the order they are also written into the database. However, in a real project those data is typically not written in order and Tags are ofter changed after being inserted. So ordering should always be part of the layout.
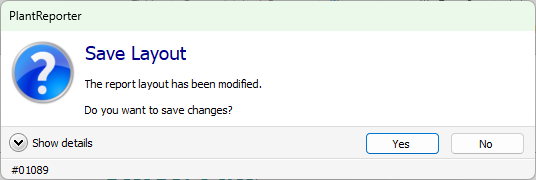
Now we close the layout.
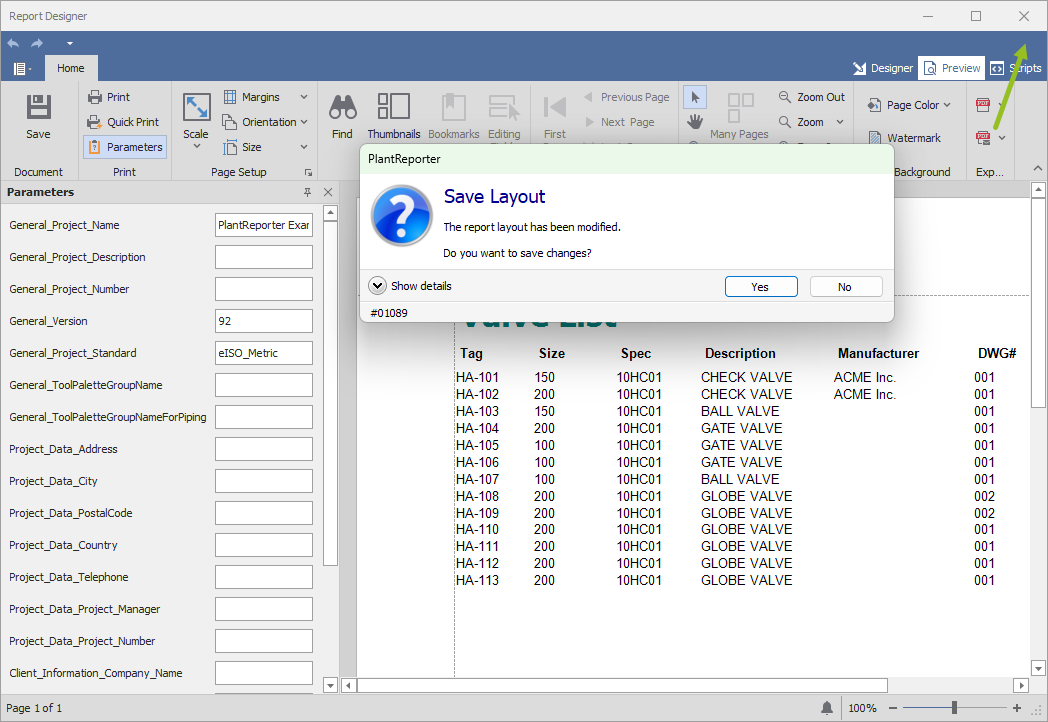
Any change we made (also when editing), will automatically ask to save the changes.
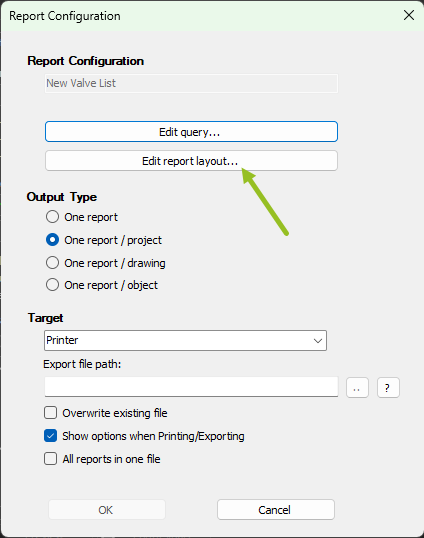
Next Chapter: Define Output Type