|
<< Click to Display Table of Contents >> Navigating Structure Tree (P&ID) |
  
|
|
<< Click to Display Table of Contents >> Navigating Structure Tree (P&ID) |
|
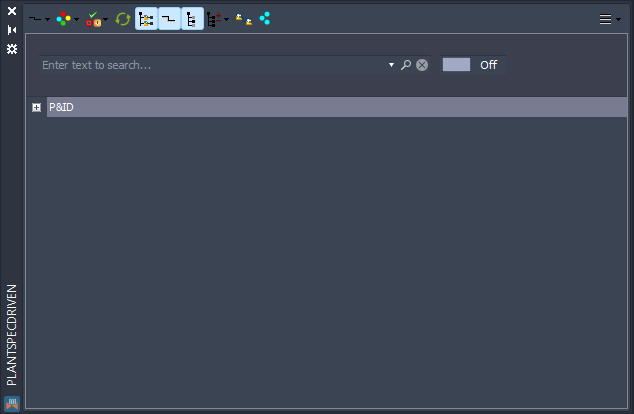
This chapter describes what the Structure Tree shows and how you navigate the tree in general.
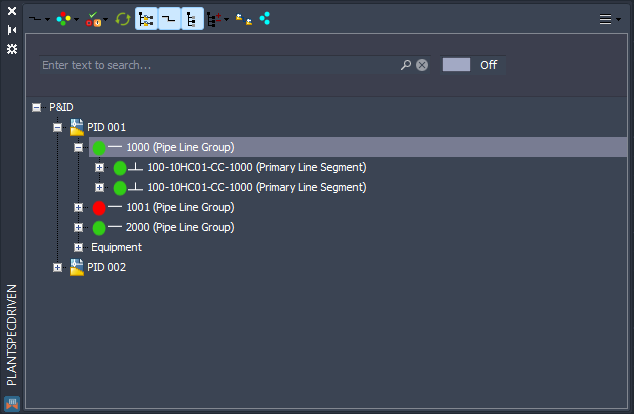
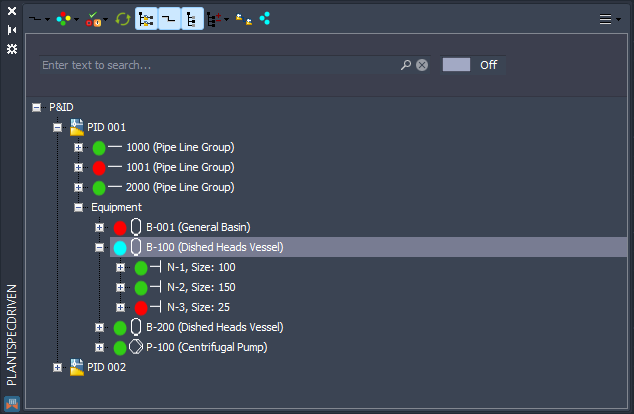
By default, the Structure Tree shows the data from your P&ID drawings. Hence, you see P&ID as the top node in the tree.
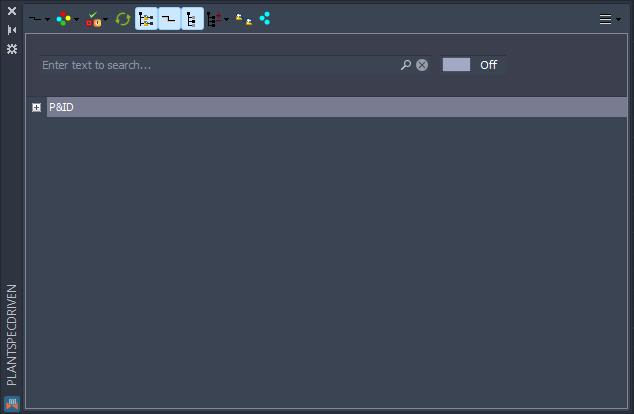
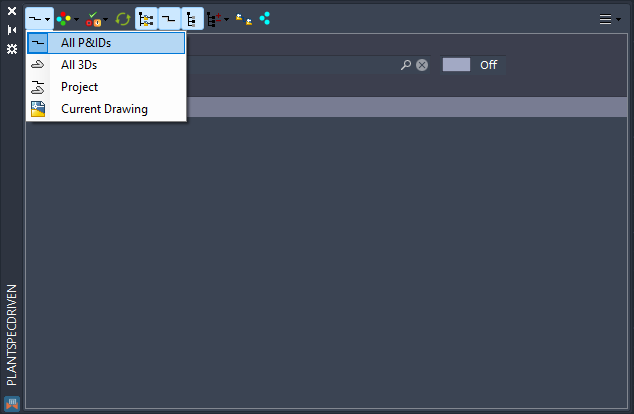
The first flyout button in the toolbar allows you to select other views.
All 3Ds shows the tree with the data from your 3D drawings. Project shows a combined view of your P&ID and 3D data. And finally, Current Drawing shows the data of the drawing which is currently active. In this case the tree will be updated as soon as you switch to another drawing.
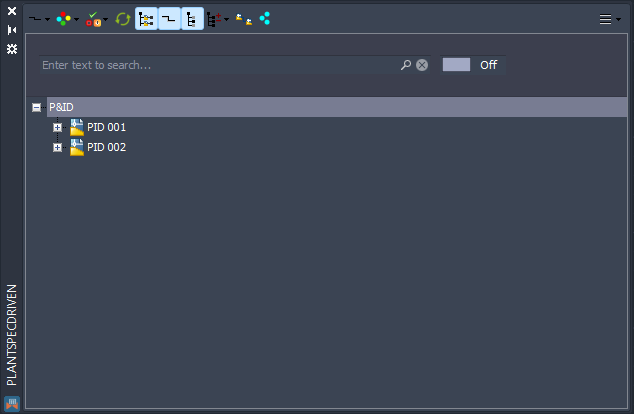
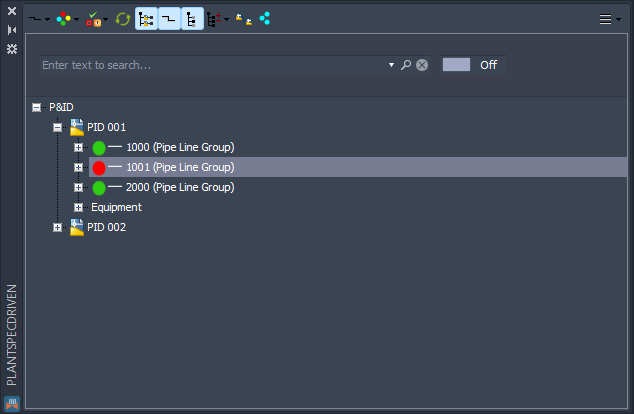
If you expand the P&ID node you will see the drawings.
If you expand the drawing node you will see the Pipe Line Groups.
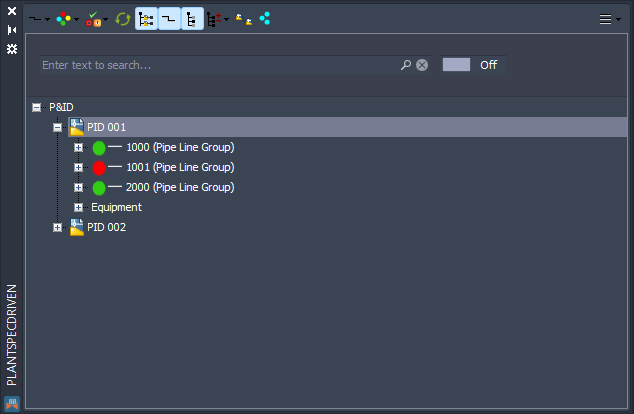
If you expand the Pipe Line Group node you will see the Pipe Line Segments.
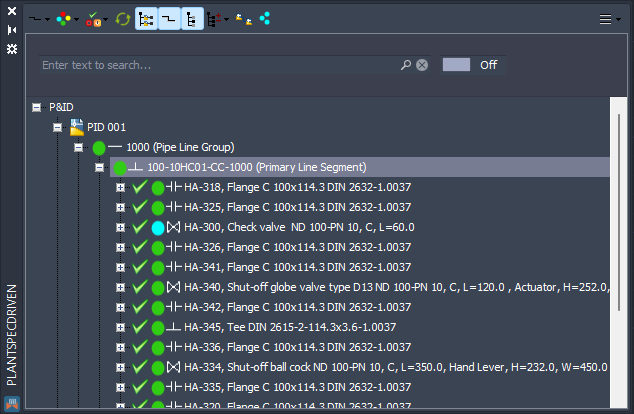
If you expand the Pipe Line Segments node you will see the Inline Assets and Inline Instruments.
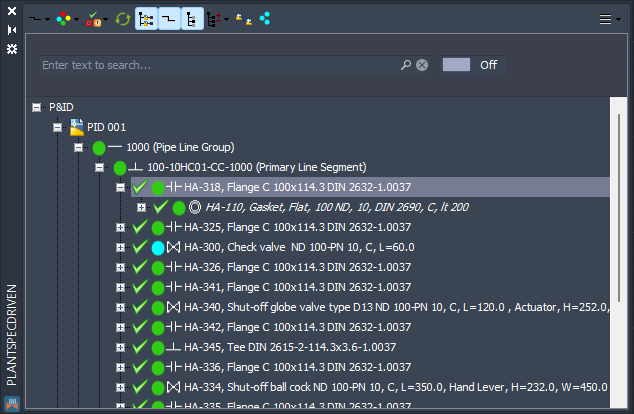
If you use Fasteners you will see them if you expand the Inline Asset / Inline Instrument node.
In case you setup PlantSpecDriven for Equipment you will see a separate node for equipment and under it the equipment symbols in your drawing.
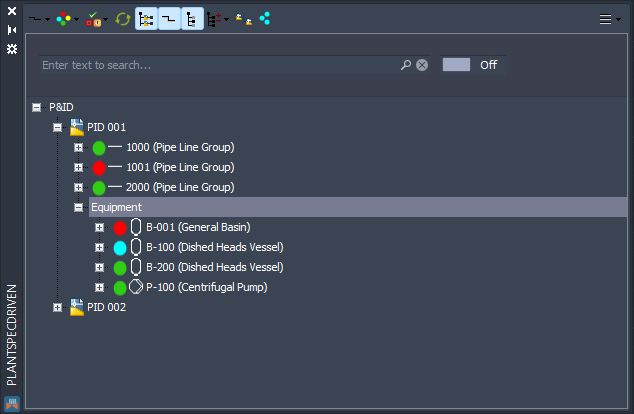
If you also setup PlantSpecDriven for Nozzles you will see them under the equipment node.
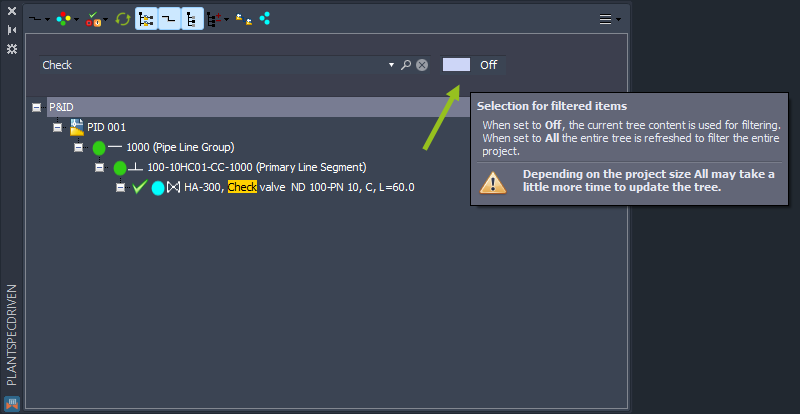
If you type in a text in the search bar the tree will be filtered for this value.

The is also a toggle switch to toggle between All and Off. If you use All and a bigger project, the whole tree will be loaded into memory in order to filter the whole project. This can take some minutes on real big projects. So be careful. The default setting is Off which filters only the nodes which have already been loaded.
If you want to expand the whole tree you can select Expand all from the toolbar.
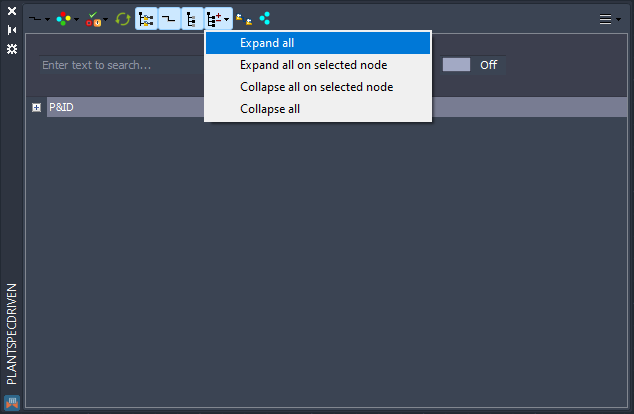
This will then expand the whole tree with old sub nodes.

With Collapse all you can collapse the whole tree again.
And you are back to the top node.
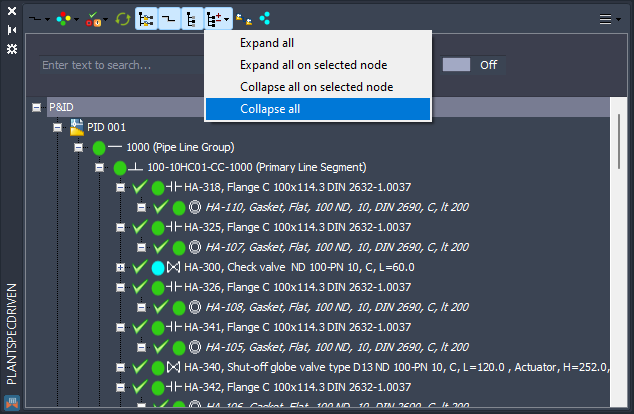
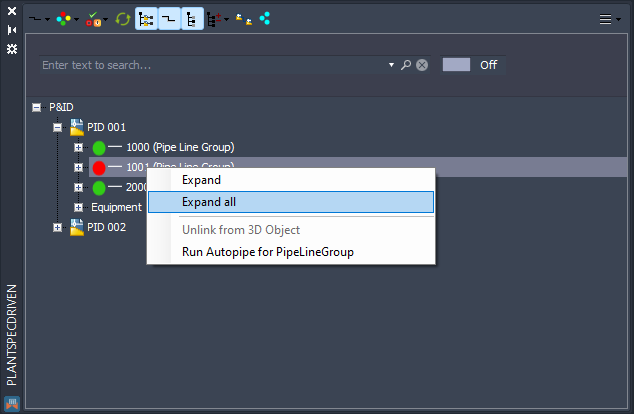
If you want to expand only a specific node and its sub nodes, you can use the context menu and select Expand all.
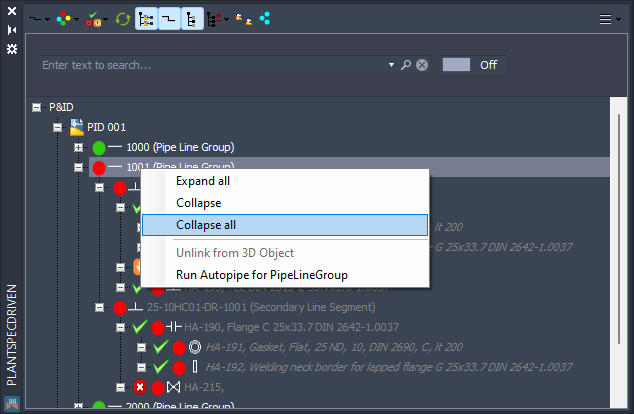
Now you see the full tree from the node on which you executed Expand all.

If you want to collapse the tree again you can use Collapse all.
And this is what you get.
The difference between Expand and Expand all is, that Expand only expands the next node but not its sub nodes. It is essentially like clicking on the + sign in front of the node.
The difference between Collapse and Collapse all is, that Collapse seems to do the same as Collapse all, but when you expand the node again after you used Collapse, the nodes and its sub nodes will expand again if you use Expand. Essentially Collapse keeps the sub nodes expanded in case you later want to expand the tree again.
Next Chapter: Filtering by Connection Status (P&ID)