|
<< Click to Display Table of Contents >> Filter Nodes |
  
|
|
<< Click to Display Table of Contents >> Filter Nodes |
|
This chapter describes how you can filter out individual Nodes in the Structure Tree by using the Expression Editor.
Under Enable/Disable Classes you already saw how you can disable classes. However, it can make sense to filter the tree depending on some values in some properties. For example, often you are not interested in the smaller sizes in your P&ID drawings, because you will route only pipes above a certain size.
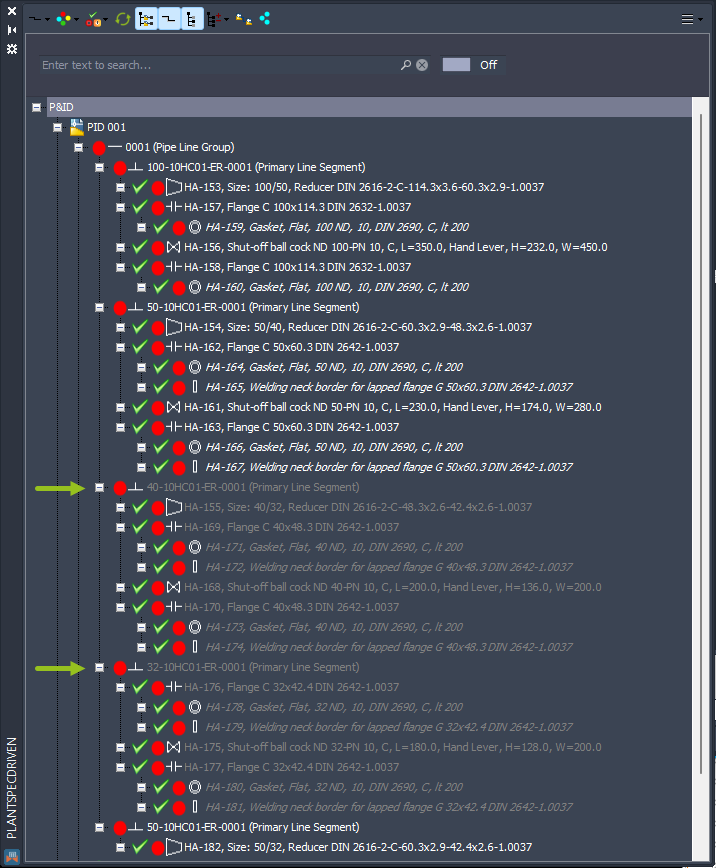
Let's use this as an example where we have a line with different sizes.

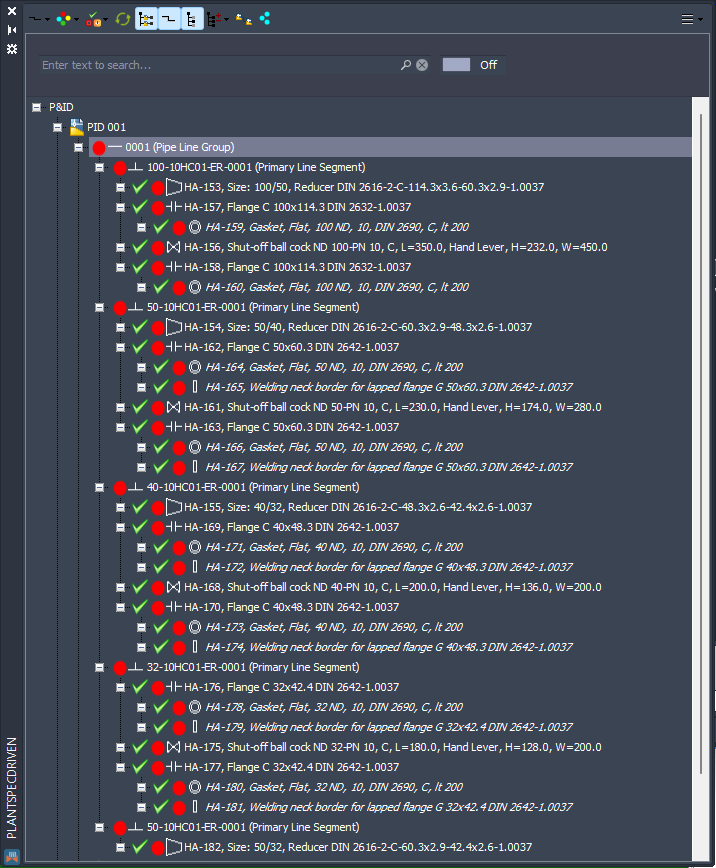
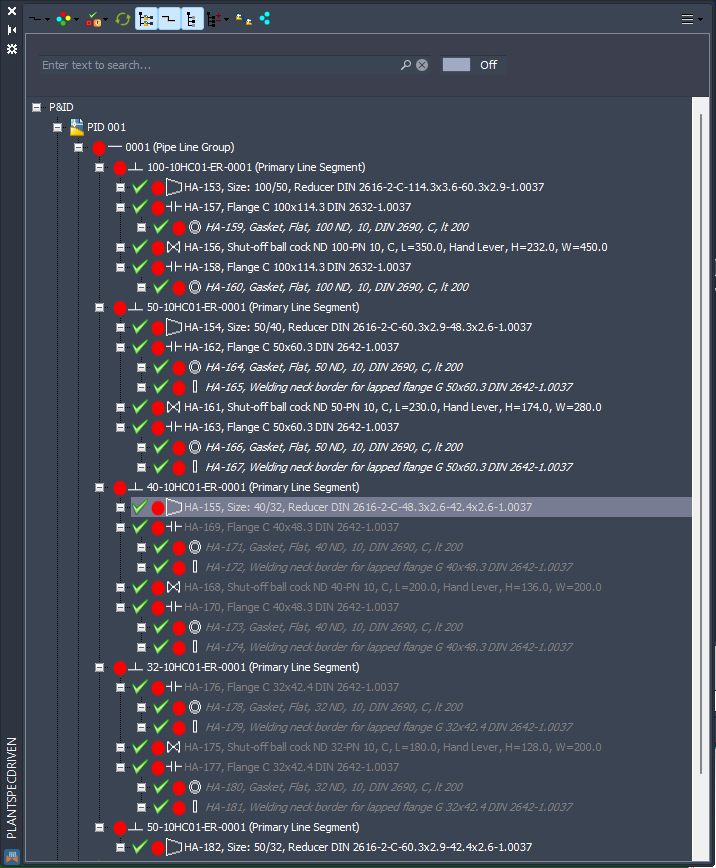
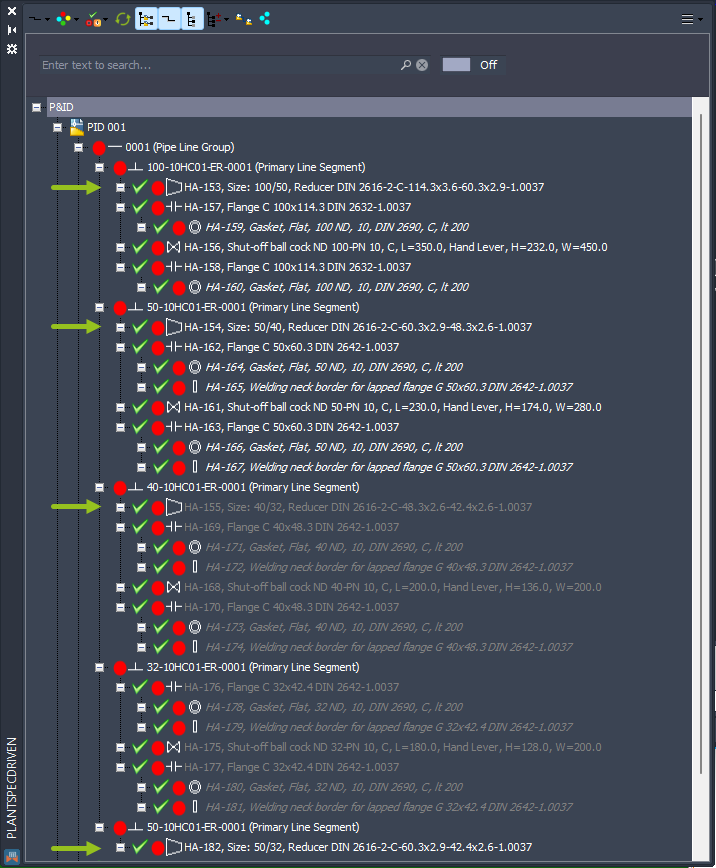
The Pipe Line Group looks like this with the different Pipe Line Segments, Inline Assets, Piping Fittings incl. Fasteners.
But the goal is to only see the objects with sizes 50 (2") or above.
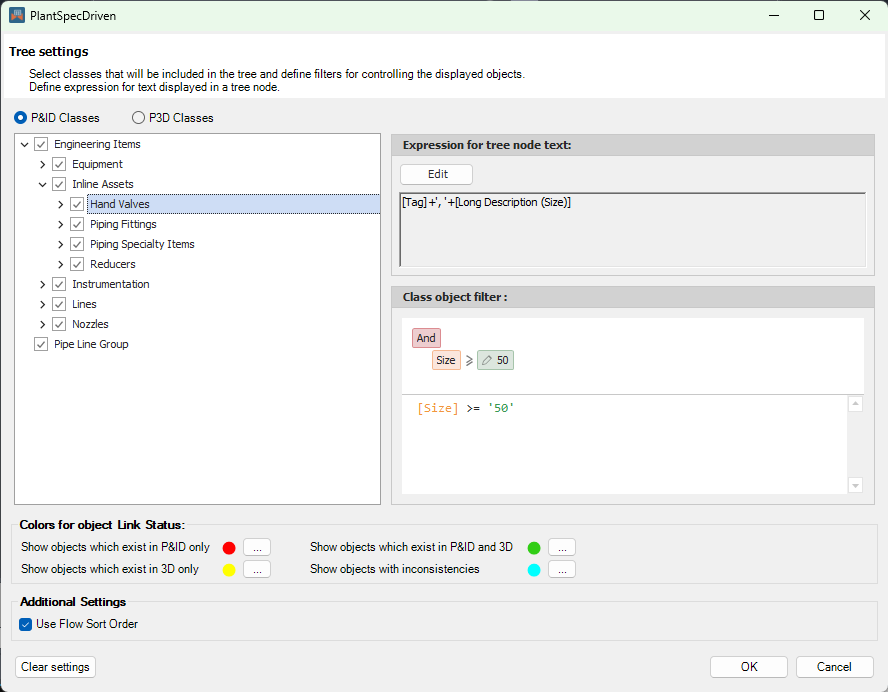
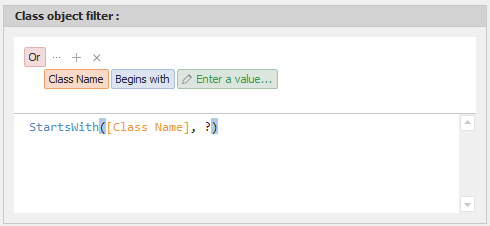
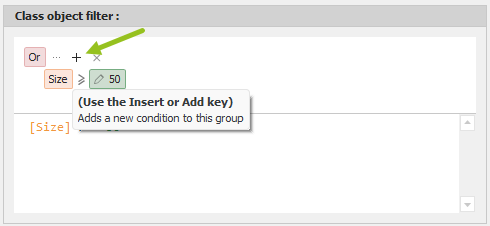
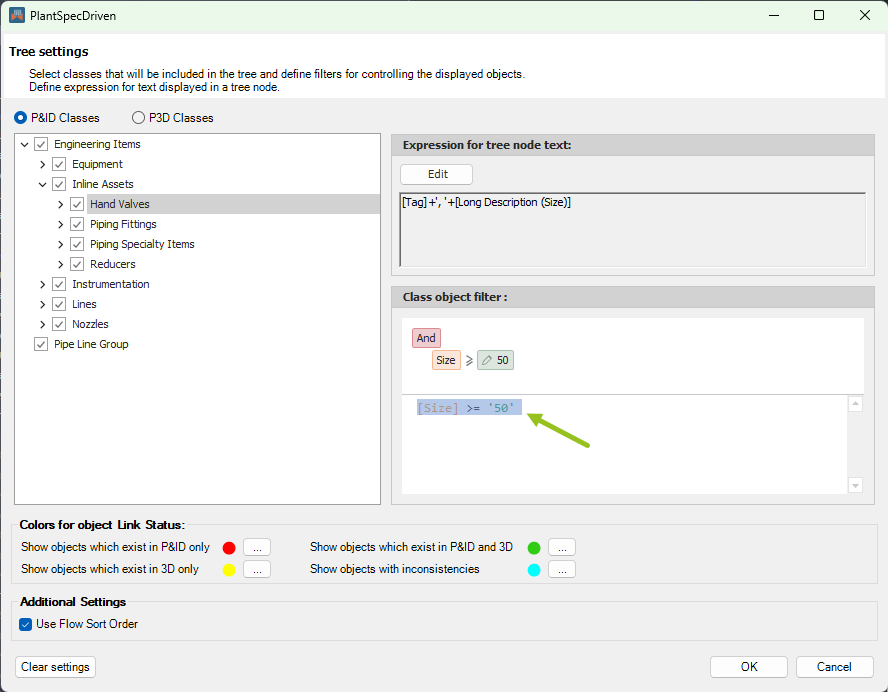
To define a filter you select the class and then click on the + sign in the Filter Editor under the Class object filter section.
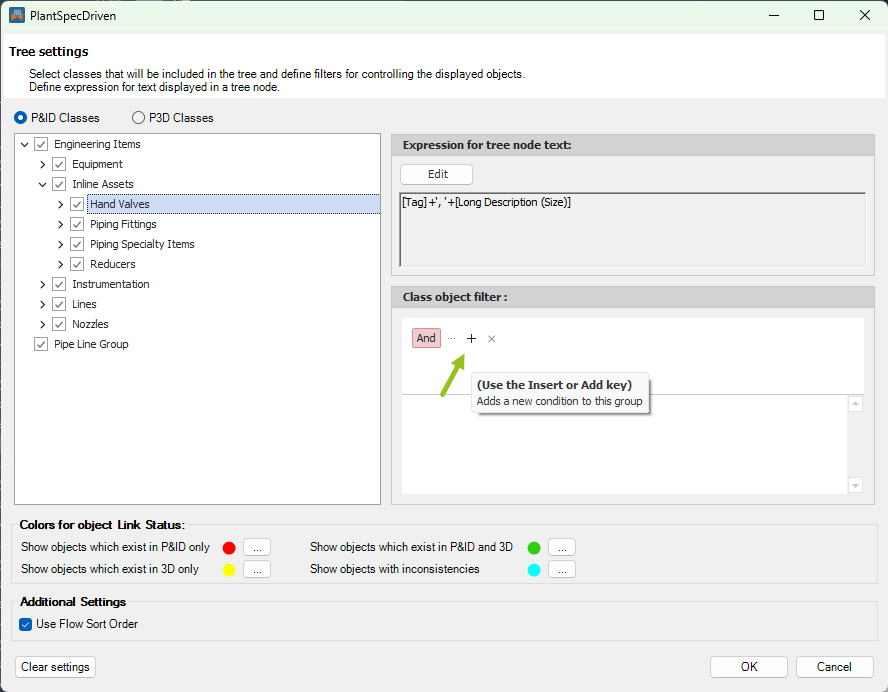
This creates a new entry which you then can modify.
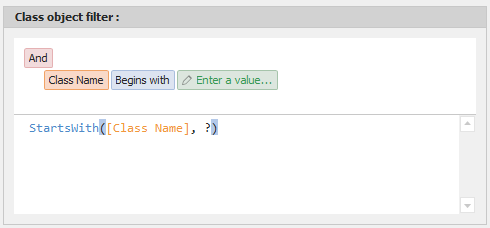
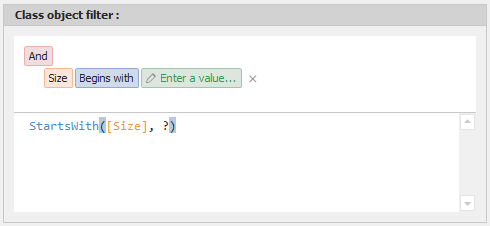
First select the property Size.
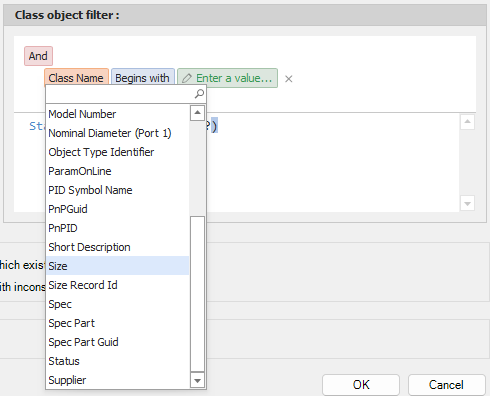
Which results in this expression:
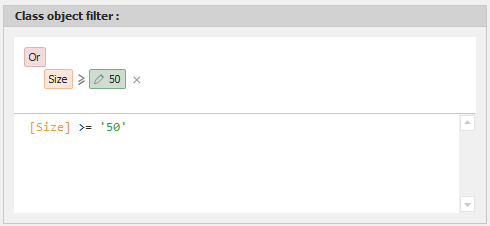
Now you select Is greater than or equal to.
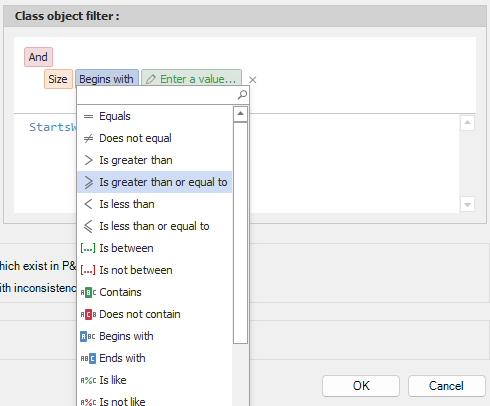
Which results in this expression:
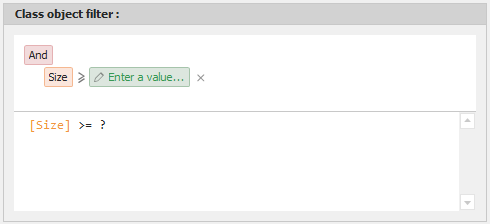
Now you click in the box behind the greater or equal sign and type in 50. Imperial users can also type in 2".
PlantSpecDriven will automatically convert the size diameters to the project units. So even in an imperial project you can use 50 instead of 2".
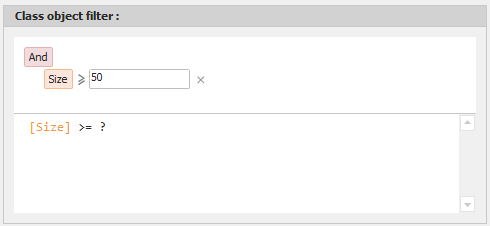
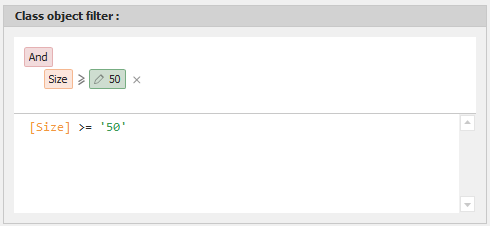
The final result looks like this.
Notice, that the graphical express is also shown as a text expression. You can actually edit the text expression too.
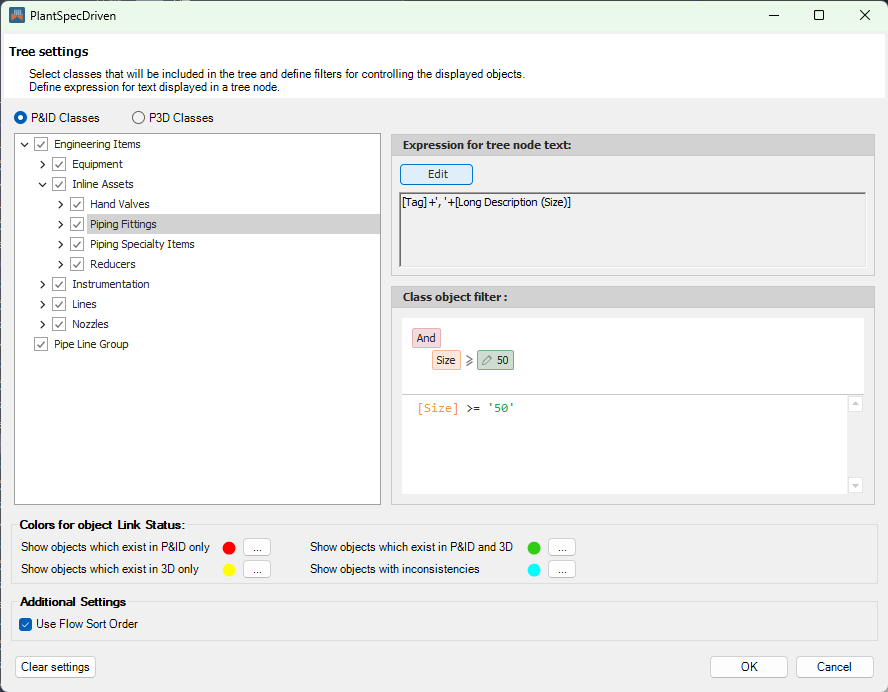
If you copy the text expression with CTRL+C...
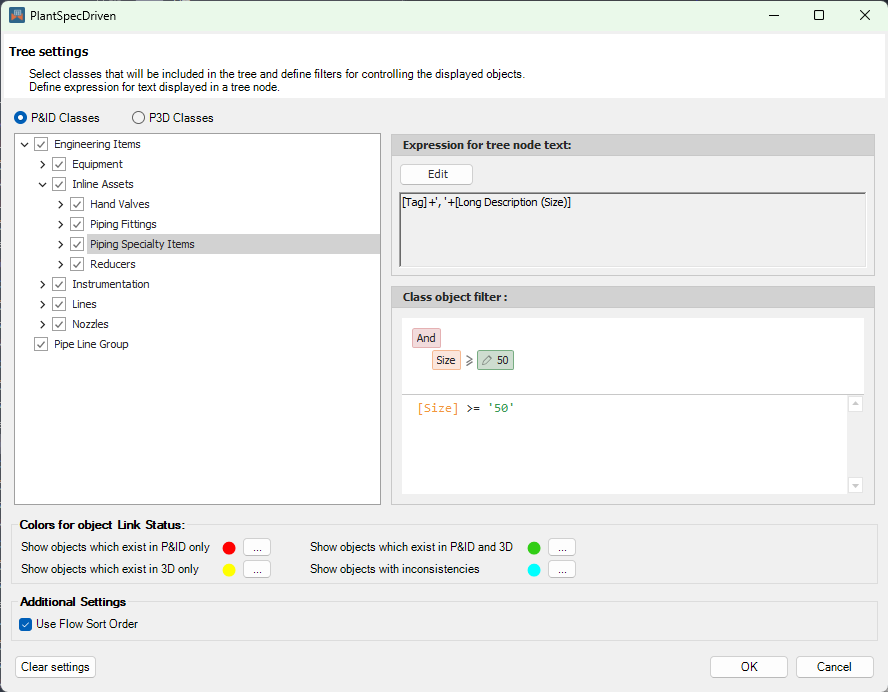
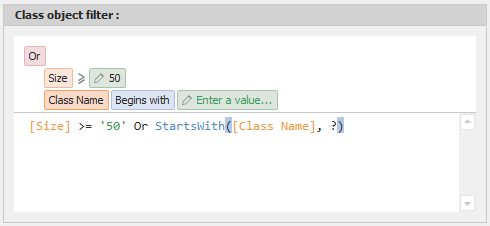
...you can go to the Piping Fittings and Piping Specialty Items classes and paste it in the text section of the Filter Editor.
Here for the Piping Specialty Items.
In the tree you can now see the result where the Inline Asset symbols in the Pipe Line Segments with sizes smaller than 50 (2") are greyed out.
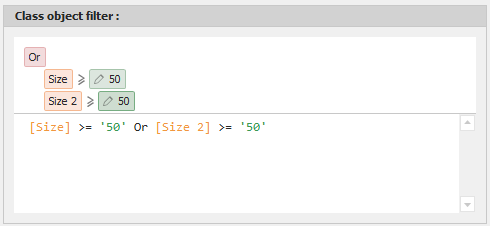
For reducers you may want to consider both sizes. First select the Reducers class.

What we need to do in this case, is to check if either Size or Size 2 is >= 50.
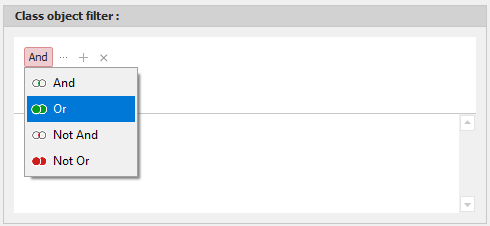
For this we change the And to Or.
We click on the + sign again.

We get a new row again.
We use the same expression as before.
But now we click on the + again.
Which create a new row again.
But now we select Size 2 instead of Size.
Here is the example from the top again.
Especially the most right reducer has Size = 32 and Size 2 = 50, but because we check for both sizes, the reducer will not be hidden. You can see this reducer at the bottom of the tree.
What is left is the filtering of the Pipe Line Segments. For that we copy the text expression from the Hand Valves class again.
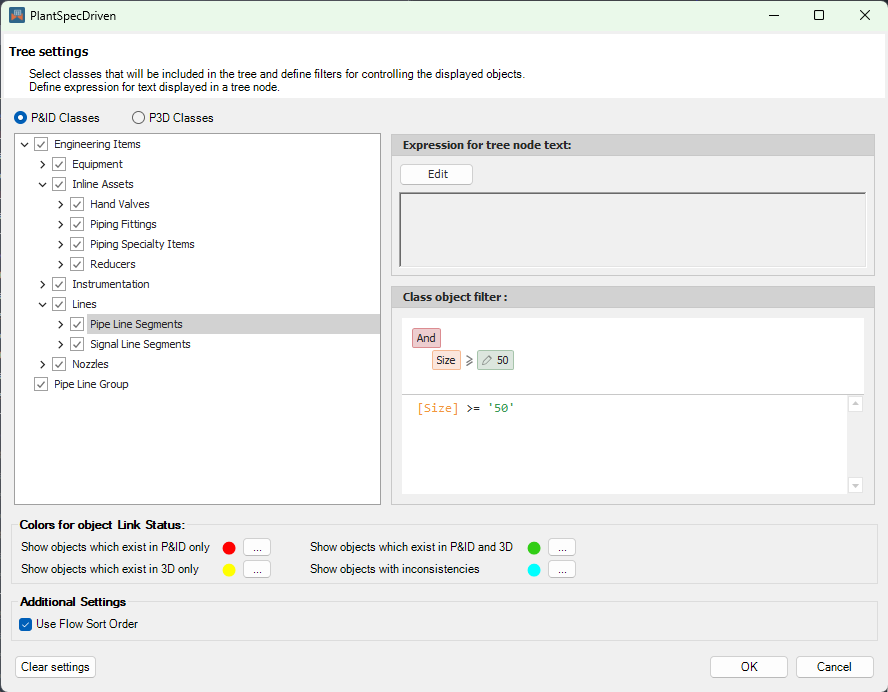
And paste it for the Pipe Line Segments class.
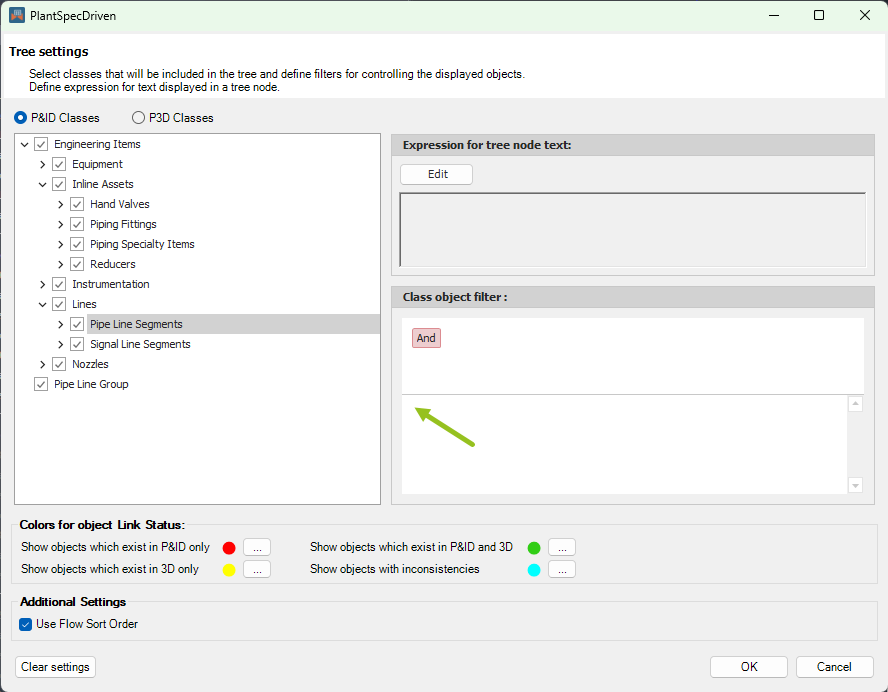
The graphical representation of the text expression is created automatically.
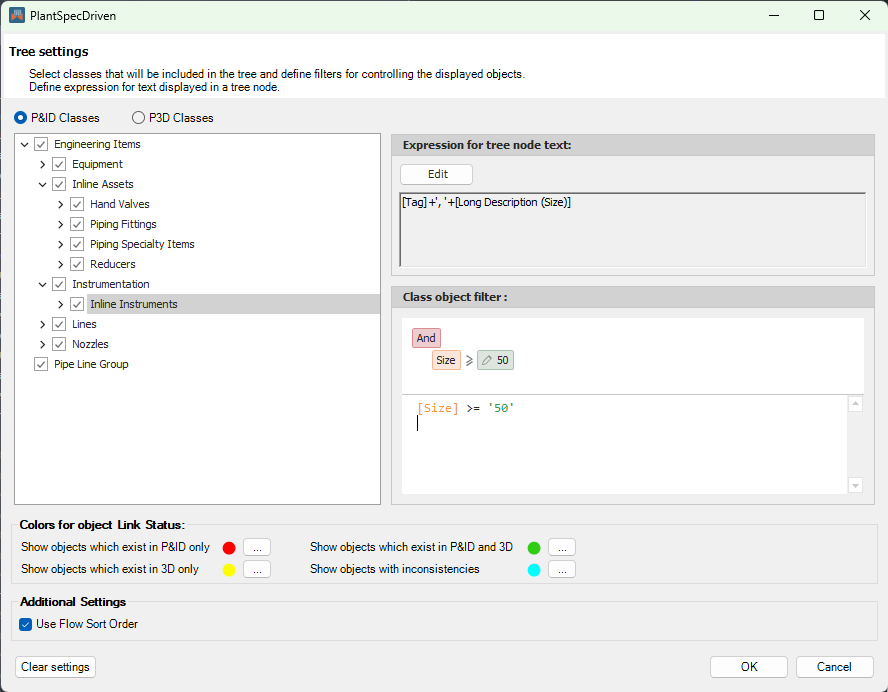
For completeness you may want to copy the expression also for the Inline Instruments.
And now the Pipe Line Segments are also greyed out if smaller than size 50.
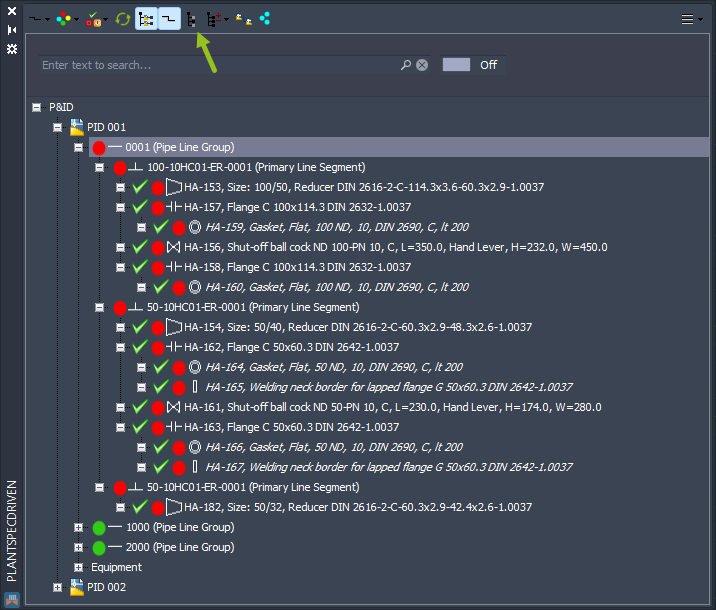
If we use the Show/Hide button again the greyed out nodes are hidden.
Next Chapter: Color Settings