|
<< Click to Display Table of Contents >> Inserting P&ID Reducers & Tees (3D)) |
  
|
|
<< Click to Display Table of Contents >> Inserting P&ID Reducers & Tees (3D)) |
  
|
This chapter describes how P&ID Reducers and Tees are inserted and linked in 3D automatically.
There is also the "old" way where you can insert Reducers and Tees yourself. Details can be found under Manual Mode.
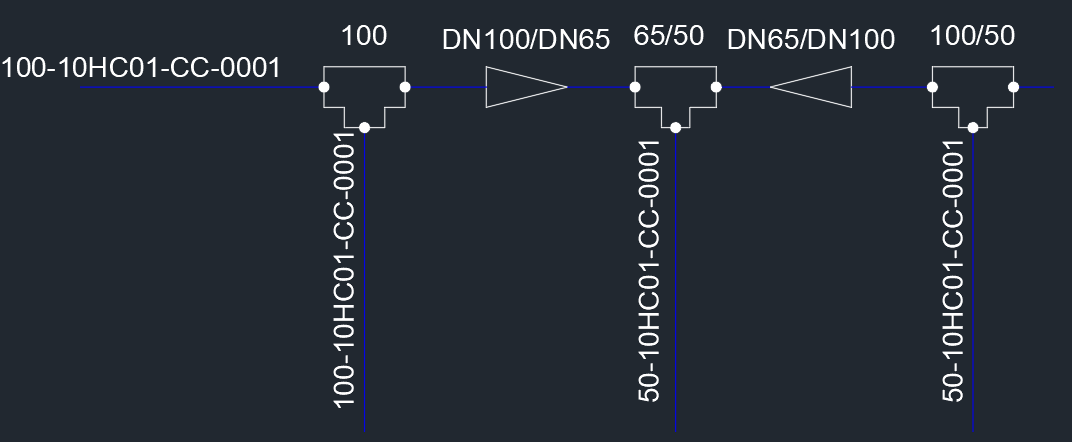
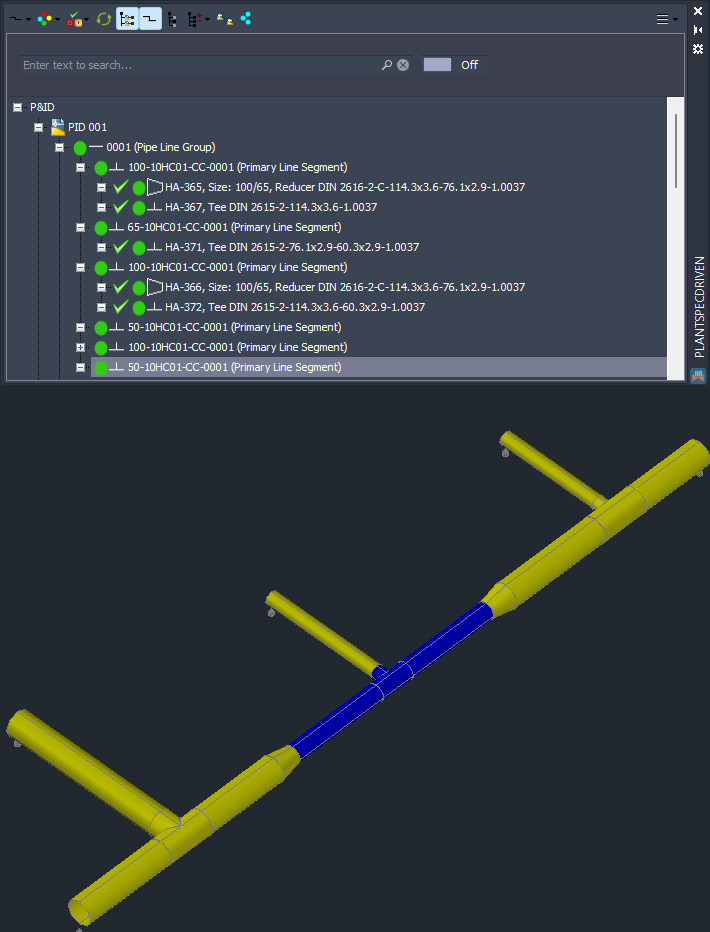
We use this example which is of course a bit packed, but it should show the various use cases.
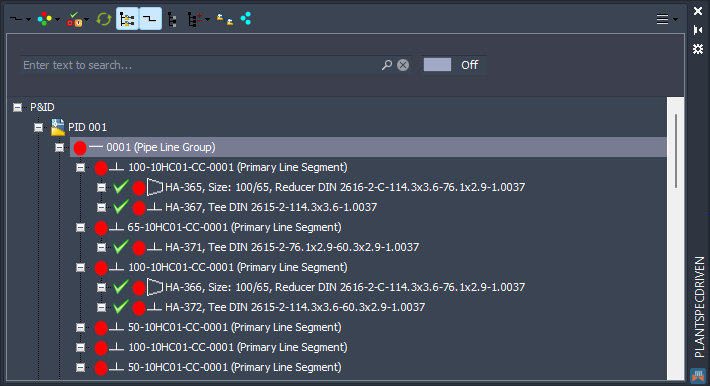
In the Structure Tree we see, that the reducers are showing under the line segment with the larger size.
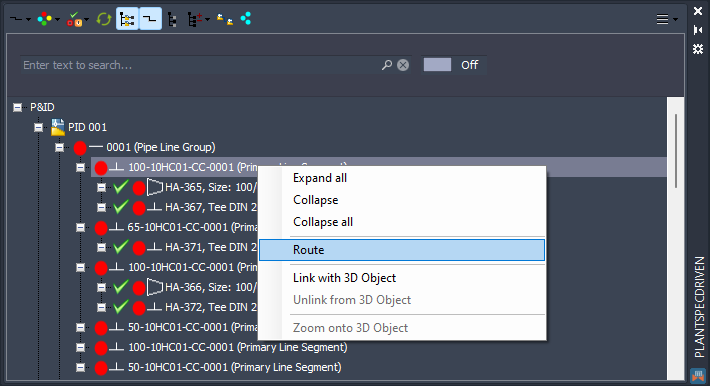
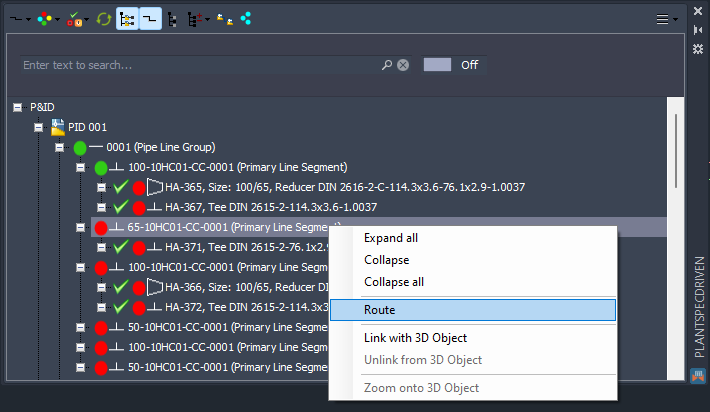
We start routing the first line segment.
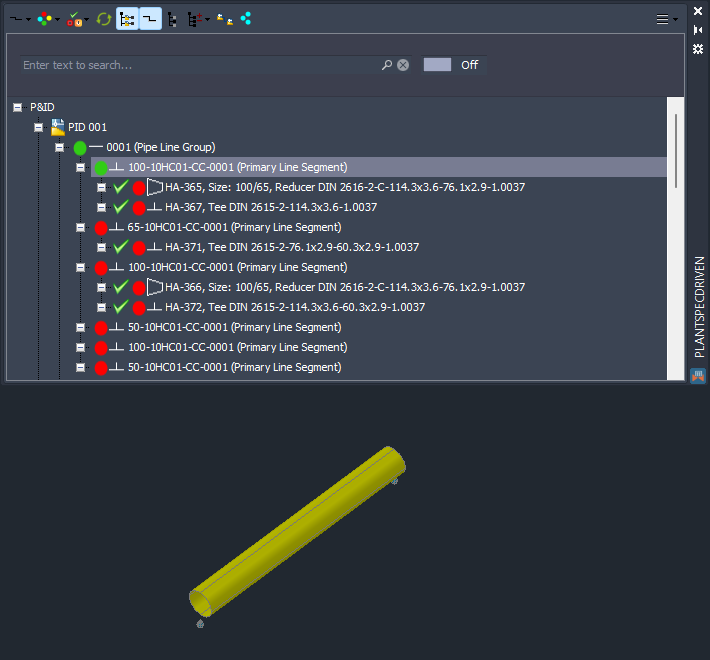
We draw a piece of pipe for the purpose of this documentation. In reality this would be more complex. The pipe is linked to the P&ID line segment as always. Also the line group gets linked.
Now we start routing the next line segment.
Remark: It is NOT mandatory to route the line segments in the order they appear in the tree. Using the example at the top you can first routine the left and right size 100 line segments and then route the line segment in the middle.
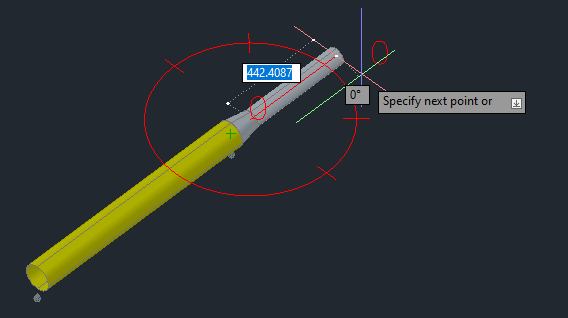
When you start routing Plant 3D will automatically insert the reducer.
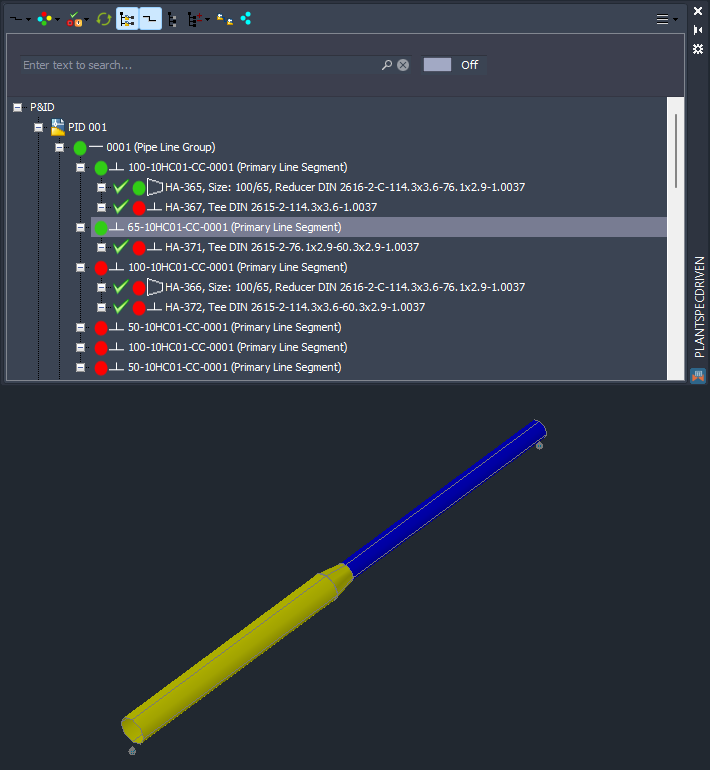
If you are done routing the size 65 line segment PlantSpecDriven will not only link the pipe to the line segment, but it will also link the 3D reducer to the P&ID reducer.
Now the right line segment.
Again, the reducer will be inserted automatically by Plant 3D.
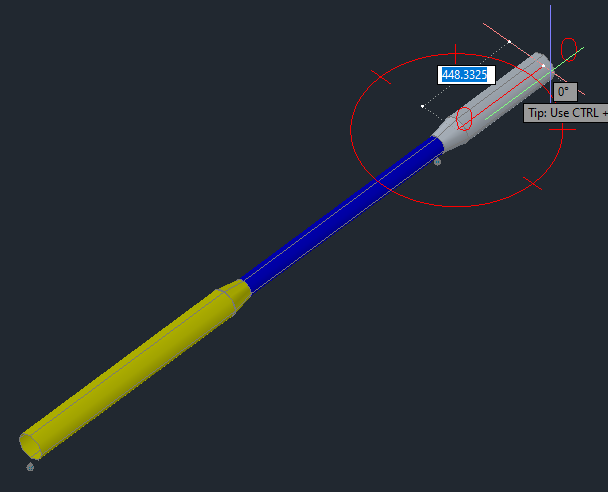
And again,. the pipe will be linked to the line segment and the second reducer will be linked to its P&ID counterpart.
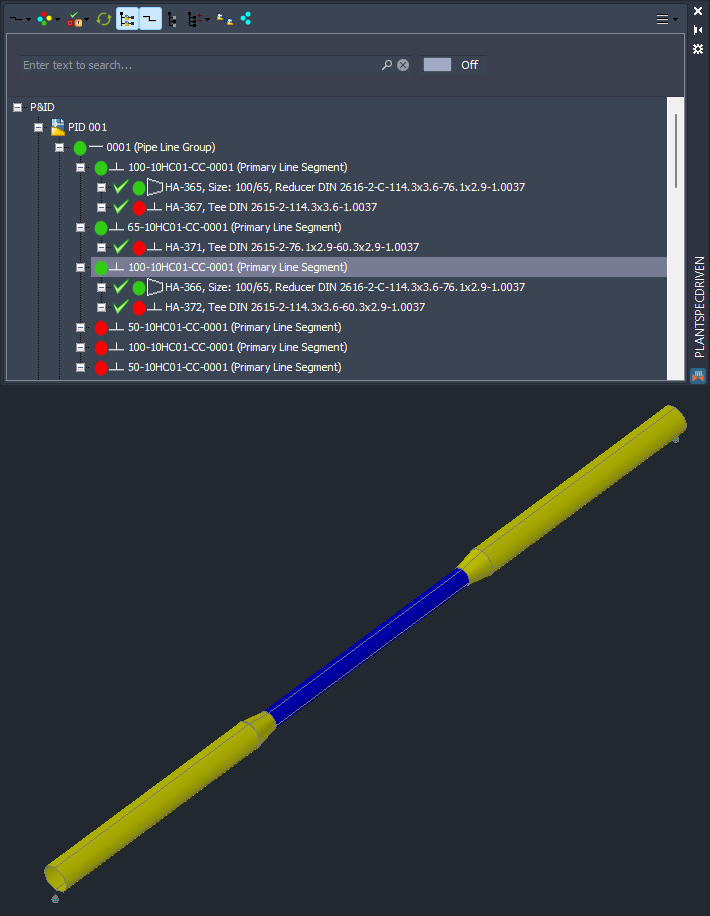
Now we start routing the branches to see how Tees are handled.
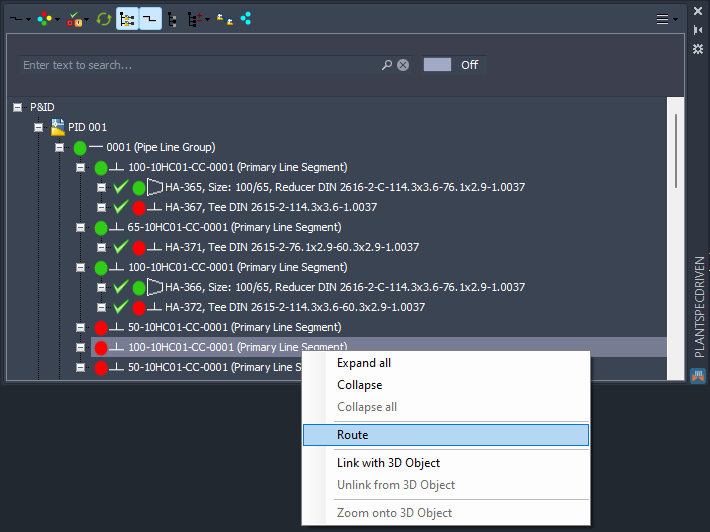
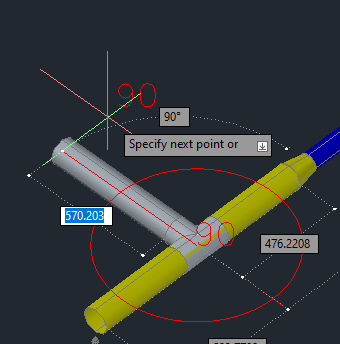
Plant 3D will insert the Tee automatically.
If you are done, the pipe will be linked to the line segment, but also the tee in the first line segment.
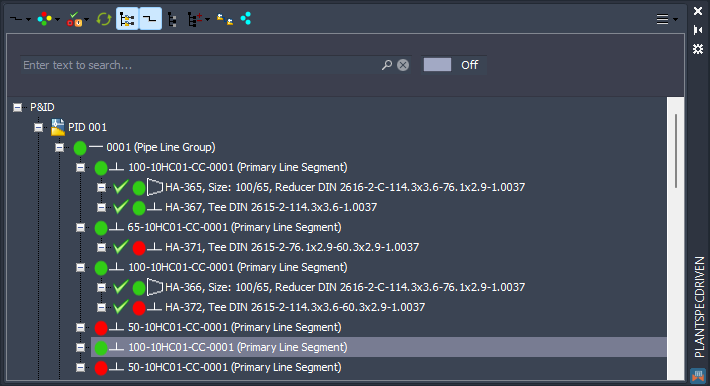
We route the next line segment.
Remark: If you don't know which node in the Structure Tree is where in the P&ID drawing, you just open the P&ID drawing or make it the active drawing and then double-click on the node. Then PlantSpecDriven will zoom onto the line segment or symbol.
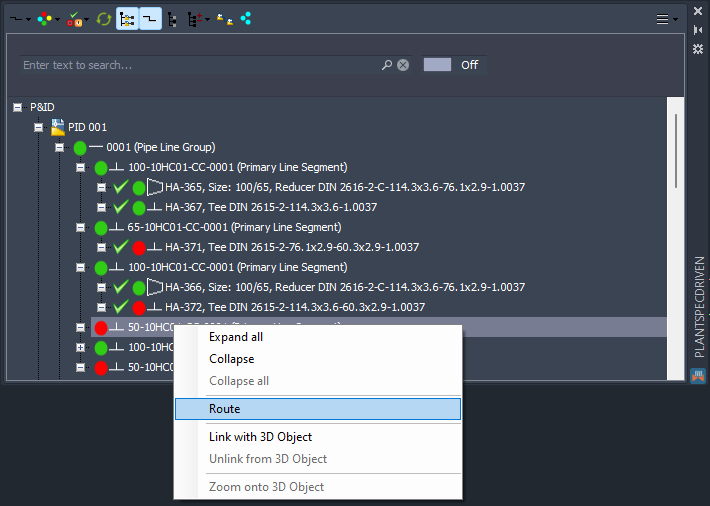
The tee will be inserted...
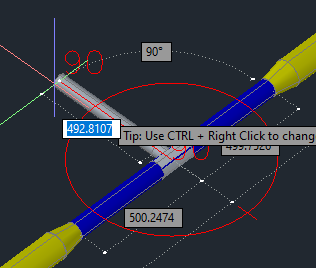
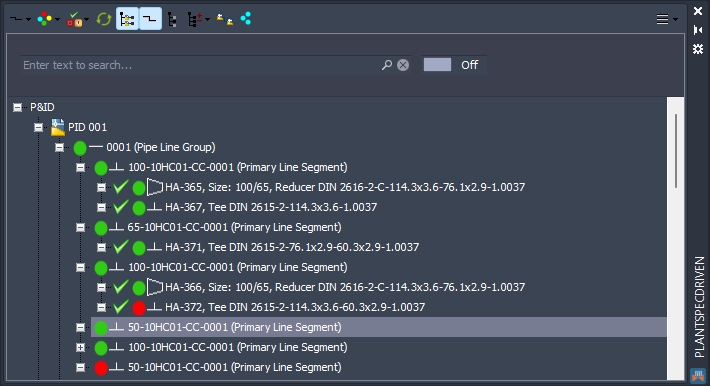
...and the pipe will be linked and now the tee from the middle line segment will be linked.
And now the final line segment.
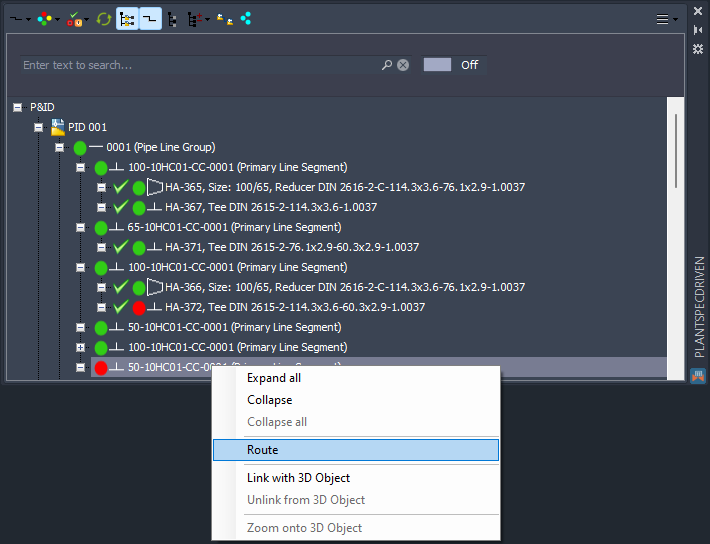
Finally everything is linked between P&ID and 3D.
Next Chapter: Inserting P&ID Relief Valves (3D)