|
<< Click to Display Table of Contents >> Page 10 - Miscellaneous Settings |
  
|
|
<< Click to Display Table of Contents >> Page 10 - Miscellaneous Settings |
  
|
On this page there are two settings. Firstly, the Welding Pointing class. In case you show welding point in P&ID you do not want PlantSpecDriven to try react and open the Part Selection. You simply select the welding point class in the class tree and then user the top arrow to the right to copy the class to the list at the upper right hind side. You can also select multiple classes. With the arrow to the left you can remove a selected class from the list.
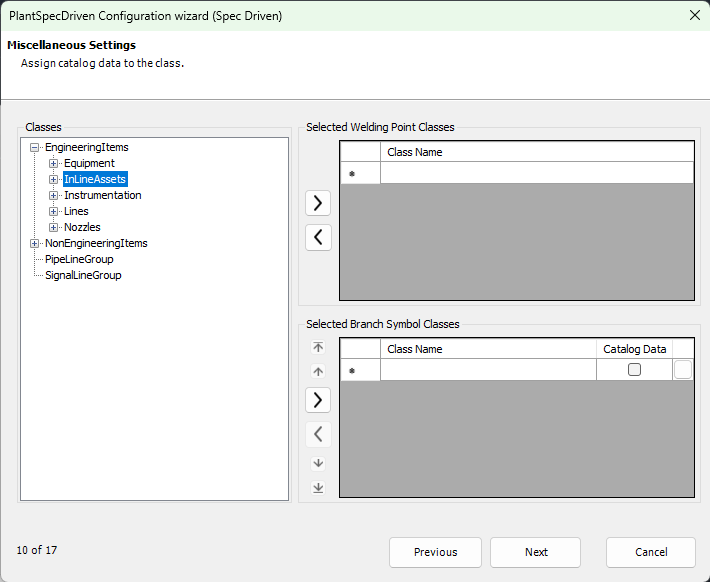
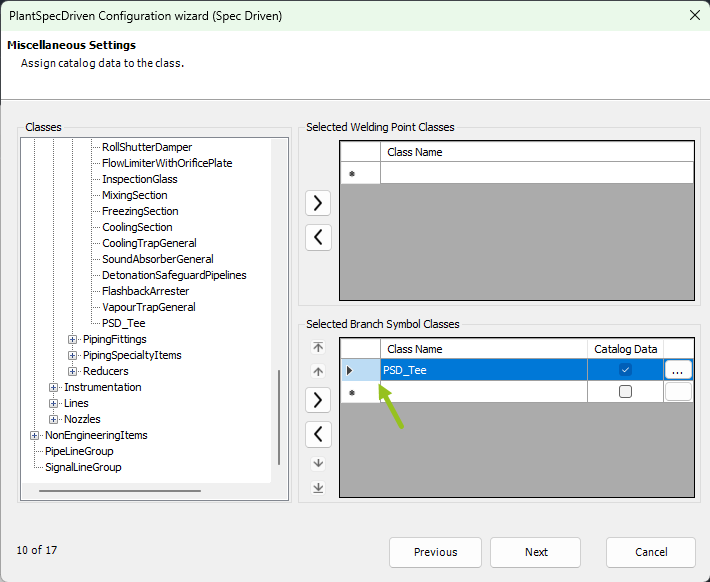
The second part is the optional selection of branch symbols. This is typically used for Tees, but there are other use cases where a branch symbol is supposed to be inserted which is used for other purposes.
If you do not use Tees or a branch symbol in general, you can just skip over this page.
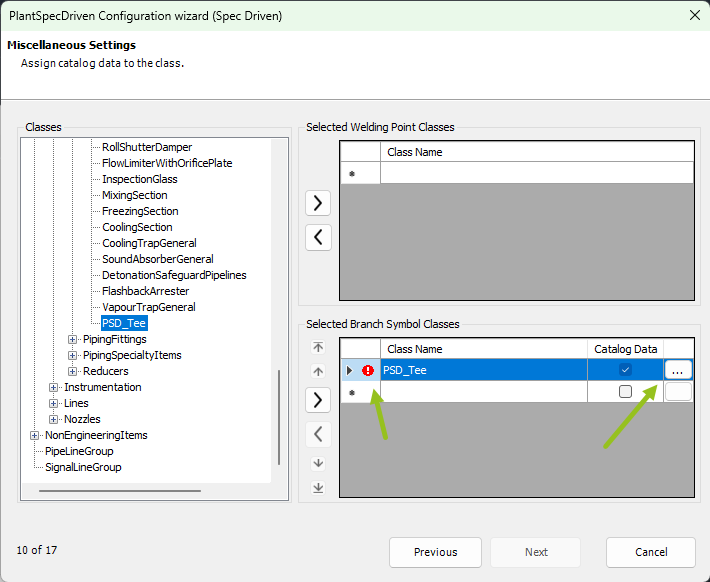
If you have Tees, then you select the Tee class and use the lower right arrow to copy the class to the lower right hand list.
After that you will see a red warning icon which lets you know, that the setup for the Tee is incomplete.
With the checkbox Catalog Data you can define if the Tee should be handled by the Assign Catalog Data feature. If you uncheck that box, no parts from the pipe spec will be assigned.
The branch symbols need a condition to know when to insert them. For that you click on the ... button at the end of the row.
The Expression Editor opens where you can define the expression to let PlantSpecDriven know when to insert the selected branch symbol.
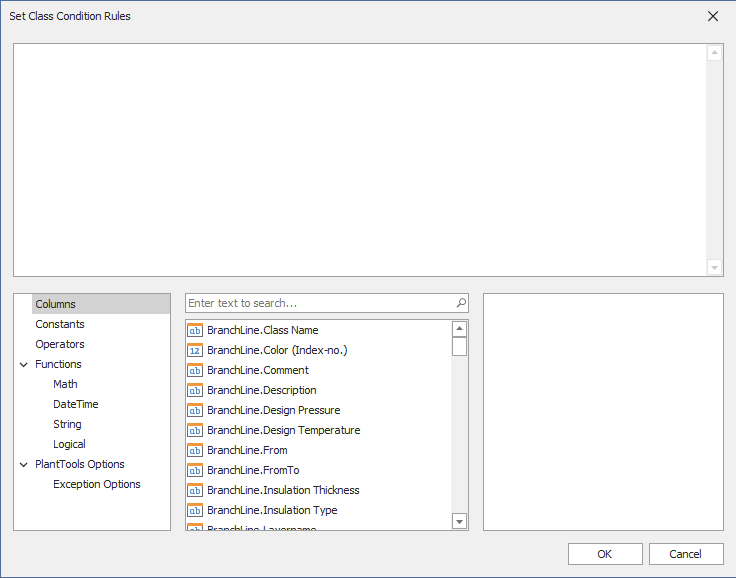
You can select any property from the main line or the branch line. If you don't want any specific condition you can just use the example below which will only insert a branch symbol in case the main line segment has a class name. Which is always.
But you could also use an expression like [MainLineGroup.Service]<>'AV'. In this case a branch symbol would be inserted only if the service is not AV.
This is the example used in Test Projects
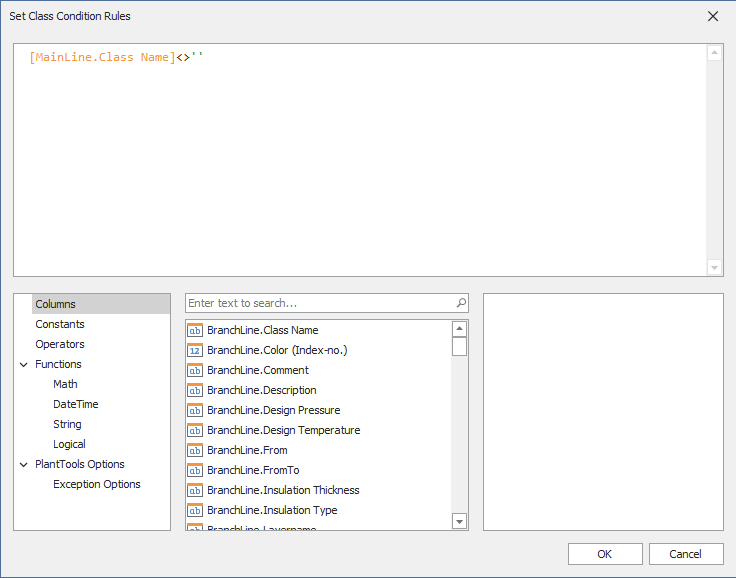
If you have a valid expression and you close the expression editor the red warning icon is gone.
Next Chapter: Page 11 - Special Symbols