|
<< Click to Display Table of Contents >> Assign Pipe Spec Data |
  
|
|
<< Click to Display Table of Contents >> Assign Pipe Spec Data |
|
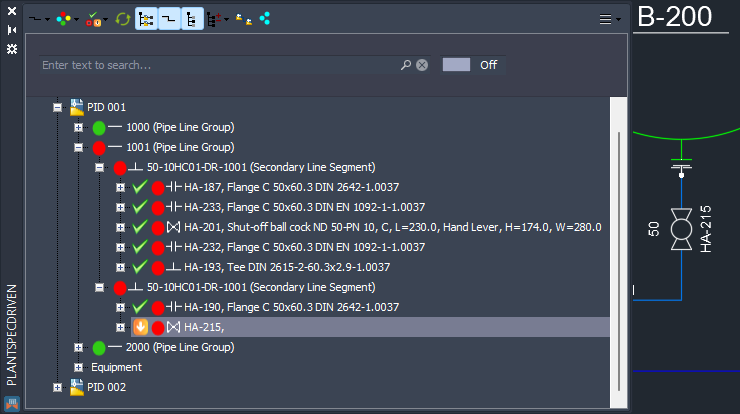
This chapter describes how you can assign Pipe Spec Data to a single symbol.
Let's use the example from the previous chapter where we removed the assigned Pipe Spec Data.
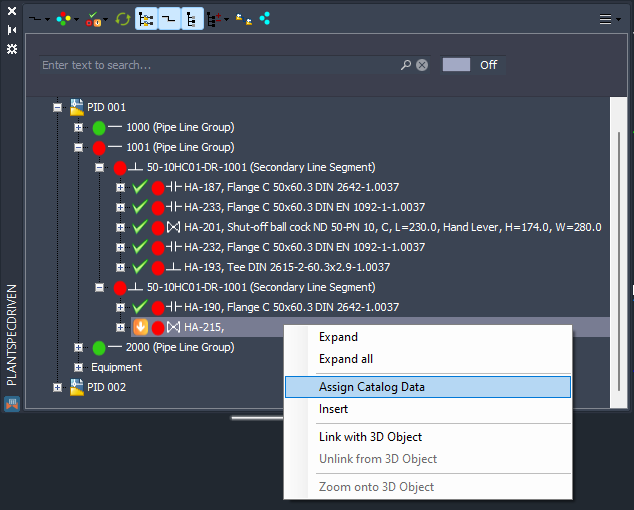
We use Assign Catalog Data from the context menu again.
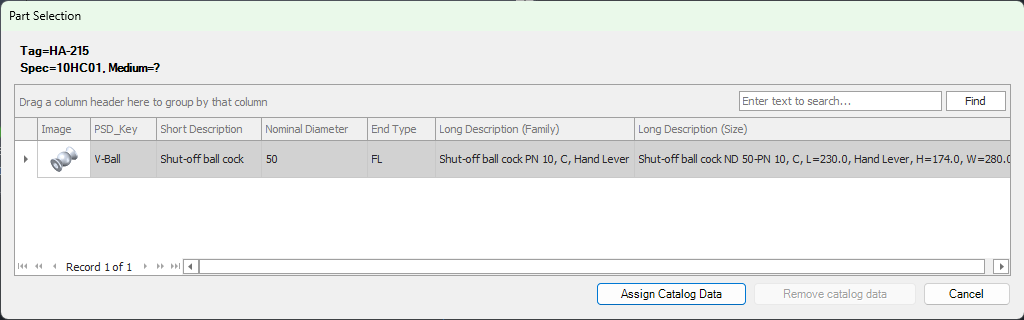
The Part Selection dialog opens and we see the available parts. If there is just one part available, you simply click on Assign Catalog Data. If you have multiple choices, you select the part and then click on the assign button.
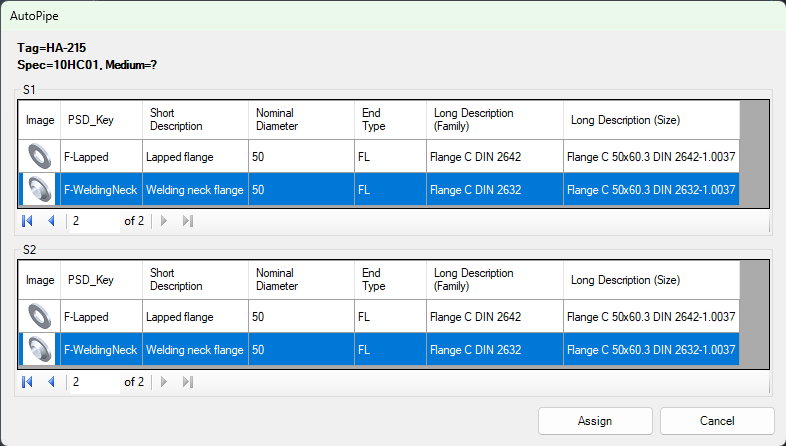
Next AutoPipe may show a dialog in case multiple flanges are available. Here you also select the flanges for each AttachmentPoint/Port and click on Assign. If you click on Cancel, then no flanges symbols will be inserted.
The handling of flanges and fasteners is explained under Understanding AutoPipe (P&ID) and Understanding Fasteners (P&ID).
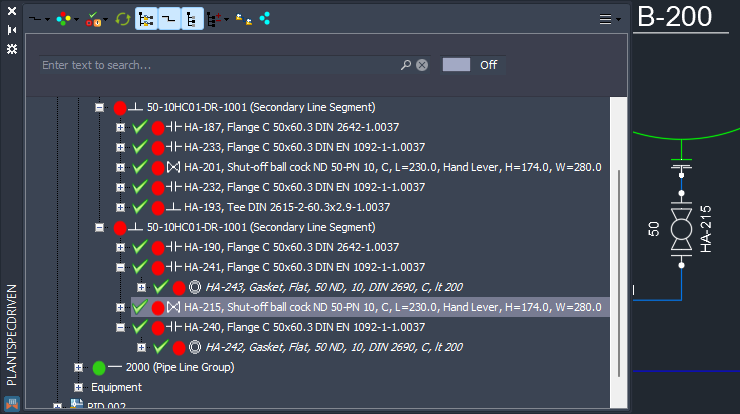
Now we see that Pipe Spec Data have been assigned to the valve and the flange symbols, its Pipe Spec Data, and the fasteners appear again.
 -
-
Next Chapter: Updating Assigned Pipe Spec Data (P&ID)